T
S2X020 : Twin Channel Battery Charger
Operators Manual
Doc: DWG1021-10-R2 TS2X020 Operators manual.odt
Page 1 of 16
Copyright Material of Intelligent Charging Limited © 2015
Printed On : 14/06/17
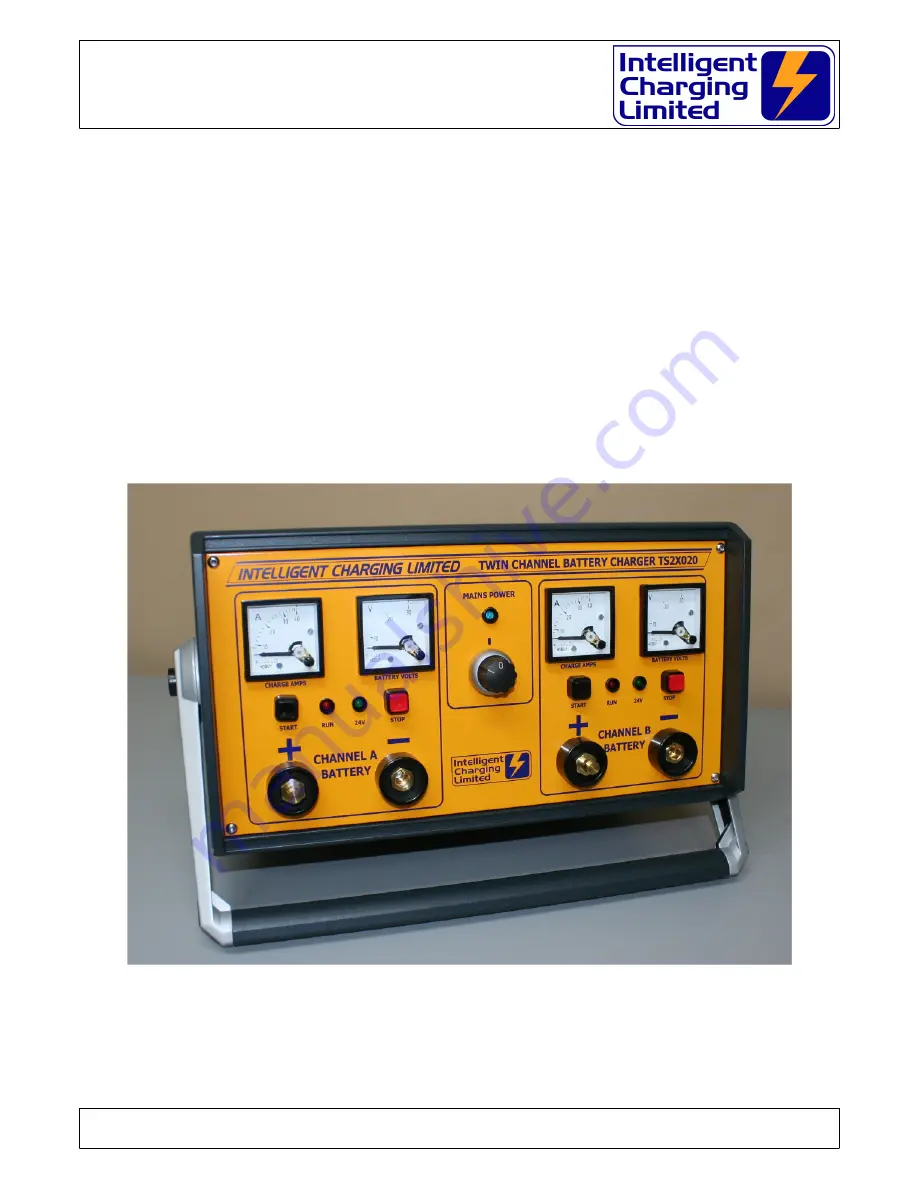
TS2X020 TWIN CHANNEL
BATTERY CHARGER
OPERATORS MANUAL


