


44
Intel
®
Server System SR1500AL User’s Guide
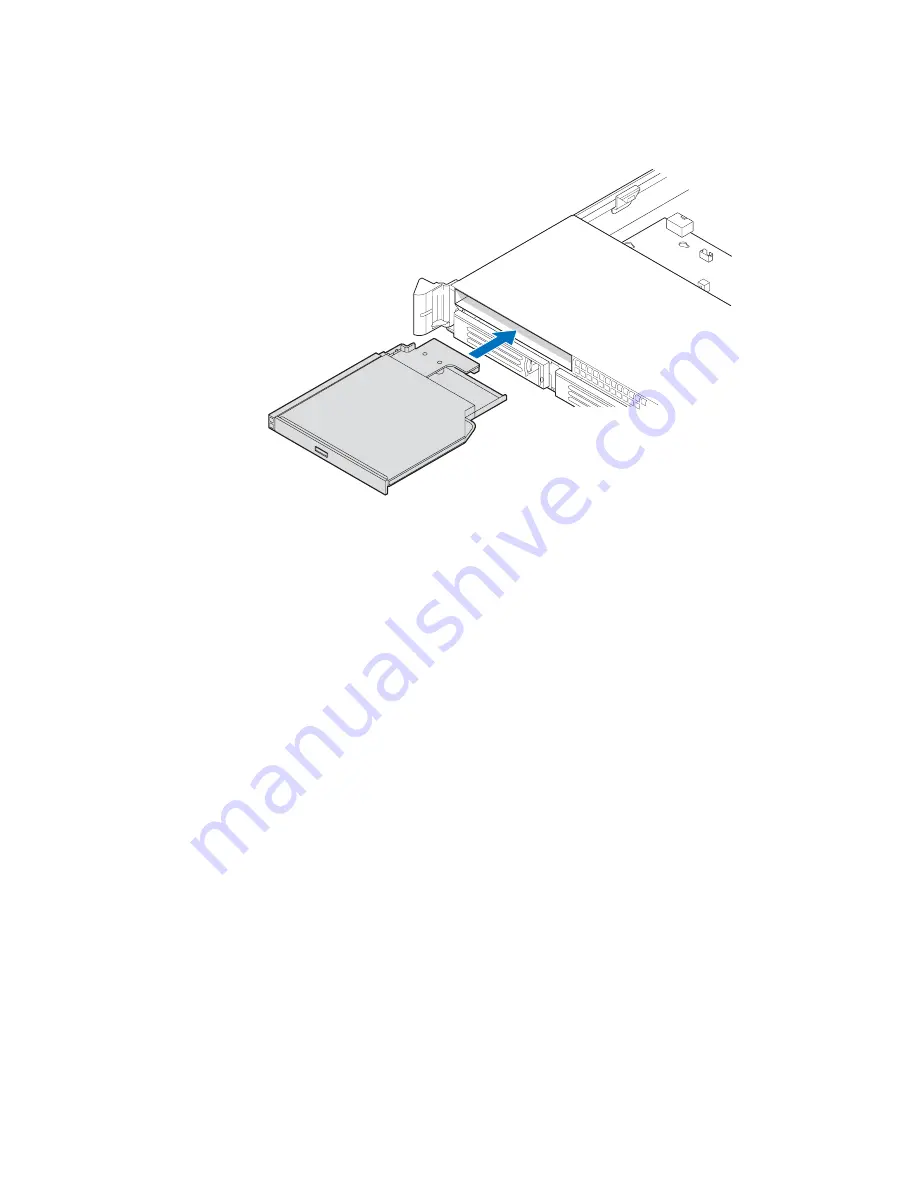
Figure 35. Installing an Optical Drive Assembly into the Server System
14. Install the server system cover. For instructions, see
“Installing the System Cover”
.
15. (Optional) Install the front bezel. For instructions, see
“Installing the Front Bezel”
.
16. Plug all peripheral devices and the AC power cable(s) into the server.
Removing a Slimline Optical Drive or Internal USB Floppy
1. Observe the safety and ESD precautions at the beginning of this book. See
“Safety
Information”
.
2. Power down the server and unplug all peripheral devices and the AC power
cable(s).
3. Remove the front bezel if it is installed. For instructions, see
“Removing the Front
Bezel”
.
4. Remove the server system cover. For instructions, see
“Removing the System
Cover”
.
5. If removing an internal USB floppy drive, unplug it from the backplane.
6. Press the blue release lever (see letter “A”) to unlock the optical drive tray and
remove the slimline optical drive tray assembly from the server system as shown in
Figure 36
.
AF000355
Summary of Contents for SR1500AL - Server System - 0 MB RAM
Page 3: ...Intel Server System SR1500AL User s Guide iii ...
Page 4: ...iv Intel Server System SR1500AL User s Guide ...
Page 8: ...viii Intel Server System SR1500AL User s Guide ...
Page 12: ...xii Intel Server System SR1500AL User s Guide ...
Page 22: ...xxii Intel Server System SR1500AL User s Guide ...
Page 42: ...20 Intel Server System SR1500AL User s Guide ...
Page 106: ...84 Intel Server System SR1500AL User s Guide ...
Page 118: ...96 Intel Server System SR1500AL User s Guide ...
Page 132: ...110 Intel Server System SR1500AL User s Guide ...
Page 144: ...122 Intel Server System SR1500AL User s Guide ...
Page 156: ...134 Intel Server System SR1500AL User s Guide ...
Page 180: ...158 Intel Server System SR1500AL User s Guide ...


