


User Guide for NUC7i5DNKPU
3
This guide tells you how to:
•
•
•
•
•
•
•
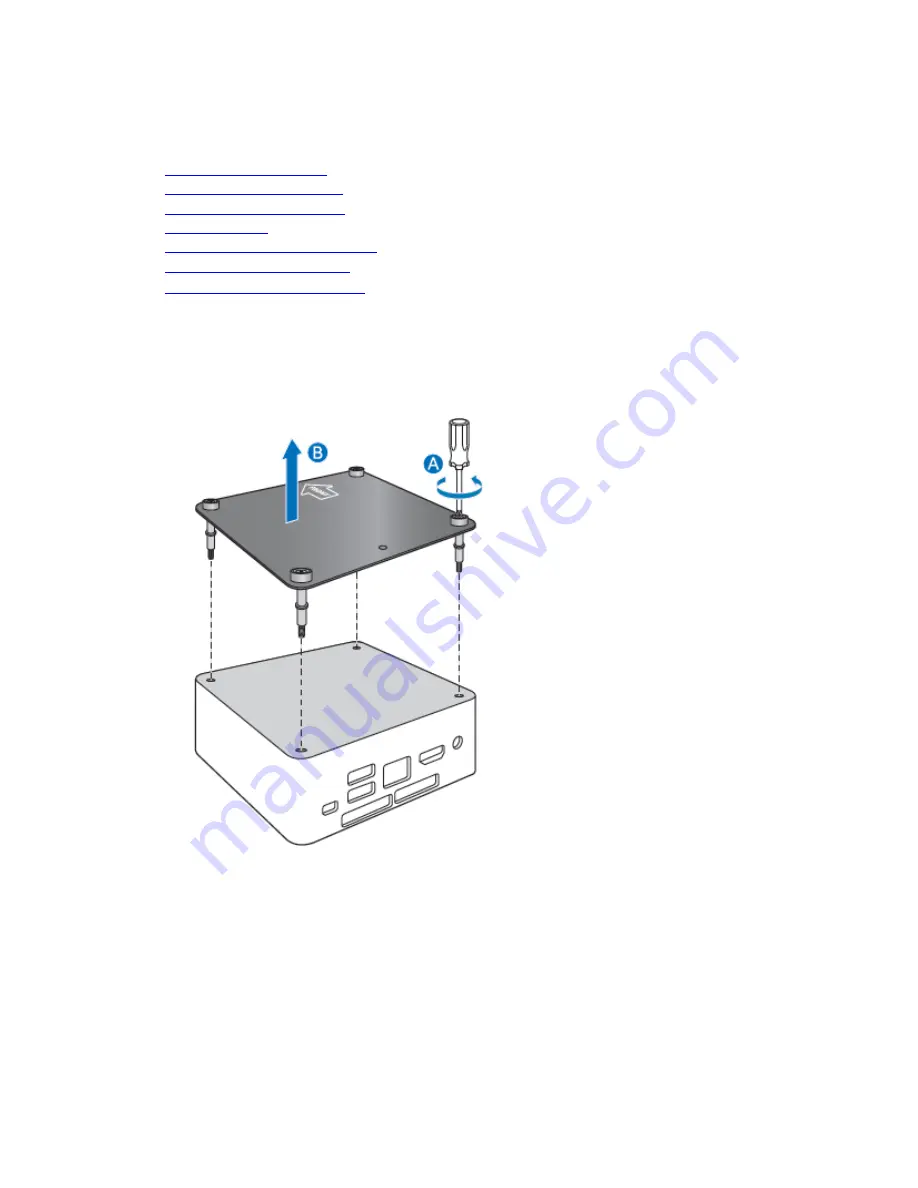
Open the Chassis
Unscrew the four corner screws on the bottom of the chassis and lift the cover.
Upgrade System Memory
The Intel NUC Kits NUC7i5DNKPU have two 260-pin DDR4 SO-DIMM sockets,
pre-installed with two
4GB DDR4 2133 MHz SO-DIMM.
To upgrade memory, be sure to select memory modules that meet these requirements:
•
1.2V low voltage memory
•
2133 MHz SO-DIMMs
•
Non-ECC


