Installing and Replacing Desktop Board Components
29
1.
Observe the precautions in "Before You Begin" on page 23.
2.
Turn off all peripheral devices connected to the computer. Turn off the computer
and disconnect the AC power cord.
3.
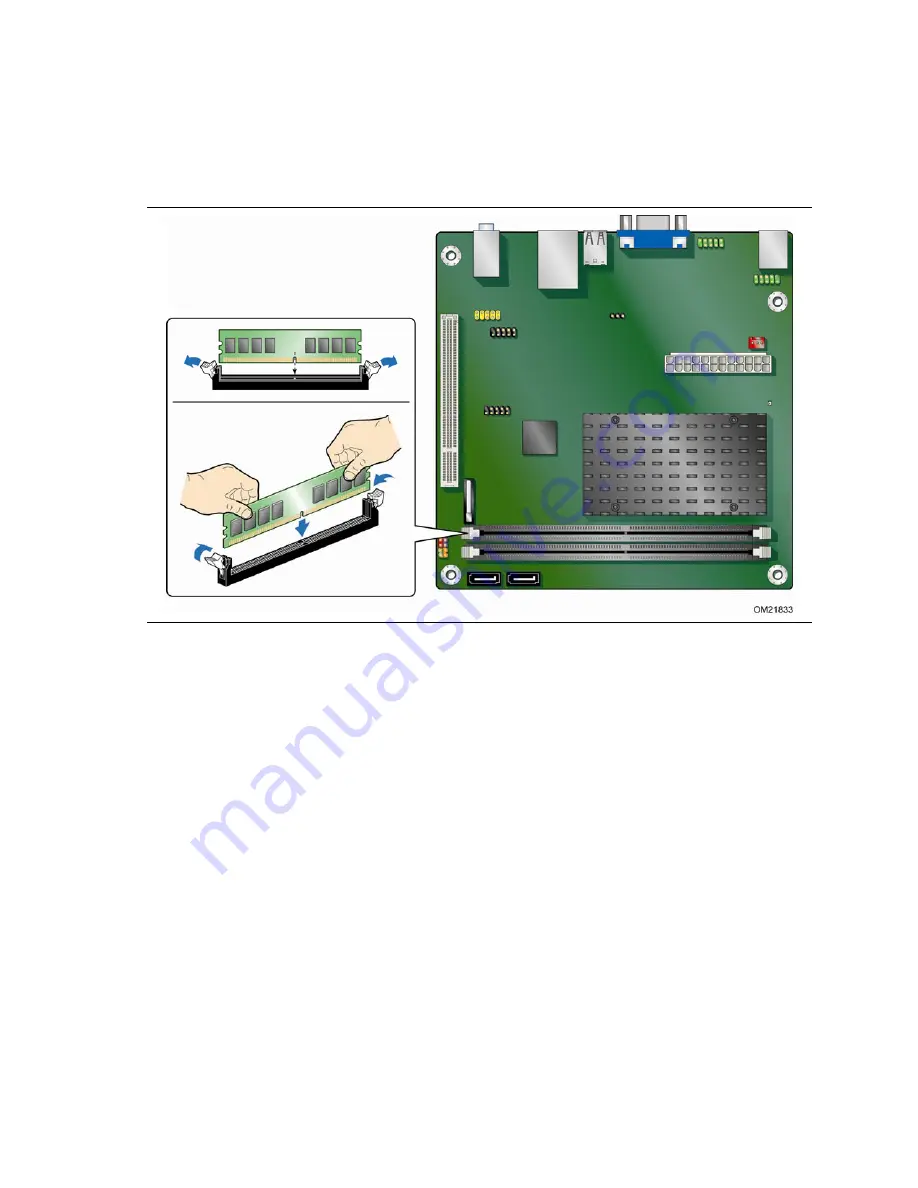
Remove the computer’s cover and locate the DIMM socket (see Figure 8).
Figure 8. Installing a DIMM
4.
Make sure the clips at either end of the DIMM socket are pushed outward to the
open position.
5.
Position the DIMM above the socket. Align the small notch at the bottom edge of
the DIMM with the key in the socket (see Figure 8).
6.
Insert the bottom edge of the DIMM into the socket.
7.
When the DIMM is inserted, push down on the top edge of the DIMM until the
retaining clips snap into place. Make sure the clips are firmly in place.
8.
Replace the computer’s cover and reconnect the AC power cord.
Summary of Contents for BLKD410PT
Page 1: ...Intel Desktop Board D410PT Product Guide Order Number E74522 002 ...
Page 8: ...Intel Desktop Board D410PT Product Guide viii ...
Page 31: ...Installing and Replacing Desktop Board Components 31 Figure 9 Connecting a Serial ATA Cable ...
Page 44: ...Intel Desktop Board D410PT Product Guide 44 ...


