Motherboard BIOS and Setup Utility
49
3.10 Language Support
The BIOS setup screen and help messages are supported in 32 languages. There are 5 languages
available at this time: American English, German, Italian, French, and Spanish. Translation to
other languages may become available at a later date.
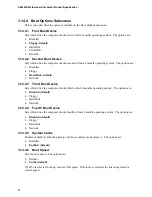
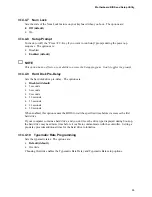
3.11 Boot Options
Booting from CD-ROM is supported in adherence to the “El Torito” v. 1.0 bootable CD-ROM
format specification developed by Phoenix Technologies and IBM. Under the Boot Options field
in Setup, CD-ROM is one of four possible boot devices which are defined in priority order. The
default setting is for floppy to be the primary boot device and hard drive to be the secondary boot
device. If CD-ROM is selected, it must be the first device. The third and fourth devices are set to
disabled in the default configuration. The user can add also select network as a boot device. The
network option allows booting from a network add-in card with a remote boot ROM installed.
✏
NOTE
A copy of “El Torito” v. 1.0 is available on the Phoenix Web page
(http://www.ptltd.com/techs/specs.html).
3.12 Flash LOGO Area
The motherboard supports a 4 KB programmable flash user area located at E8000-E8FFF. An
OEM may use this area to display a custom logo. The BIOS accesses the user area just after
completing POST. A utility is available from Intel to assist with installing a logo into flash for
display during POST. Contact your local Intel Sales office or authorized distributor for further
information.
3.13 Setup Enable Jumper
A motherboard configuration jumper controls access to the BIOS Setup utility. By setting the
jumper to the disable position, the user is prevented from accessing the Setup utility during the
POST or at any other time. The message prompting the user to press <F1> to enter Setup is also
disabled.
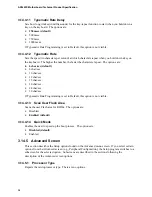
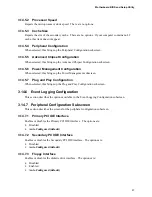
3.14 Overview of the Setup Menu Screens
The Setup program initially displays the Main menu screen. In each screen there are options for
modifying the computer’s configuration. Select a menu screen by pressing the left <
←
> or right
<
→
> arrow keys. Use the up <
↑
> or down <
↓
> arrow keys to select items in a screen. Use the
<Enter> key to select an item for modification. For certain items, pressing <Enter> brings up a
subscreen. After you have selected an item, use the arrow keys to modify the setting.
Summary of Contents for AP440FX
Page 70: ......

