USER MANUAL
– EN
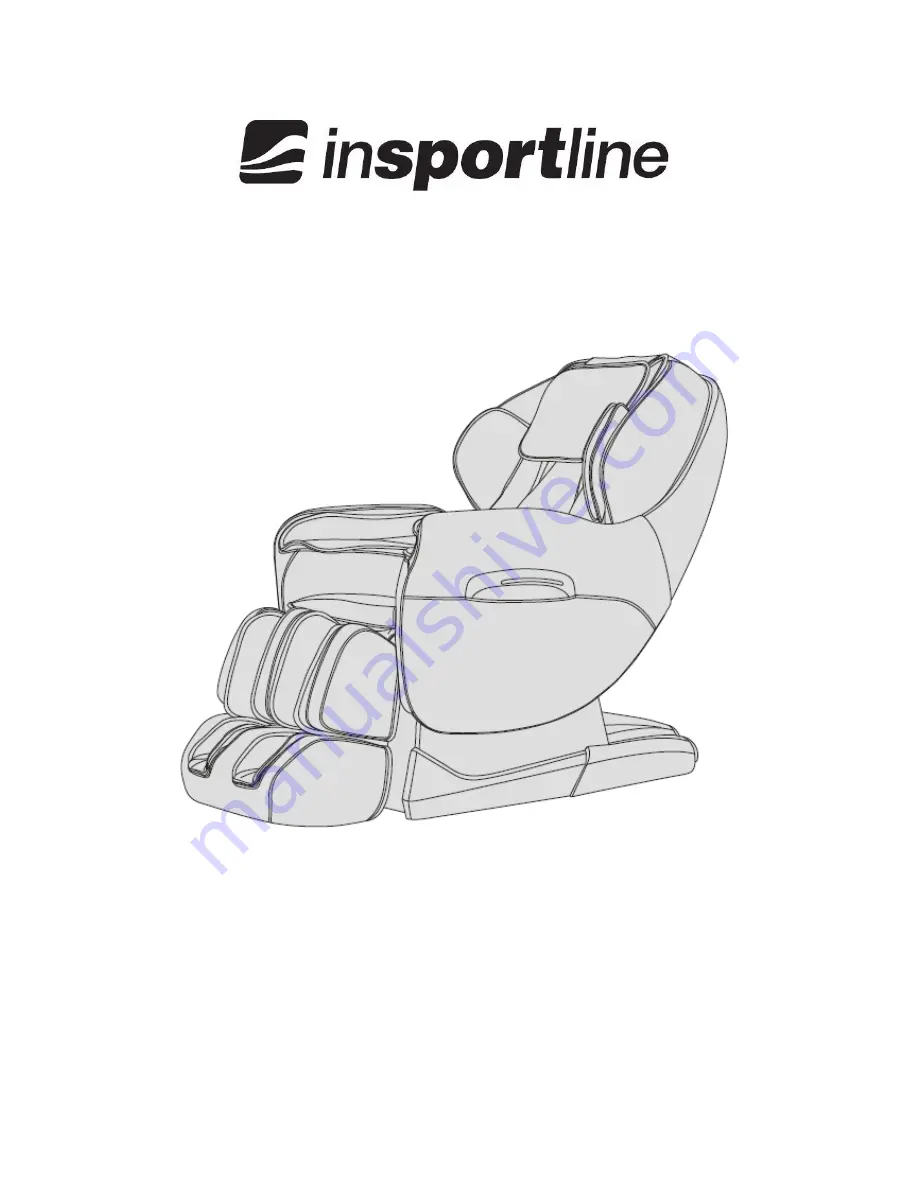
IN 11115 Massage Chair inSPORTline Dugles
Page 1: ...USER MANUAL EN IN 11115 Massage Chair inSPORTline Dugles...
Page 2: ...2 CONTENTS SAFETY AND MAINTENANCE 3 COMPONENTS 5 FUNCTION 5 CONTROL 6 INSTALLATION 10 PRODUCT SPECIFICATIONS 17 TERMS AND CONDITIONS OF WARRANTY WARRANTY CLAIMS 18...
Page 3: ...product Don t fall asleep while using this product Do not use the product after consuming alcohol or drugs Do not use the product immediately after a meal 1 hour Make sure the massage isn t too strong...
Page 4: ...is loose If you don t plan to use the product for a longer period of time curl up the wires and store the product in a dry and dust free environment Do not store the product in high temperatures or n...
Page 5: ...g Automatic shoulder detection and location Automatic massage functions 6 total ache relieving comfort ease intensive massage upper body massage lower body massage Massage memory functions M1 and M2 U...
Page 6: ...infrared heat source Decorative LED light on the armrests Calf rests can be extended to fit various body heights The special design of the backrest allows for the chair to slide along the wall and sa...
Page 7: ...tion of the massage heads can be adjusted by the UP and DOWN buttons The shoulder area has 10 levels of adjustment The massage will start automatically 10 seconds after you finish the massage head adj...
Page 8: ...Auto F2 Blood circulation stimulation Auto F3 Overall massage press the button for 2 seconds to regulate the speed of the massage Auto F4 Upper body massage Auto F5 Lower body massage Auto F6 Upper bo...
Page 9: ...can adjust the massage position Massage head up Massage head down Air pressure massage Function Buttons Description Display Air pressure mode Three air pressure modes available Intensity 3 adjustable...
Page 10: ...IR 1 If you press the power button during a massage all massage functions will stop immediately The backrest and footrest will automatically return to their default position Meanwhile you can set the...
Page 11: ...ushion note make sure the heat wire has been unplugged before you remove the cushion Fig 2 Fig 1 Fig 2 Unzip the back cushion and lay the cloth on the top of the chair note make sure the cloth does no...
Page 12: ...st Fig 7 8 Note The screws are on the inside Be careful not to lose the plastic blocks Fig 7 Fig 8 Unscrew the screws on the back side of the armrest Fig 9 Gently lift the front end of the armrest up...
Page 13: ...armrest to the air pipe in the upper arm Fig 1 Slide the air pipe and the power cord into the steel frame make sure the pipe isn t blocked Fig 2 Fig 1 Fig 2 Hook the back end of the armrest to the st...
Page 14: ...hten the screws Fig 7 Tighten the screws on the back end of the armrest Fig 8 Fig 7 Fig 8 Connect the air pipe with the power cables note the size of the cables is marked Fig 9 Pull the calf rest airp...
Page 15: ...g 12 Push the calf rest cover into its slot note make sure the cover is firmly attached Fig 13 Fig 13 3 Calf rest installation First install the rotating shaft onto the axis The shaft should be aligne...
Page 16: ...are not in the seat cushion otherwise you will be uncomfortable while seated Fig 2 Fig 1 Fig 2 4 Dismounting the pillow pad and backrest padding The pillows can reduce the intensity of the kneading m...
Page 17: ...ry to lift the chair by the armrests 6 Moving the chair Make sure the cables are not in your way Tilt the backrest backwards so that the chair rests on the transport wheels Then carefully push the cha...
Page 18: ...d The Seller provides the Buyer a 24 months Warranty for Goods Quality unless otherwise specified in the Certificate of Warranty Invoice Bill of Delivery or other documents related to the Goods The ca...
Page 19: ...is paragraph The Seller shall settle the Warranty Claim within 30 days after the delivery of the defective Goods unless a longer period has been agreed upon The day when the repaired or exchanged Good...