


— —
26
Section IV
NETWORK SETUP
CONNECTING WITH THE 525N
Up to this point we’ve used front-panel buttons and the LCD
display to get the 525N up and running. Basic mod-monitor
functions may always be accessed in this manner, but the Web
interface yields convenience, remote operation and monitoring
capability, and opens up additional measurement features.
Connect
the 525N
Our first order of business is to get the 525N communicating
with your network. Connect the RJ45
NETWORK PORT
jack on
the back of the 525N to a LAN port of your server or router.
DHCP
Use
MENU/EDIT
buttons to navigate to Menu No. 8,
NETWORK:
DHCP
.
SEL
buttons will bracket the status of this menu, which
then may be toggled between
ON
and
OFF
using
MENU/EDIT
buttons. Unless you need to assign the 525N a fixed IP address,
you’ll want to have
DHCP:
ON
so that your router will automat-
ically assign connection addresses.
With
DHCP:
set properly, press a SEL button until the bracket
disappears so that you may access the next menu.
Scroll to Menu No. 9,
NETWORK: IP
.
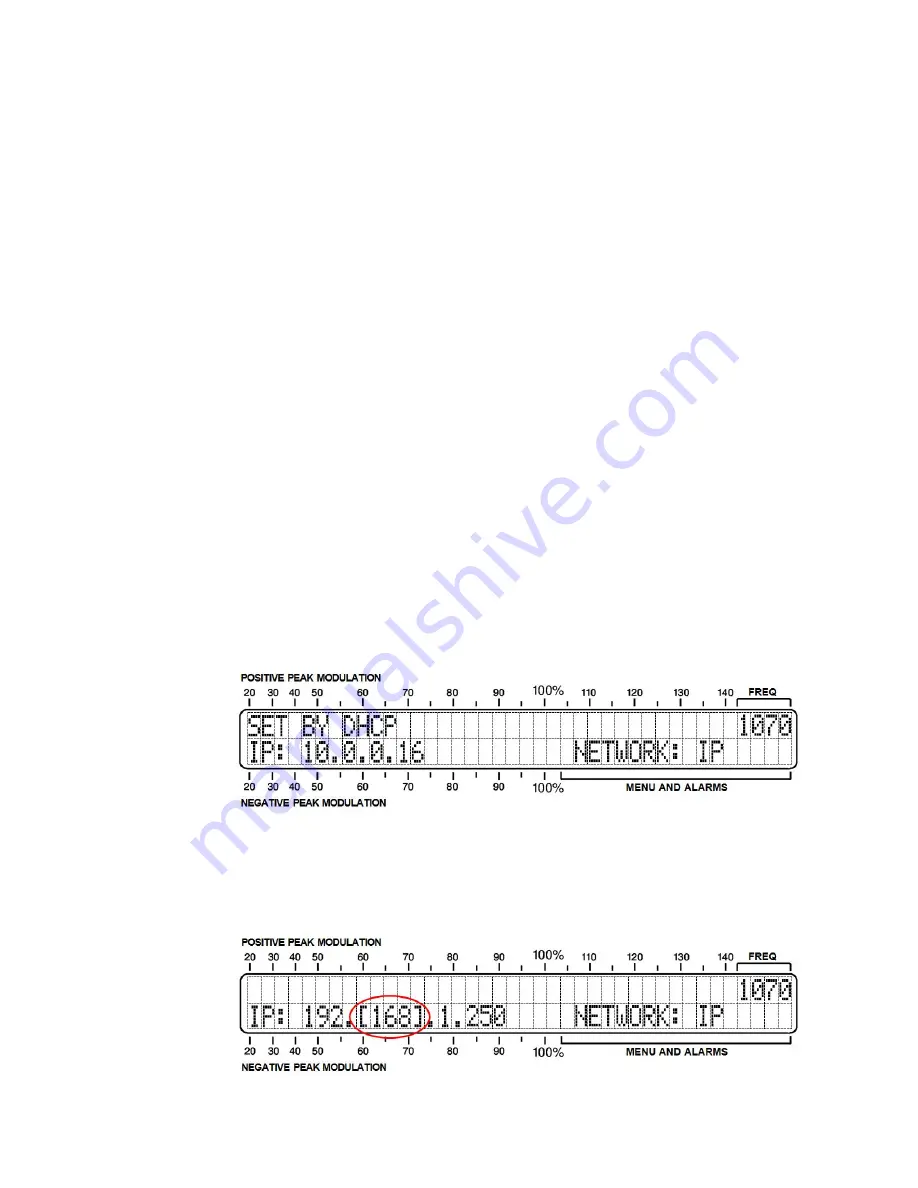
In this example, this screen confirms that the IP address is set
by DHCP, displaying the IP address on the second line.
Entering a
Static IP
Address
When
DHCP:
is turned
OFF
in Menu No. 8, the
NETWORK: IP
menu, No. 9, permits manual entry of a static IP address. This
is shown in the illustration below.
Summary of Contents for 525N
Page 1: ...525N AM Modulation Monitor with Networking Installation User Guide www inovonicsbroadcast com ...
Page 2: ......
Page 4: ......
Page 8: ... 4 ...


