Wired (Ethernet) connection
• Once connected, the ETHERNET LED will turn on
• To connect to the Inception web interface, the Inception’s IP address
is required. There are two different ways to find it the IP address:
LCD Terminal
• If using an LCD Terminal (available separately, see the
installation manual for information on connecting the terminal
to the Inception Controller), log on by pressing [0] [1] [OK]
The IP address can be viewed by pressing [MENU] [5] [2] to
reach the Network Settings section, then [V] to view the
address
• Open a browser and navigate to the IP address
Inception Connect Utility
• Install the Connect Utility onto your computer. A copy of the
installer is included on the USB stick inside the Inception box
• Run the Utility. It will automatically attempt to detect Inception
devices on the local network
• Select your Inception from the list and press “Open In Browser”
Connecting to the web interface
There are a number of options available to connect to your Inception’s web interface.
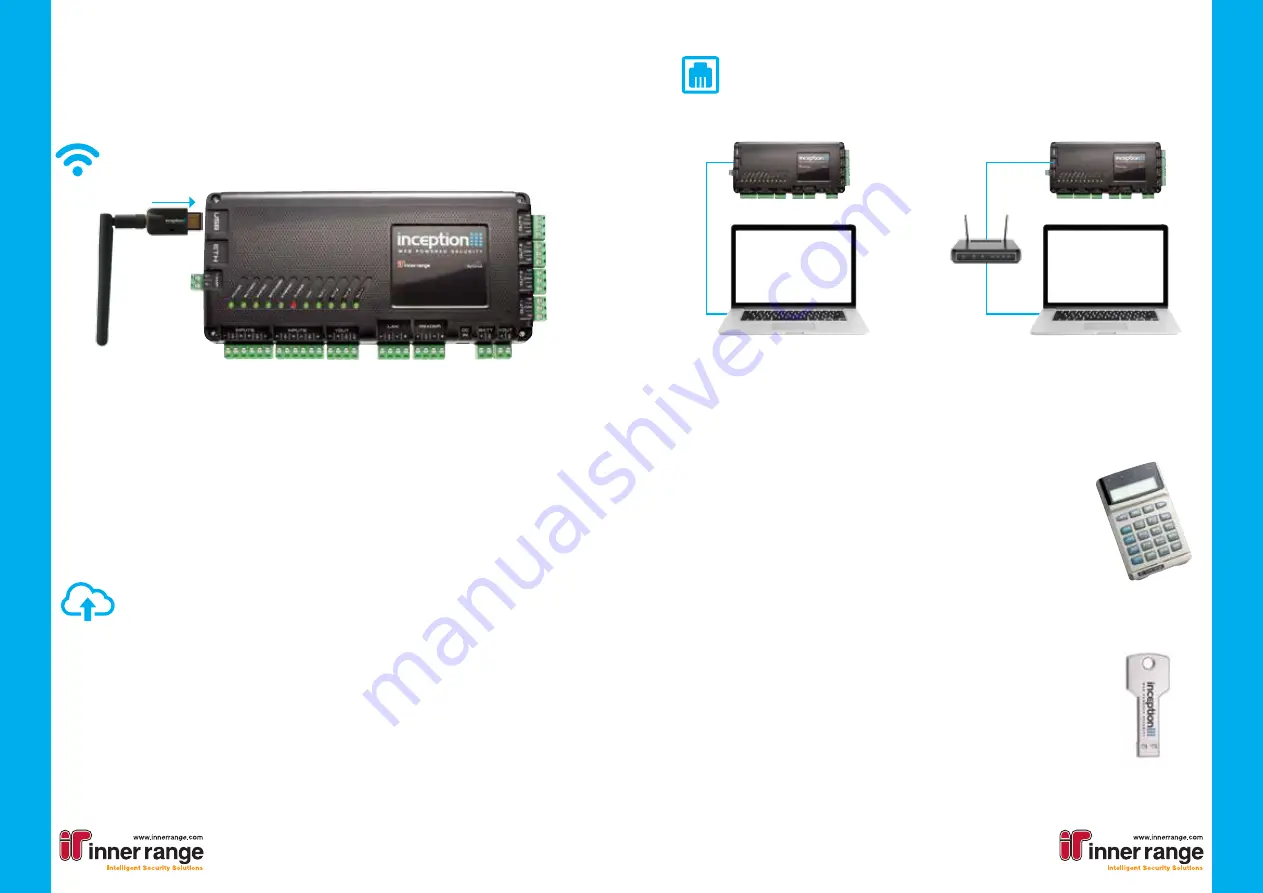
WiFi Access Point
• If you have purchased the Inception WiFi Expansion Module
(available separately), your Inception can host an access point
• Connect the WiFi Module to the USB port on the Inception Controller
• Wait for the WIFI LED to turn on
• Use your WiFi enabled device to connect to the network. By default, the
name of the WiFi network will be the panel serial number (e.g WS001923) with
the password “inception”
• Open a browser and navigate to the URL
http://inception.local
SkyTunnel Access
• If the network your Inception Controller is connected to has internet access,
you can connect to it from any internet connected device
• The SKYTUNNEL LED will be on if the Inception can contact SkyTunnel.
If this LED is not on, ensure internet access is available
• To connect, navigate to:
https://skytunnel.com.au/inception/SERIALNUMBER
,
where SERIALNUMBER is the serial number of your Inception, found on top of the
controller (e.g WS001923)
Quick Start Guide
Quick Start Guide
3
or
Direct Connection
Local Network


