


Credit Card Plus: Ingenico iPP320
© 2018 athenahealth, Inc.
Rev 1.52 - Page 3
4.
ADM is now installed on your computer. Return to the Device Management page in athenaNet: On the
Main Menu, navigate to Settings, under
My Configurations
section, click
Device Management
.
5.
If the “Ingenico” device does not appear in the
Devices
table, click Add new. Additional fields appear. If
the device already appears in the table, skip to step 7.
Important Note
: Adding/removing devices may only be done by athenaNet users with administrative
permissions. In most cases this is a practice manager, or similarly permissioned super-user. This step only
need
s to be performed once per practice if “all” departments are selected, below.
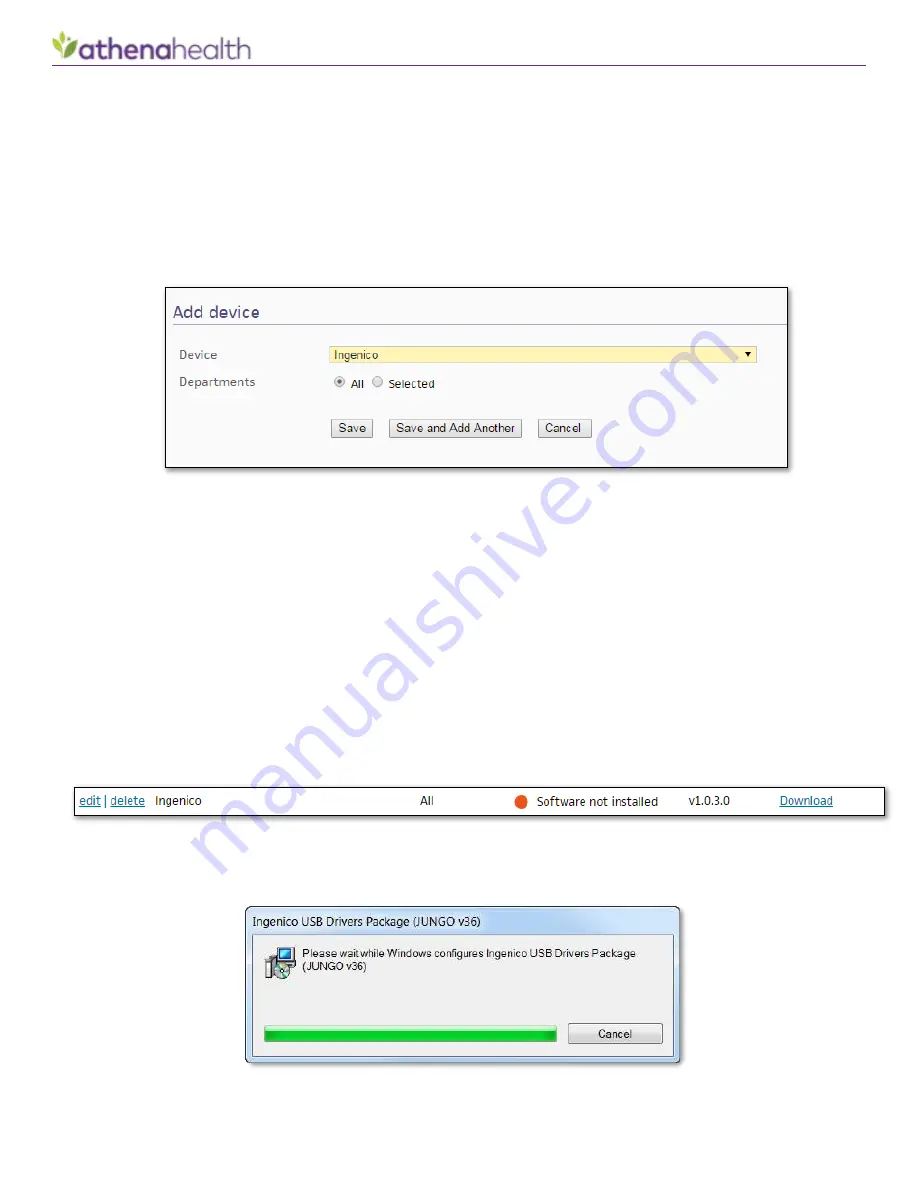
•
Device
—
Select the
Ingenico
device from the drop-down menu.
•
Department(s)
—
Click All to be able to use the device in all departments (recommended), or click
Selected to choose the departments that can use the device.
6.
Click
Save
. A new row will appear in the
Devices
table below for the Ingenico device.
7.
In the
Devices
table, click the install link in the
ADM Module
column to install the module for the Ingenico.
•
Note: This step is optional. We recommend performing this step on your first installation for the smoothest
experience. However if you do not perform this step, athenaNet will automatically install the module at the time
of first use. This is useful when deploying many Ingenico devices on a large number of computers.
8.
Install the Ingenico USB drivers by clicking the Download link in the Device Software column, as shown
below. Run the installer file that downloads to begin the automatic installation, which will close when
complete.
Please note that during installation it is normal to see the following screen not change status for ~1-4
minutes depending on the speed of your computer as the drivers install.


