background image

Page 15

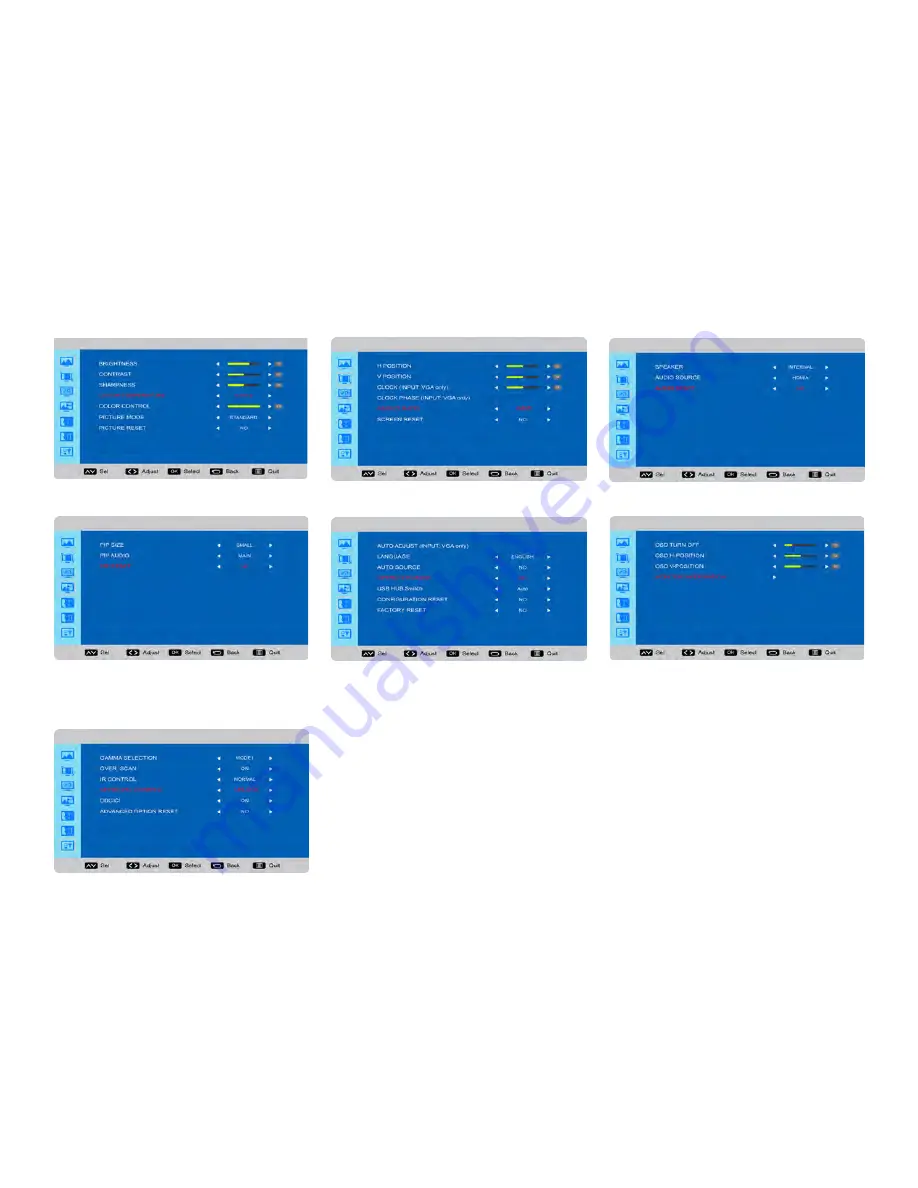
OSD (ON-SCREEN DISPLAY) MENU SYSTEM

The OSD provides the user the ability to control the monitor display. 

To access the OSD, press the 

Menu

 button on the remote or the keypad located on the right-hand side of the monitor.

Use the up and down arrows on the remote or keypad to scroll through the menu options and press 

OK

 to enter the 

highlighted menu. Use the up and down arrows and 

OK

 button to select the item you would like to adjust. Left and right 

arrow buttons are used to make adjustments. 

When your adjustments are complete, press the 

Back

 button to go to a different menu or press the 

Menu

 button to exit 

the OSD menu entirely.

The following pages describe each of the OSD menus in detail.


INF6501  Hardware Guide

c

Summary of Contents for INF6501C

Page 1: ...HARDWARE GUIDE JTOUCH INF6501 009 1544 00 c...

Page 2: ......

Page 3: ...ing AC Power 11 External PC Touchscreen Control Setup 11 Turning the Monitor On Off 11 Using the Remote 12 Using the Keypad 14 OSD On Screen Display Menu System 15 Picture Menu 16 Screen Menu 17 Audio...

Page 4: ......

Page 5: ...approved by InFocus Corporation may void authority to operate the equipment This device complies with part 15 of the FCC Rules Operation is subject to the following two conditions 1 This device may n...

Page 6: ...Cet metteur ne doit pas tre Co plac ou ne fonctionnant en m me temps qu aucune autre antenne ou metteur Cet quipement devrait tre install et actionn avec une distance minimum de 20 centim tres entre...

Page 7: ...ions to help ensure image quality over the life of the monitor Failure to follow these instructions may affect the warranty Do not place the monitor in direct sunlight humid greasy or dusty places or...

Page 8: ...ON OFF INPUT MENU PIP INPUT AUDIO POSITION OK POWER i USB cable Remote control batteries not included Documentation 1920 x 1080 monitor Power cord varies per country For additional accessory options s...

Page 9: ...means should be strong enough to bear the weight of the monitor Do not install the monitor in places subject to mechanical vibration Do not place the monitor on an unstable surface which could result...

Page 10: ...s on the back and side of the monitor Available jacks include USB 3 0 Type A 4 Power In Power Out LAN USB Type 2 0 USB 3 0 Type B Composite video 1 HDMI 4 VGA Component RS232 for serial control Audio...

Page 11: ...s to the monitor LAN For Lightcast use only Connect to an Ethernet network USB Type A 2 0 For Lightcast use only Connect a wireless mouse USB thumb drive or other USB device to this USB Type A 2 0 con...

Page 12: ...VD player HDTV device or Laser Disc player YPbPr signals Right panel top to bottom RS232 Connect to an RS232 control device for remote control applications AUDIO IN1 Connect a 3 5mm audio cable to an...

Page 13: ...hscreen Control Setup 1 A Windows driver must be installed to enable full multi point touch support Download and install the driver from www infocus com support 2 Connect an external computer to the m...

Page 14: ...ertical angle of 30 degrees 30 30 HOME INFO RESIZE SWAP VOL UP VOL DOWN BACK MUTE CONTRAST BRIGHTNESS ON OFF INPUT MENU PIP INPUT AUDIO POSITION OK POWER i CAUTION When disposing of the batteries be s...

Page 15: ...itches the position of the main and secondary sources PIP POSITION PiP Position Moves the PiP window position from corner to corner upper left upper right lower left lower right PIP AUDIO PiP Audio Tu...

Page 16: ...fferent source when the Source inputs are displayed Press to navigate to the right in the OSD menu or to navigate to a different source when the Source inputs are displayed Press to navigate to the do...

Page 17: ...emote or keypad to scroll through the menu options and press OK to enter the highlighted menu Use the up and down arrows and OK button to select the item you would like to adjust Left and right arrow...

Page 18: ...image Range 0 100 Default 50 Color Temperature changes the intensity of the colors Options include Native default User 6500K and 9300K Color Control allows the user to finely adjust individual red gre...

Page 19: ...adjusts the width of the image For VGA input only Range 0 100 Default 50 Clock Phase adjusts the focus clarity and stability of the image For VGA input only Range 0 100 Aspect Ratio adjusts the ratio...

Page 20: ...used Options include Internal both internal and external speakers operate and External only external speakers operate Default Internal Audio Source selects the audio input source Options include HDMI...

Page 21: ...rce Options include Main default and Sub PIP Reset resets all PIP menu items to factory default settings Options Yes and No The PiP feature allows the user to display two distinct sources simultaneous...

Page 22: ...to include a Mondopad embedded PC Options Monitor default and AIO USB Hub Switch allows the user to use the embedded Lightcast module exclusively the touch functions from an input source exclusively o...

Page 23: ...adjusts the horizontal position of the OSD menu Range 0 100 Default 50 OSD V Position adjusts the vertical position of the OSD menu Range 0 100 Default 50 Monitor Information This read only submenu d...

Page 24: ...les and enables the IR sensor on the monitor Options include Normal default IR is enabled and Lock IR is disabled Keypad Control disables and enables the keypad on the right hand side of the monitor O...

Page 25: ...the monitor have been made correctly Verify that the cables are in good condition No touchpad activity with external computer Verify that the USB B to USB type A cable is plugged from the laptop into...

Page 26: ...r source and source device is required to hear audio via the HDMI cable LED Indicators FRONT LED near IR sensor SOLUTION Off The monitor is powered off Press the Power button on the remote or keypad I...

Page 27: ...00x900 1680x1050 1920x1080 480p 576p 720p50 720p60 1080p60 480i 1080i Maximum resolution 1920 x 1080 Pixel pitch 0 248mm H x 0 744mm V Contrast ratio 5000 1 Response time 6 5ms Brightness 350 nits Vie...

Page 28: ...for which the refund is provided must be returned to InFocus and becomes InFocus s property This is your exclusive remedy for defective products Limited Warranty Periods vary depending on your produc...

Page 29: ...or inadequate maintenance cleaning or calibration liquid contact unusual physical or electrical stress and or power surges virus infection fire earthquake disaster lightning or other external causes...

Page 30: ...rm arising out of the agreement to purchase the Product is governed by the laws of the State of Oregon U S A Mandatory Arbitration Any action regardless of form arising out of the agreement to purchas...

Page 31: ...pping material Failure to return the defective part may result in InFocus charging you for the replacement With a Customer Self Repair InFocus will pay all shipping and part return costs and determine...

Page 32: ...ications installed on the hardware may not be compatible or work with the hardware as a result of the system software update You will be responsible for reinstalling all other software programs data a...

Reviews: