8.
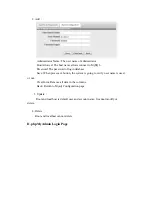
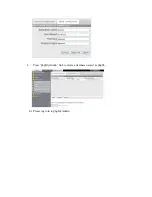
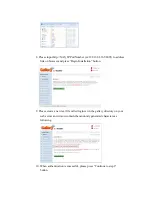
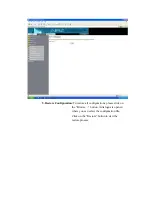
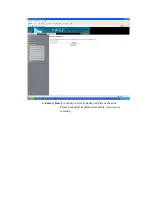
Please input http://NAS_IP:PortNumber (ex:192.168.1.165:8091) to address
link on browser and press “Begin Installation” button.
9.
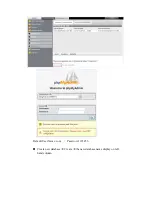
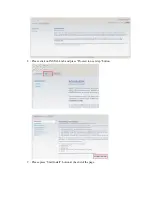
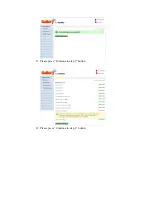
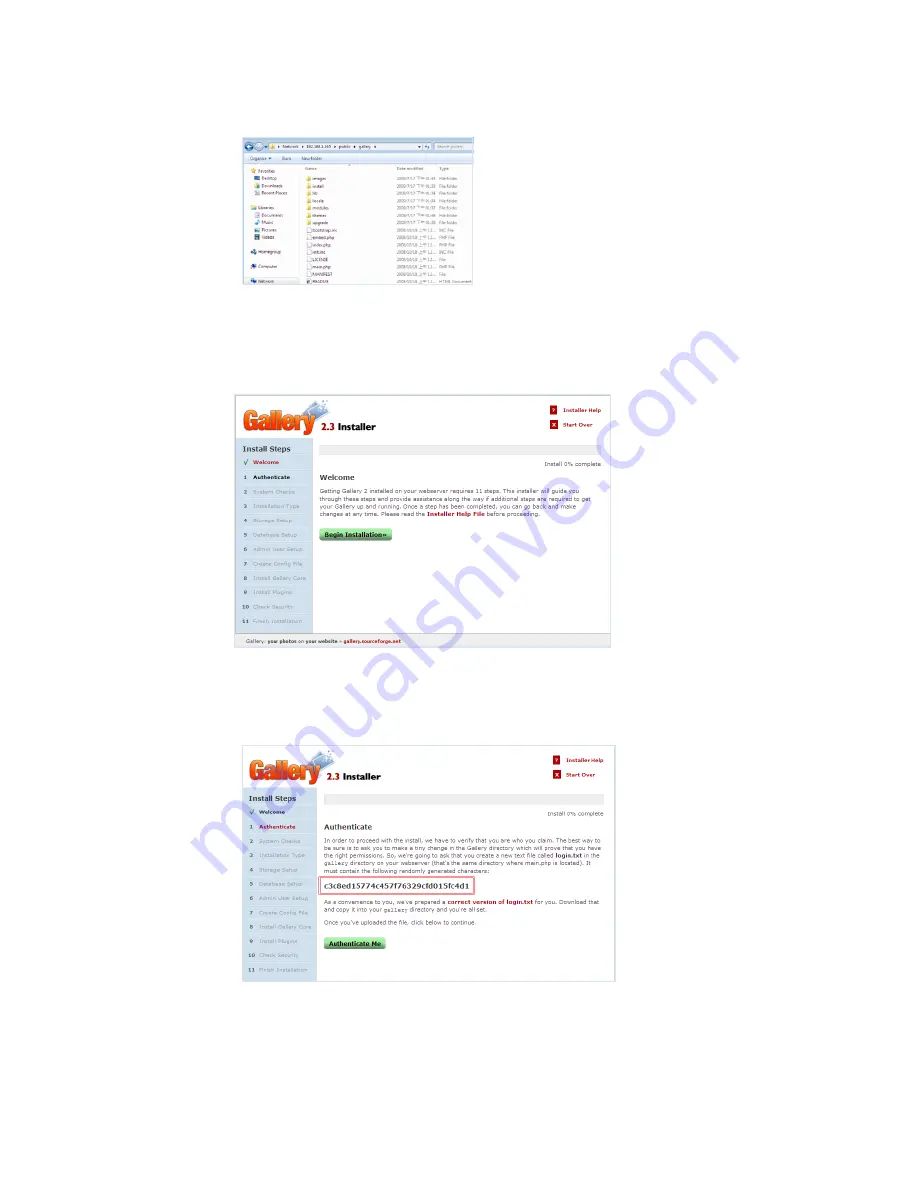
Please create a new text file called login.txt in the gallery directory on your
web server and it must contain the randomly generated characters as
following.
10.
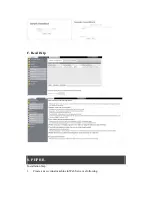
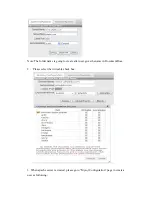
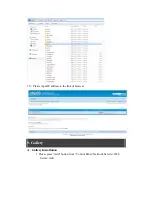
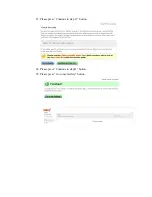
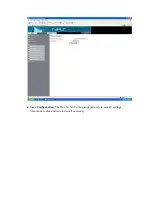
When authentication is successful, please press “Continue to step 2”
button.
Summary of Contents for I-NA312N1-S
Page 1: ...Model I NA312N1 S Network Attached Storage User Manual www ineotechusa com...
Page 3: ...uShare Web Album IP Camera Web Server PHP BB Gallery...
Page 17: ...d Internet Protocol Setting...
Page 18: ...e Time Settings f Wizard Setting Confirmation...
Page 20: ...b Step 2 3...
Page 21: ...c Step 3 3 3 Add Group a Step 1 3...
Page 22: ...b Step 2 3 c Step 3 3...
Page 23: ...4 Add Share a Step 1 3 b Step 2 3...
Page 24: ...c Step 3 3...
Page 32: ...a Windows FTP Access button...
Page 33: ...b NFS Access button...
Page 34: ...3 Printer Server...
Page 37: ...3 Time Settings...
Page 39: ...5 Information To display some basic system information...
Page 47: ......
Page 53: ...Press play to start play music C Photo Please select UPnP NAS3000 from source list...
Page 54: ...Please select photo folder from list Now you can select photo to browse or run slideshow...
Page 56: ...5 1 3 Please press Upload button 5 1 4 The package is uploading...
Page 81: ...2 Update Choose any ServerName from table and press Update button...
Page 85: ...E Sample To verify the apache server is working normal E 1 Login admin admin E 2 Message Page...
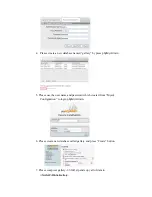
Page 88: ...4 Press phpMyAdmin link to create a database named as phpbb 4 1 Please login in to phpMyAdmin...
Page 98: ...11 Please press Continue to step 3 button 12 Please press Continue to step 4 button...
Page 112: ...Log File 1 Samba Log...
Page 113: ...2 FTP Log...
Page 114: ...3 DHCP Server Log 4 System Log...
Page 115: ...5 Administration Log...
Page 129: ...available http www neo2tech com Thank you for choosing ineo Tech products...

