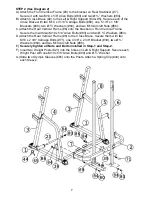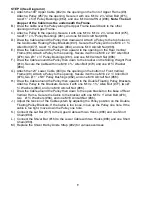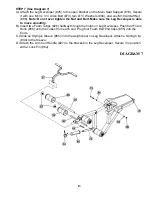
STEP 2 (See Diagram 2)
A.) Attach the Front Vertical Frame (#8) to the bracket on Rear Stabilizer (#7).
Secure it with two M10 x 5/8” Allen Bolts (#80) and two Ø ¾” Washers (#84).
B.) Attach Cross Brace (#2) to the Left & Right Support (#4 & #5). Secure each of the
Cross Brace with two M10 x 3 1/8” Carriage Bolts (#69), one 5 1/8” x 1 5/8”
Brackets (#38), two Ø ¾” Washers (#84), and two M10 Aircraft Nuts (#86).
C.) Attach the Rear Vertical Frame (#6) onto the bracket on Front Vertical Frame.
Secure them with two M10 x 5/8” Allen Bolts (#80) and two Ø ¾” Washers (#84).
D.) Attach the Rear Vertical Frame (#6) to the Cross Brace. Secure them with two
M10 x 2 3/8” Carriage Bolts (#71), one 4 3/8” x 2 3/8” Bracket (#39), two Ø ¾”
Washers (#84), and two M10 Aircraft Nuts (#86).
E.)
Securely tighten all Nuts and Bolts installed in Step-1 and Step-2.
F.) Insert two Weight Posts (#21) into the holes on Left & Right Support. Secure each
Wright Post with one M10 x 5/8” Allen Bolts (#80) and Ø ¾” Washer.
G.) Slide two Olympic Sleeves (#65) onto the Posts. Attach a Spring Clip (#44) onto
each Sleeve.
7
Summary of Contents for Marcy Diamond Elite MD-PWR-20
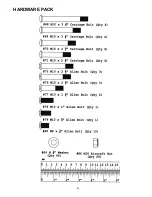
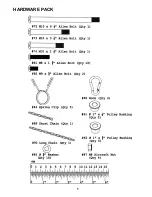
Page 5: ...HARDWARE PACK 4 ...
Page 6: ...HARDWARE PACK 5 ...
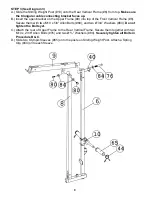
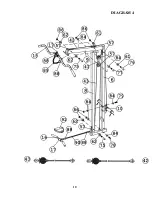
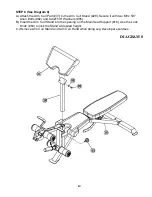
Page 11: ...DIAGRAM 4 10 ...
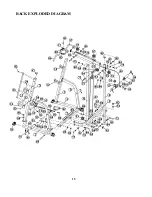
Page 16: ...RACK EXPLODED DIAGRAM 15 ...
Page 17: ...16 ...


