5
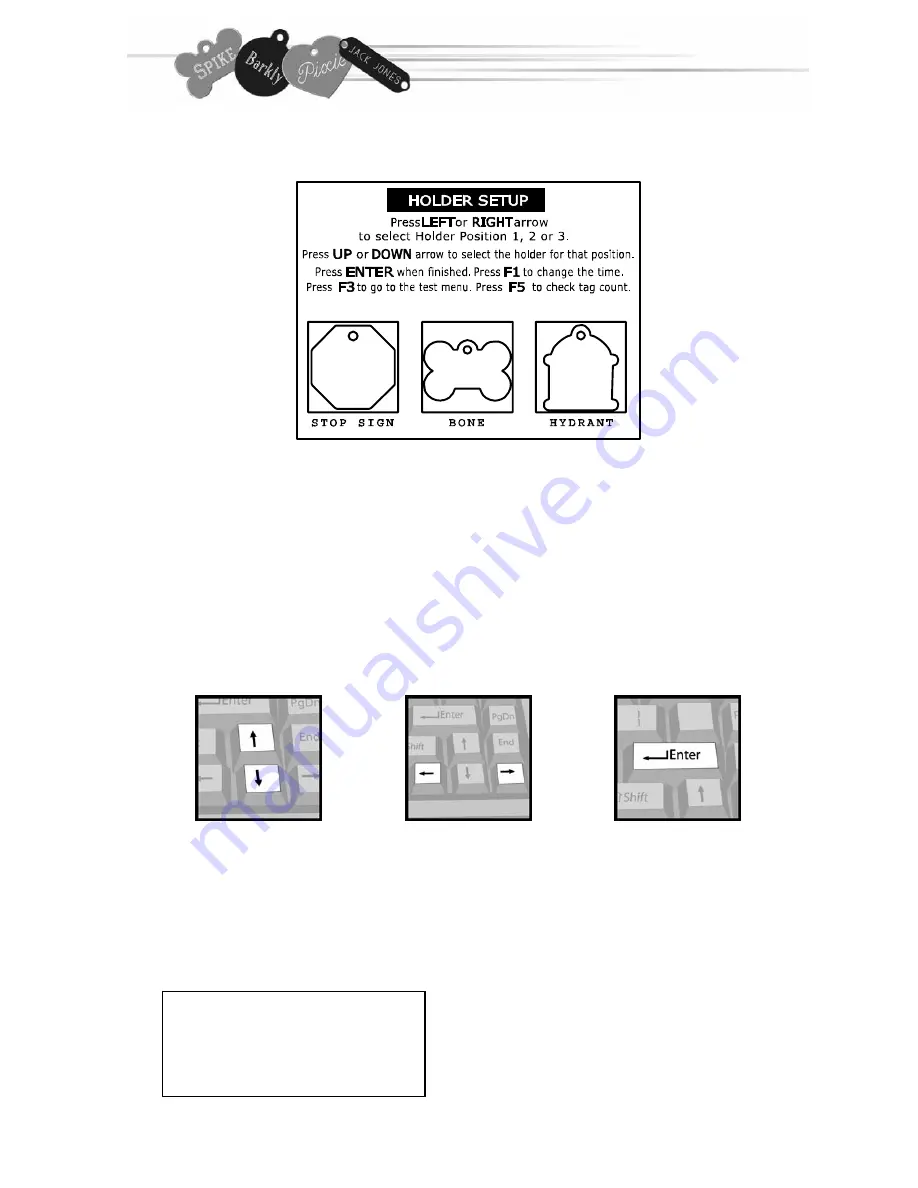
The holder setup is simple. You can follow the onscreen
instructions as well as the steps on this page.
Insert your first holder into position 1 on the engraving table.
Note: For easiest installation and removal, position the holes in the holder directly
over the pins in the engraving table, and move the holders directly up and down over
the pins. It may be a snug fit, so apply light pressure as needed.
For instructions on
setting the time, using the
test menu, or checking
your tag count,
please turn to page 15.
This is the HOLDER SETUP screen. The current
position to be installed will be flashing.
Step 1
Step 2
Step 3
In position 1, press
the up and down
arrow keys to
select the holder
you’ve installed.
Press the right
arrow key to select
position 2.
Do the same for
position 3.
Press Enter to save
your changes.
Note: If using the
Stall, Halter, or
Saddle plates, you
must set it up in the
center position.
Follow these instructions
for all three positions,
installing a holder into
each position as you go.
H
OLDER
I
NSTALL
&
S
ETUP
Summary of Contents for Pet tag engraving system
Page 19: ...19 CLIPART...


