Selenio
TM
BNP User Guide, Release 3.7.1
134
- Grooming - Mapping
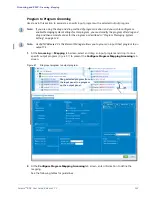
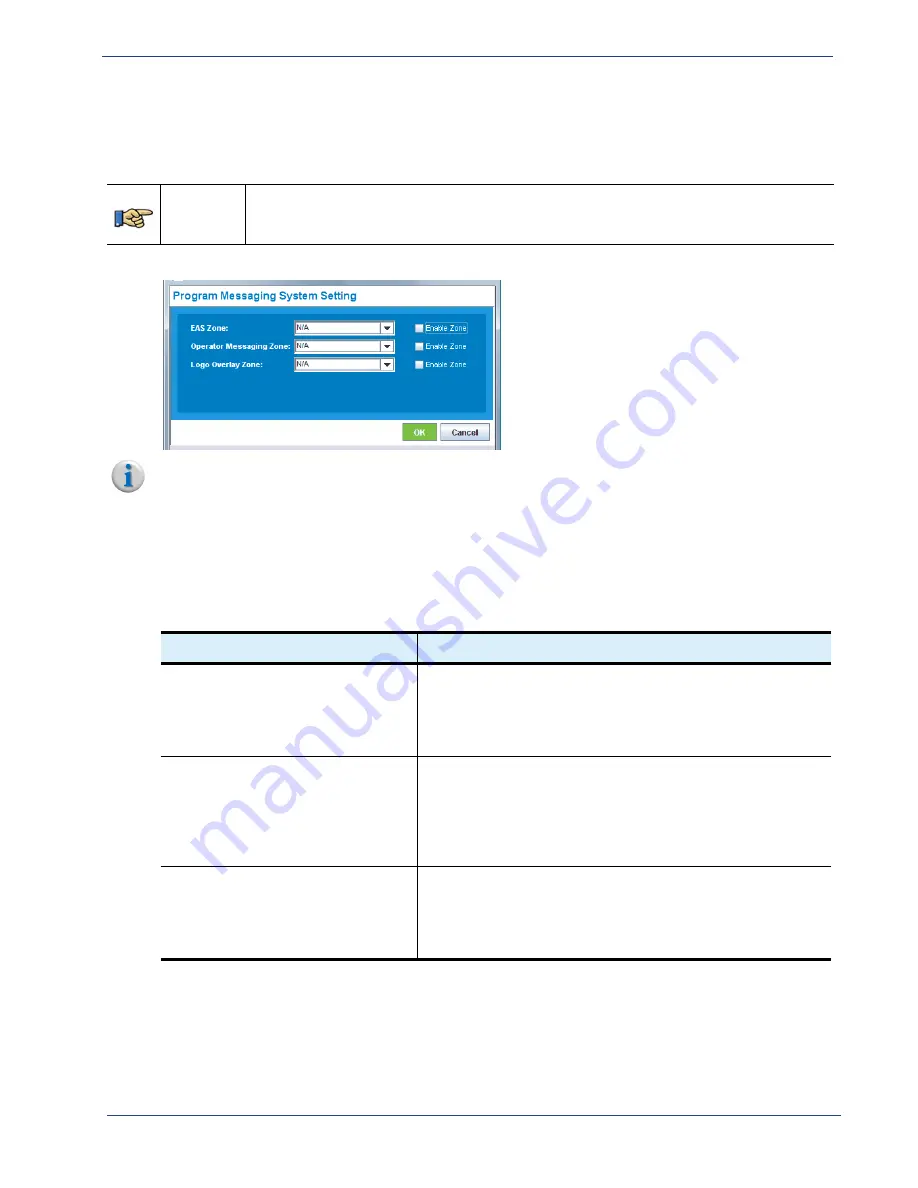
Program Messaging System Setting
Use the
Program Messaging System Setting
dialog to configure and enable one of each of the three
types of Messaging Zones per program. (
and
Menu Path
From the
Outputs
panel of the
Grooming -> Mapping
tab, right-click on a TS and
select
Create Program
from the popup menu -> click the
Messaging System Setting
button.
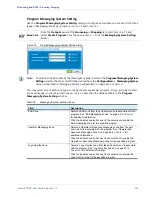
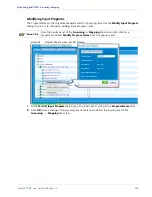
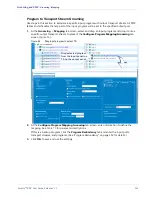
Figure 79.
Program Messaging System Setting dialog
Note:
To select a zone from each of the three types of zone choices in the
Program Messaging System
Setting
window, the zones must first be created from the
Configuration -> Messaging System
menu as described in “Messaging System Configuration” on page 60 in
.
You may select one of each zone type to configure and enable per program. Only previously created
zones will appear in the drop-down menu.
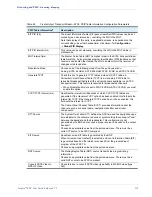
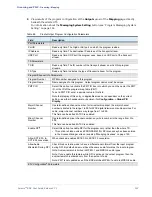
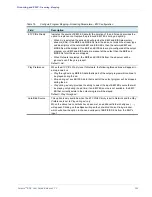
describes the fields available in the
Program
Messaging System Setting
window.
Table 69.
Messaging System Setting window
Field
Description
EAS Zone
Select an EAS zone from the pull-down menu to associate with the
program. See “EAS Messaging Zones” on page 63 in
for additional information.
Click the
Enable Zone
button next to the selection to enable the
EAS messaging zone for the specified program.
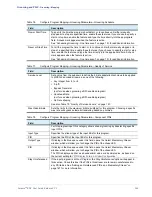
Operator Messaging Zone
Select an Operator or Advanced Messaging zone from the pull-
down menu to associate with the program. See “Operator and
Advanced Messaging Zones” on page 68 in
additional information.
Click the
Enable Zone
button next to the selection to enable the
Operator or Advanced Messaging zone for the specified program.
Logo Overlay Zone
Select a Logo Overlay zone from the pull-down menu to associate
with the program. See “Logo Overlay Zones” on page 79 in
for additional information.
Click the
Enable Zone
button next to the selection to enable the
Logo Overlay zone for the specified program.


