Operating instructions software
19
Note: After putting the LED-Panel into sleep mode it will shortly wake up after switching off/on
the power, after disconnecting of the USB cable or after PC shut down/power up. To wake up
from PC use an according command. To wake up manually switch off the LED-Panel, push the
MODE button and hold it, then switch on the power.
5.5.1 File list
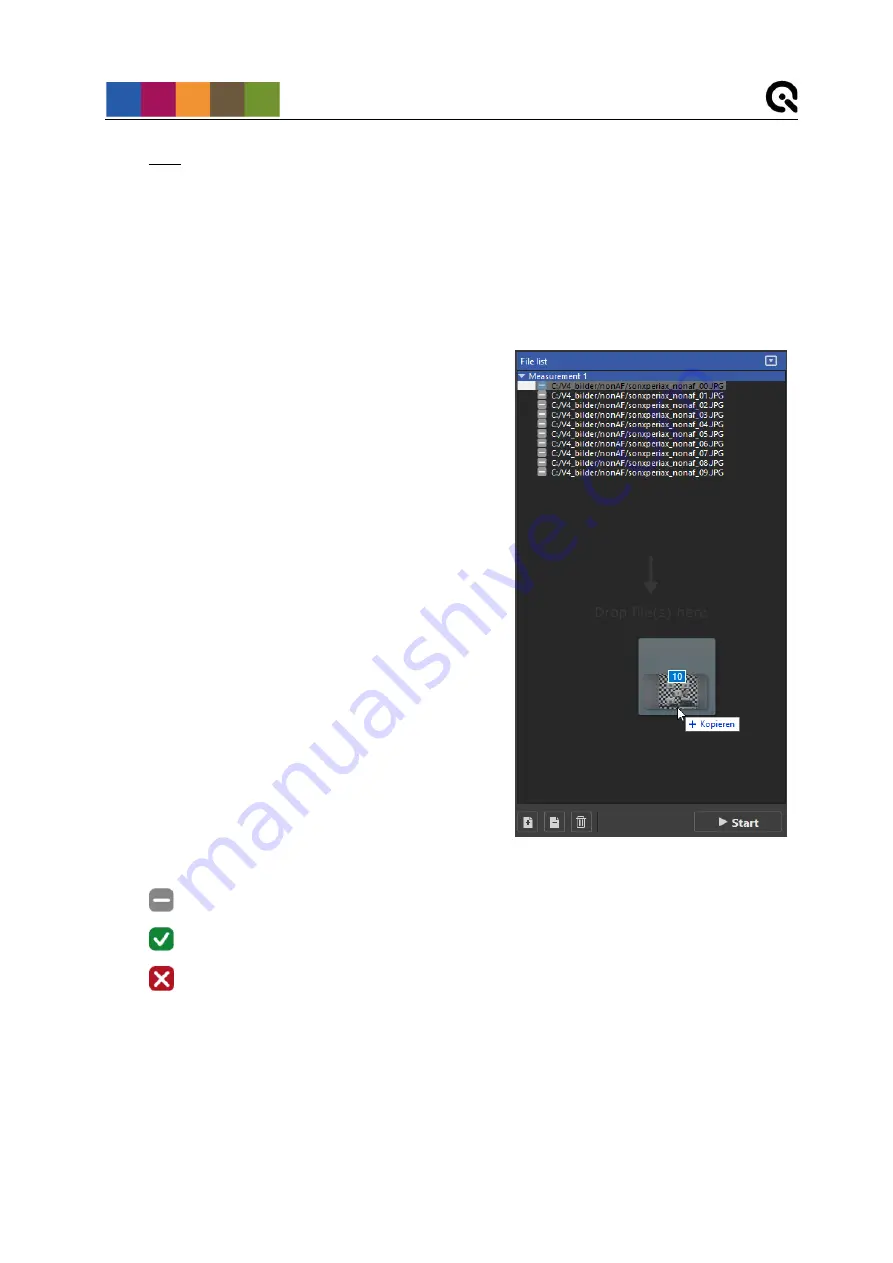
The file list is located on the top left side of the GUI. Add your images taken from LED-Panel V4
to the list.
The file list can contain different file types such as
JPEG, PNG, TIFF and BMP. You can load single
images or a whole folder by simply dragging and
dropping them onto the file list (Figure 16) or using
the file browser by clicking the add-button below the
list.
The images are arranged in a
“Measurement” tree
structure, sorted in ascending order. So each image
belongs to a measurement. You can create a new
measurement by dropping images on the empty area
or by using the plus-button. To add an image to an
existing measurement drag and drop it over the file
names of the desired measurement or right click on
this measurement to open a context menu.
To delete a single file, select it and click the delete-
button (Figure 16)
or press “Delete” on your
keyboard. By clicking the trash-bin-button the entire
file list gets cleared.
The arrow button in the top right corner hides or
displays all files in the list.
The icon next to the file name indicates the current
image status. There are three different states:
Image not yet processed
Image successfully processed
Detection failed or an error occurred during analysis (a message box will show up with
further details)
5.5.2 Control panel
The control panel is located on the bottom left side of the GUI. There you select the required
settings for your analysis.
The control panel (Figure 15,
②
) is divided into three different tabs (Figure 17).
Figure 16


