Illustra IE01MFBNWIY User Manual Download Page 4


iii 

Please shut down the device and then unplug the power cable before you begin daily maintenance work.  

Do not touch the CCD (CMOS) optic component. You can use the blower to clean the dust on the lens 

surface. 

Always use the dry soft cloth to clean the device.  If there is too much dust, please use the water to dilute 

the mild detergent first and then use it to clean the device. Finally use the dry cloth to clean the device. 

Please put the dustproof cap to protect the CCD (CMOS) component when you do not use the camera. 

Dome enclosure is the optical component, do not touch the enclosure when you are installing the device 

or clean the enclosure when you are doing maintenance work. Please use professional optical clean 

method to clean the enclosure. Improper enclosure clean method (such as use cloth) may result in poor 

IR effect of camera with IR function.   

7. Accessories 

Be sure to use all the accessories recommended by manufacturer. 

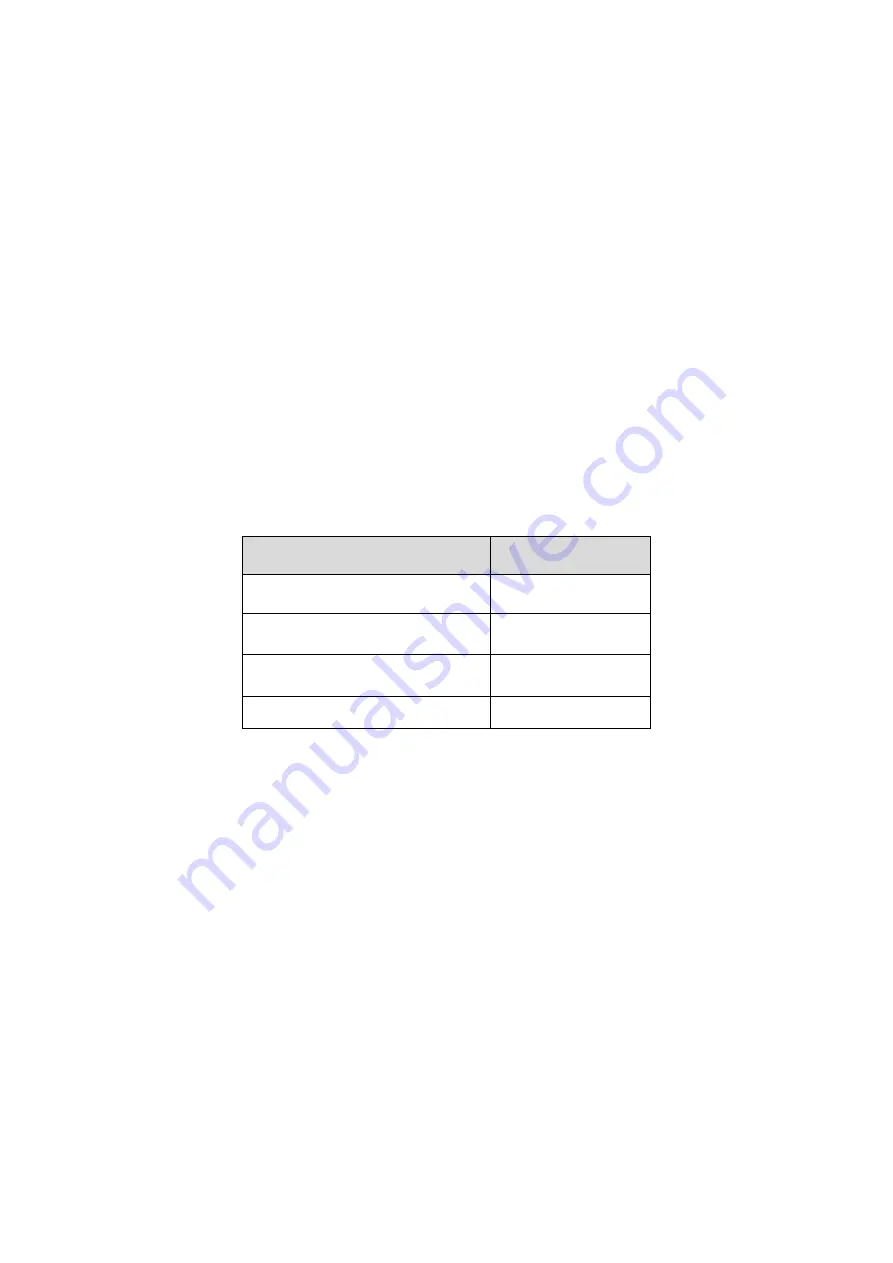
Before installation, please open the package and check all the components are included. 

Contact your local retailer ASAP if something is broken in your package. 


Accessory Name 

Amount 

Network Camera Unit 

Quick Start Guide 

Installation Accessories Bag 

CD 


Summary of Contents for IE01MFBNWIY

Page 1: ...Illustra Essentials Indoor Outdoor HD Bullet User Manual 8200 1102 02 B0...

Page 2: ...roduct is your point of contact if you need service or support Our dealers are empowered to provide the very best in customer service and support Dealers should contact Tyco Security Products at 800 5...

Page 3: ...ower to the camera before completing installation Please install the proper power cut off device during the installation connection Always follow the instruction guide the manufacturer recommended 4 Q...

Page 4: ...do not use the camera Dome enclosure is the optical component do not touch the enclosure when you are installing the device or clean the enclosure when you are doing maintenance work Please use profe...

Page 5: ...Overview 1 Features 1 Specifications 2 Performance 2 Framework 5 Cable 5 Framework and Dimension 6 Device Installation 8 Quick Configuration Tool 10 Overview 10 Operation 10 Web Operation 12 Network...

Page 6: ...upport central server backup function in accordance with your configuration and setup in alarm or schedule setting Support record via Web and the recorded file are storage in the client end PC Support...

Page 7: ...0 Video Compression Standard H 264 H 264B MJPEG Video Frame Rate PAL Main stream 1280 720 25fps extra stream 704 576 25fps NTSC Main stream 1280 720 30fps extra stream 704 480 30fps Video Bit Rate H 2...

Page 8: ...rocessor High performance DSP OS Embedded LINUX System Resources Support real time network local record and remote operation at the same time User Interface Remote operation interface such as WEB DSS...

Page 9: ...apshot log email function and etc Recor d and Backu p Storage Management Support display network storage status Network Wire Network 1 channel wire Ethernet port 10 100 Base T Ethernet Network Protoco...

Page 10: ...o the following sheet for detailed information No Port Name Function Connection Note 1 LAN Network port Ethernet port Connect to standard Ethernet cable Note Some devices do not support PoE Before mak...

Page 11: ...6 Framework and Dimension Please refer to the following figure for dimension information The unit is mm See Figure 2 2 to Figure 2 4 Figure 2 2 Figure 2 3...

Page 12: ...7 Figure 2 4...

Page 13: ...stall the device wall or ceiling Step 2 Dig a hole according to position of hole on installation sticker Step 3 Open accessories bag take out expansion bolt and insert it into the hole you just dug St...

Page 14: ...allation 2 Step 6 Use Philip s head screw in accessories bag to loosen adjusting screw Step 7 Adjust the device in all possible directions and set its monitoring direction Step 8 Use Philip s head scr...

Page 15: ...ouble click the ConfigTools exe icon you can see an interface is shown as in Figure 4 1 In the device list interface you can view device IP address port number subnet mask default gateway MAC address...

Page 16: ...go to the login interface See Figure 4 3 In Figure 4 3 you can view device IP address user name password and port Please modify the corresponding information to login Please note the port information...

Page 17: ...nd gateway of the PC and the network camera respectively Network camera default IP address is 192 168 1 168 Subnet mask is 255 255 255 0 Gateway is 0 0 0 0 Use order ping network camera address to che...

Page 18: ...gin After you successfully logged in please install WEB plug in unit Please refer to the Web Operation Manual included in the resource CD for detailed operation instruction See Figure 5 3 Figure 5 3 W...

Page 19: ...ient end or can not view after the installation We recommend the win2000 sp4 OS or higher or install the client end of the low version The Active X control is blocked The display card version shall be...

Page 20: ...toxic or hazardous substance or elements contained in products will not leak or mutate so that the use of these substances or elements will not result in any severe environmental pollution any bodily...

Reviews: