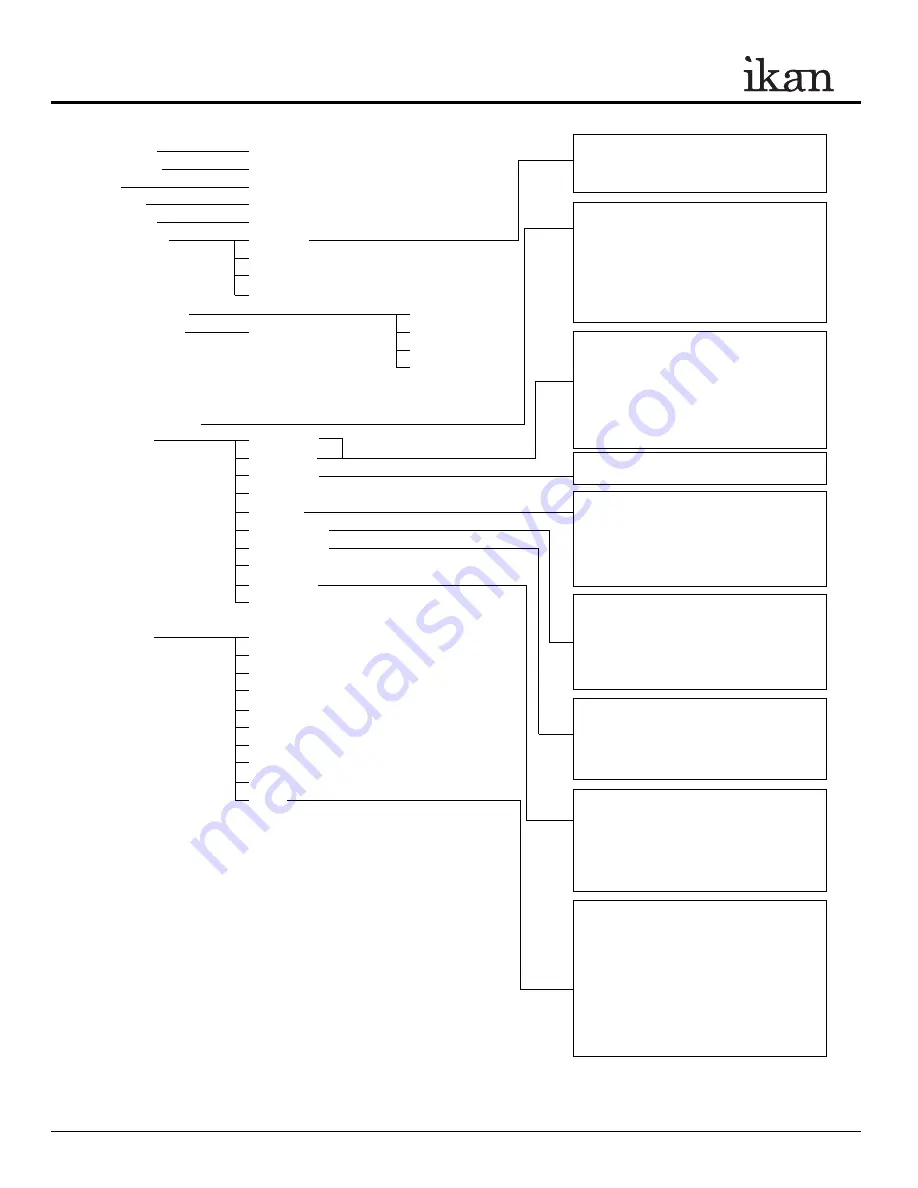
CONFIGURATION OF SETTING MENUS
Brightness
0-60
Contrast
0-60
Chroma
0-60
Sharpness
0-60
Tint
0-60
Color Temp.
User 1-5
5600K
6500K
9300K
OSD
Language
English
OSD Duration
5-60 second
Chinese
OSD
Flip Yes
/No
French
H
Flip
Yes
/No
Spanish
V Flip
Yes /No
Luma Under Warn
Luma Over Warn
Fuction 1
Window 1
Window
2
HV
Delay
Guides
Peaking
False
Color
Clip
Guides
Underscan
Blue
Gun
Pixel
Fuction 2
Window 1
Window
2
HV
Delay
Guides
Peaking
False
Color
Clip
Guides
Underscan
Blue
Gun
Pixel
System Reset
This function recalls user defined values for the
Red, Green and Blue settings .The user setting will
remain in memory indefinitely and can be erased
by using the reset option in the main menu.
This function turns off the red and green channels
of the display or set the display into monochrome
mode and is used to calibrate the display when
using SMPTE or ARIB color bar patterns. The
blue only setting will allow the user to adjust the
hue and saturation of the display and the
monochrome may be used to set the brightness and
contrast.
This function displays the blanking portion of the
incoming signal.
The LCD panel in this display has a native display
of 1024 x 600 pixels. A signal of any other
resolution is scaled to fit this native resolution.
There may be time when it is desired to view the
incoming signal without scaling. Enabling Pixel to
Pixel mode turns off the scaling and displays a
1024x600 pixel window of the original image.
Each pixel of the panel displays one pixel of the
original image. The user may use the arrow
buttons (buttons 5-8) on the monitor face to move
the window left, right, up and down to see the
desired portion of the image.
The VX7e is equipped with both Monochrome and
Color Peaking features which highlight the desired
focus area in a bright, silver outline. The operator
adjusts the focus control until the silver indicator
outlines on the desired area are razor sharp,
indicating optimal focus. For the best results, be
sure the subject is properly exposed.
The False Color feature utilizes a full spectrum of
assigned color indicators, ensuring flawless shot
exposure. As the camera Iris is adjusted, the
subject of the image will change color based on
specific brightness values indicating optimal
exposure. See included chart for color
assignments.
As an additional tool associated with the VX7e’s
False Color feature, ikan’s exclusive Adjustable
Under Exposure and Over Exposed Waning
feature gives the operator full control of the VX7e
False Color brightness values. By setting the
preferred IRE exposure limits, the operator is
warned when the image exposure is exceeding or
falling under the preset IRE limit, providing
customizable, full image exposure control.
The VX7e offers adjustable upper Clip Guide
levels to accurately display overexposed images in
any shooting condition. The operator simply
assigns the upper IRE to their preference and any
exposure over the set IRE limit will flash in a vivid
purple, indicating only the over exposed area.
This function displays a side by side comparison
of the incoming video signal. Pushing the F1/2
button one time will enter the mode. Each time the
F1/2 button is pushed it will freeze the current
frame on the right hand side of the display while
the left continues to display the live signal.
Pressing the exit button will exit the window
mode. Use Window 1 for 16:9 signals and
Window 2 for 4:3 signals.
Q
UICK
S
TART
G
UIDE /
VX7e HD-SDI LCD MONITOR
3903 Stoney Brook Dr. Houston TX 77063. 1-713-272-8822. [email protected] © 2010 ikan Corporation. All right reserved. www.ikancorp.com


