


ENGLISH
BEFORE YOU OPERATE THE MONITOR 9
Signal Timing
Change to the desired signal timing listed on page 25: COMPLIANT TIMING.
COMPUTER SETTING
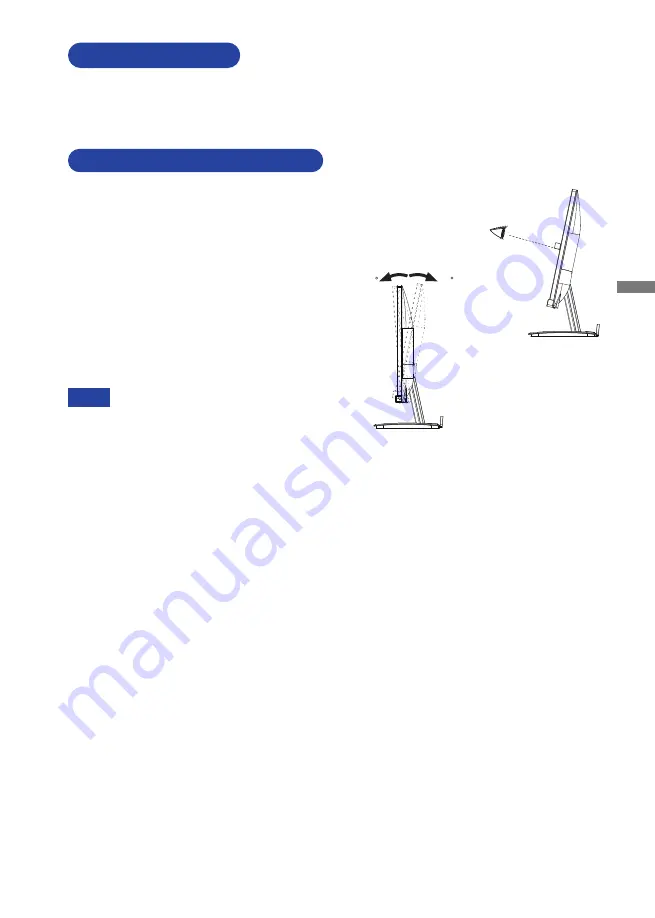
ADJUSTING THE VIEWING ANGLE
For optimal viewing it is recommended to look at
the full face of the monitor.
Hold the stand so that the monitor does not
topple when you change the monitor’s angle.
You are able to adjust the monitor’s angle up to
21° upward, 3° downward.
In order to ensure a healthy and relaxed body
position when using the monitor at visual
display workstations, it is recommended that the
adjusted tilt angle should not exceed 10°. Adjust
the monitor’s angle to your own preference.
Do not touch the LCD screen when
you change the angle. It may cause
damage or break the LCD screen.
Careful attention is required not to pinch
your fingers or hands into the moving
part of the stand when you change the
angle.
NOTE
3
21
Summary of Contents for ProLite X3291HS
Page 2: ...ENGLISH...


