


ENGLISH
ENGLISH
30 APPENDIX B
OFF
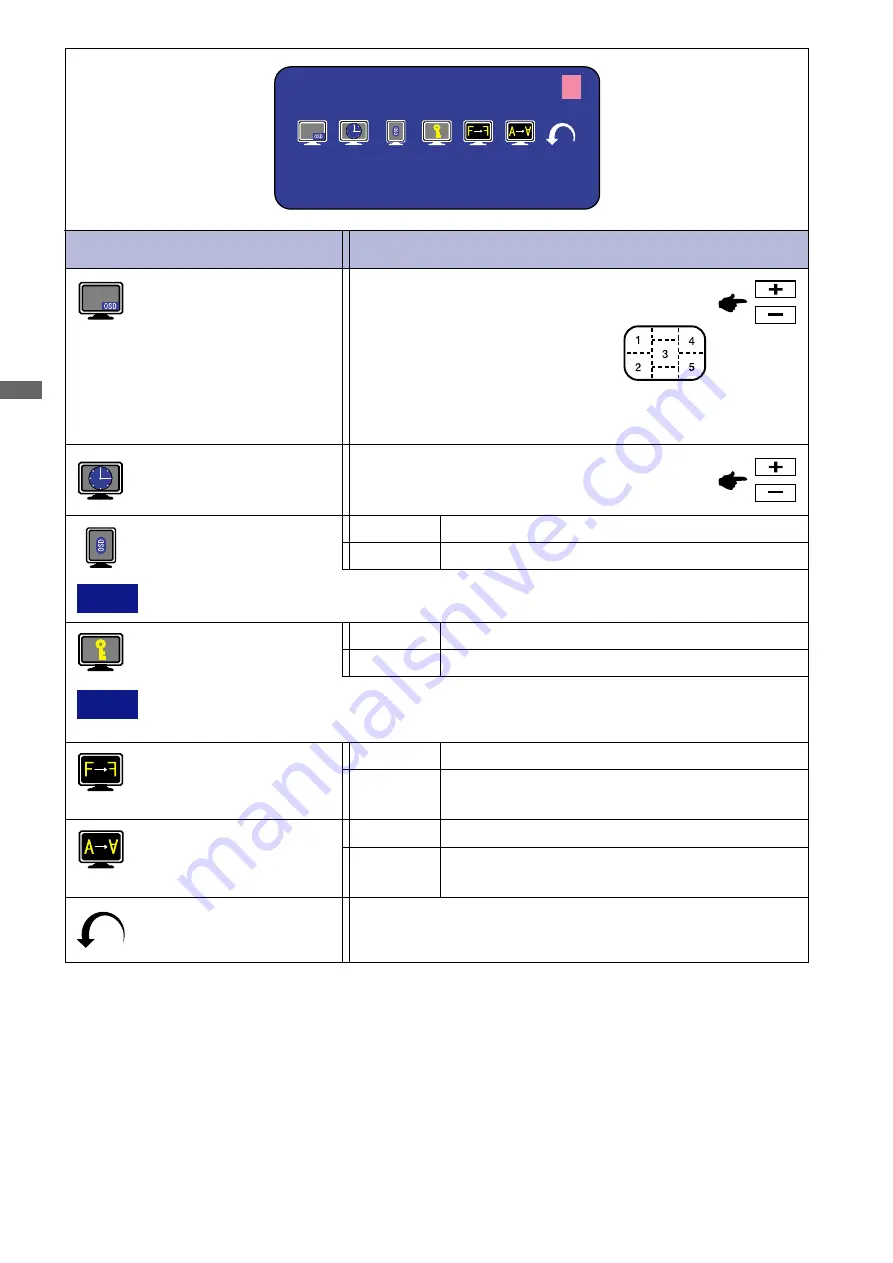
Return to Menu.
Adjustment Item
NTSC
H : 1 5 . 7 K H z V : 6 0 H z
M e n u : 3
Problem / Option Button to Press
OSD Position
1 2 3 4 5
You can move the OSD display
area to any one of the following 5
positions within the overall display:
Press the + Button to move the OSD in numerical order. Press
the – Button to move the OSD in reverse numerical order.
Menu : 3
(Video)
Key Lock Mode
All adjustment items are locked out.
ON
Return to Menu
Highlight “Menu : 3” again.
NOTE
Uses this function when using the monitor with portrait orientation.
You can set the OSD display time 3 to 60
seconds.
OSD Off Timer
OSD Rotation
OFF
Return to Normal.
ON
The menu screen is rotated 90 degrees left.
NOTE
It can not be released when the Key Lock Mode is on. In the case that release is
necessary, please contact your dealer.
OFF
Return to Normal.
H-Flipping
The screen that reversed the right and left is
displayed.
ON
OFF
Return to Normal.
V-Flipping
The screen that rotated 180 degrees is
displayed.
ON


