


ENGLISH
24 OPERATING THE MONITOR
Even when using the power management mode, the monitor consumes electricity. Turn
off the Power Switch whenever the monitor is not in use, during the night and weekends,
to avoid unnecessary power consumption.
It is possible that the video signal from the computer may be on while the H or V sync
signal is missing. In this instance, the POWER MANAGEMENT feature may not work
properly.
NOTE
POWER MANAGEMENT FEATURE
Power Management Mode
When the H-sync signal / V-sync signal / H and V sync signals from the computer are off, the
monitor enters into Power Management Mode which reduces the power consumption to less
than 0.5W. The screen becomes dark, and the power indicator turns to orange. From Power
Management Mode, the image reappears in several seconds when either the keyboard or the
mouse are touched again.
The power management feature of this product complies with power saving requirement of ENERGY
STAR
®
and VESA DPMS. When activated, it automatically reduces unnecessary power consumption
of the monitor when your computer is not in use.
To use the feature, the monitor needs to be connected to a VESA DPMS compliant computer.
There is a power management step the monitor takes as described below. The power management
function, including any timer settings is con
fi
gured by the operating system. Check your operating
system manual for information on how this can be con
fi
gured.
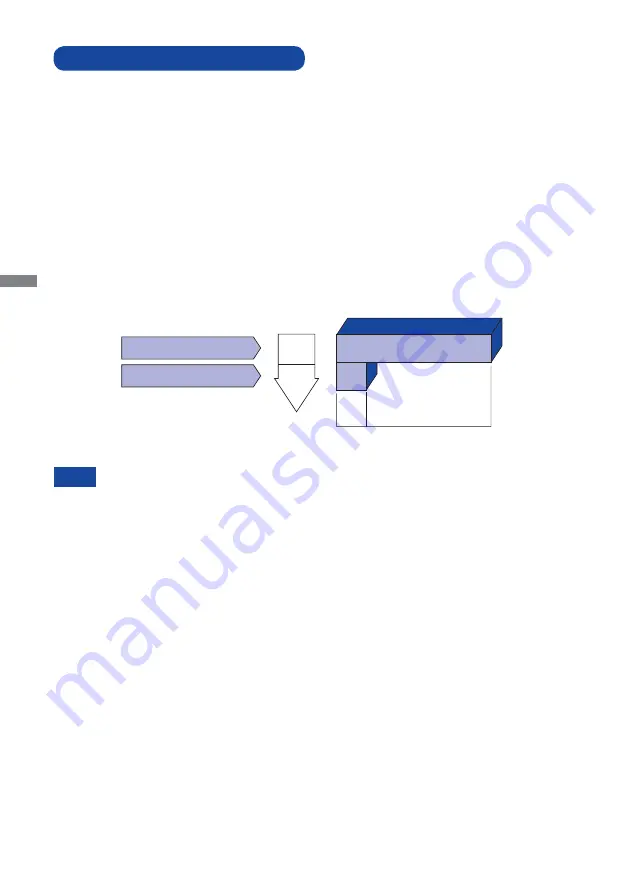
0
0.5W
100%
POWER
CONSUMPTION
Blue
Orange
Power Indicator
NORMAL MODE
POWER MANAGEMENT MODE
Summary of Contents for ProLite B2482HD
Page 2: ...ENGLISH ...


