background image

iBT44

Using the

5

P9

Using Bluetooth: Pairing Your Device

1.  Turn on your Bluetooth-enabled device and turn on Bluetooth capability as described in the device’s 

user manual.

2. Press the 

Power Button 

to turn the unit ON (pairing is available in any mode).

3.  Press and hold the       

              Button

 on the unit for 2 seconds to begin


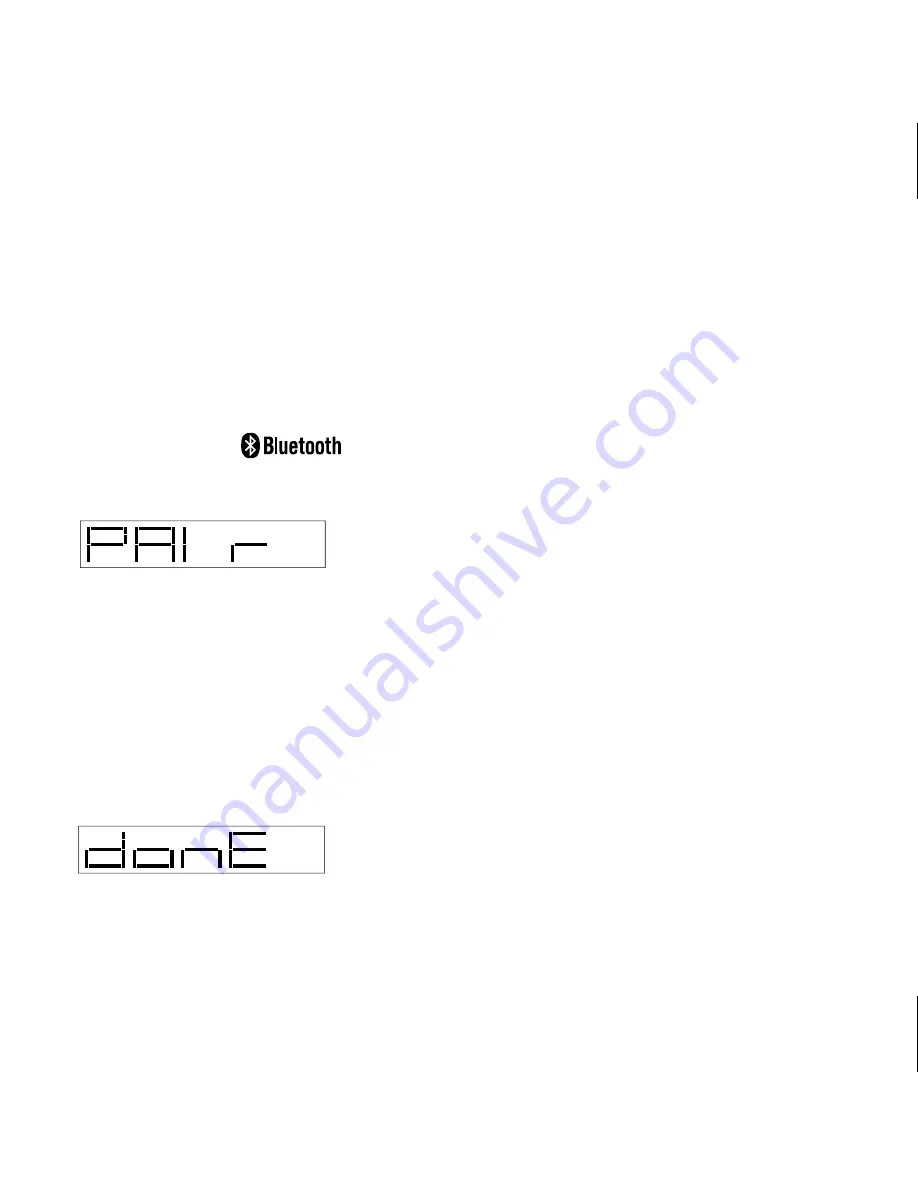
pairing the unit with your device. “PAIR” will flash on the display, and the button will flash blue, 
indicating pairing attempt. 


“iHome iBT44” should appear on your device’s menu. If “Not Paired”, “Not Connected” or similar 
message appears, select “iHome iBT44” on the device to connect it. If your device asks for a 
password, enter 

1234

 or 

0000

 on the keyboard of your device. If no device is paired within 2 

minutes, a tone will sound and the unit will revert to its previous mode. To retry pairing, press the 

Power Button 

to turn the unit OFF then press again   to turn back on, then follow steps 2 & 3 again.

4.  Once paired with a device, the 

PAIR 

indicator on the display will stop flashing then “

DONE

” will 

appear briefly. The 

Bluetooth Button

 will flash twice then glow solid blue. On some devices, you must 

then select “Use as Audio Device” or similar on the device’s Bluetooth menu. Once paired, your device 
should link to the iBT44 whenever within range (about 30 feet).

Summary of Contents for iBT44

Page 1: ...iBT44 instruction manual iBT44 IB Size 153mm x 120mm Printing color Black Mar 20 2013 P1 Bluetooth Wireless Boombox with FM Radio and USB Charging ...

Page 2: ...ad them carefully and keep for future reference Maintenance Place the unit on a level surface away from sources of direct sunlight or excessive heat Protect your furniture when placing your unit on a natural wood and lacquered finish A cloth or other protective material should be placed between it and the furniture Clean your unit with a soft cloth moistened only with mild soap and water Stronger ...

Page 3: ...enerates uses and can radiate radio frequency energy and if not installed and used in accordance with the instructions may cause harmful interference to radio communications However there is no guarantee that interference will not occur in a particular installation If this equipment does cause harmful interference to radio or television reception which can be determined by turning the equipment of...

Page 4: ... 4 Using Bluetooth Pairing Your Device 5 Playing Audio Via Bluetooth 6 Playing Audio Via Aux in FM Radio 7 Using FM Radio in Other Countries Charging Devices via USB Port 8 The Remote Control 9 10 Consumer Product Safety Guide 11 12 Troubleshooting 13 Warranty 13 P4 ...

Page 5: ...stereo audio cable FM Antenna Shoulder strap Remote control P5 AC power adaptor IBT44 System 3 5mm audio cable FM Antenna shoulder strap remote control The handle of the unit can be placed in two positions upright for carrying or back for general use or tilt back play ...

Page 6: ...te during battery operation FM Antenna For FM radio mode connect included FM Antenna to aux Line in jack and adjust for best reception DC Jack USB Port Line in Jack Front Volume Knob Tuning Knob Play Pause Button Bluetooth Line in Button Power Button FM Radio Button Graphic Equalizer Buttons Press top of each to raise bottom to lower for best sound Display ...

Page 7: ... socket The USB port can charge devices while connected to AC power For battery operation place unit upside down to access the battery compartment Press down directly on arrow with thumb and slide the battery compartment cover to release it If replacing existing batteries remove and dispose of properly Insert 6 fresh D alkaline batteries with polarity or as shown Replace battery compartment door N...

Page 8: ...ite end of unit The Display By default the display shows the five bands of the graphic equalizer as the frequencies change during audio playback The display will change to show changes in volume EQ mode FM tuning Bluetooth pairing etc Note the display can be dimmed in Bluetooth mode by turning the Tuning Knob EQ display FM display To store your Bluetooth device place it in the rubberized well and ...

Page 9: ...ssage appears select iHome iBT44 on the device to connect it If your device asks for a password enter 1234 or 0000 on the keyboard of your device If no device is paired within 2 minutes a tone will sound and the unit will revert to its previous mode To retry pairing press the Power Button to turn the unit OFF then press again to turn back on then follow steps 2 3 again 4 Once paired with a device ...

Page 10: ...s the Play Pause Button on the unit to play audio from your linked Bluetooth device While audio is playing press to pause play and again to resume play 3 Use the controls on your device to navigate tracks etc 4 Turn the Volume Knob to control the system volume Adjust EQ settings as desired NOTE The volume ranges from 0 40 While the dial can still be turned when these limits are reached doing so ha...

Page 11: ...evice through the iBT44 speakers 4 Turn the Volume Knob to control the system volume Adjust EQ settings as desired 5 When done listening press the Power Button to turn the unit off Remember to turn off your audio device too FM Radio 1 Press the FM Radio Button to turn on the unit in FM radio mode 2 Turn the Tuning Knob on the unit to tune in the desired station 3 The unit comes with an external FM...

Page 12: ... not charge when operating on battery power 1 Connect the standard size end of a USB cable not included to the USB Port on back of the unit and connect the other end to the charging port on your device 2 Monitor the charging on your device Some devices use a proprietary charging method and will not charge using the USB Port If this happens you must charge your device using the charger that came wi...

Page 13: ...move the battery tab to use the remote iBT44 Using the 9 Play Pause Button Switches linked Bluetooth device between Play and Pause modes Track Buttons Skip to next or previous track HOLD to scan reverse or forward within a track Power Button Turns unit ON or OFF Lower Raise Volume Raises or lowers volume of the unit Mode Button Cycle through modes Bluetooth FM radio and Line in ...

Page 14: ...t cover off remove old battery if replacing 3 Place new CR2032 in battery well as shown make sure side is facing up 4 Replace battery compartment cover WARNING Lithium batteries can explode or cause burns if disassembled shorted recharged exposed to water fire or high temperatures Do not place loose batteries in a pocket purse or other container contain ing metal objects mix with used or other bat...

Page 15: ...ion openings Also it should not be placed in a built in installation such as a bookcase or cabinet which may impede the flow of air through the ventilation openings 3 Heat The unit should be situated away from heat sources such as radiators heat registers stoves or other appliances including amplifiers that produce heat 4 Power Sources The unit should be connected to a power supply only of the typ...

Page 16: ...rsonnel when A the power supply cable or plug has been damaged B objects have fallen into or liquid has been spilled into the enclosure C the unit has been exposed to rain D the unit has been dropped or the enclosure damaged E the unit exhibits a marked change in performance or does not operate normally 12 Periods of Nonuse If the unit is to be left unused for an extended period of time such as a ...

Page 17: ...Bluetooth mode indicated by the Bluetooth Button turning blue Turn the Tuning Knob to the right to increase display brightness Trouble pairing device computer with iBT44 Bluetooth implementation varies depending on your device s hardware and operating system Please see our website for updates on pairing When you power ON the unit it will automatically link with the last previously paired Bluetooth...

Page 18: ...r why the unit is being returned and the return authorization number No unit can be processed without a return authorization number 4 Write the return authorization number on the side of the shipping package and send the unit prepaid and insured to the Factory Service Center address authorized by SDI Customer Service Disclaimer of Warranty NOTE This warranty is valid only if the product is used fo...

Reviews: