8
Ignite Skyus DS Installation Guide
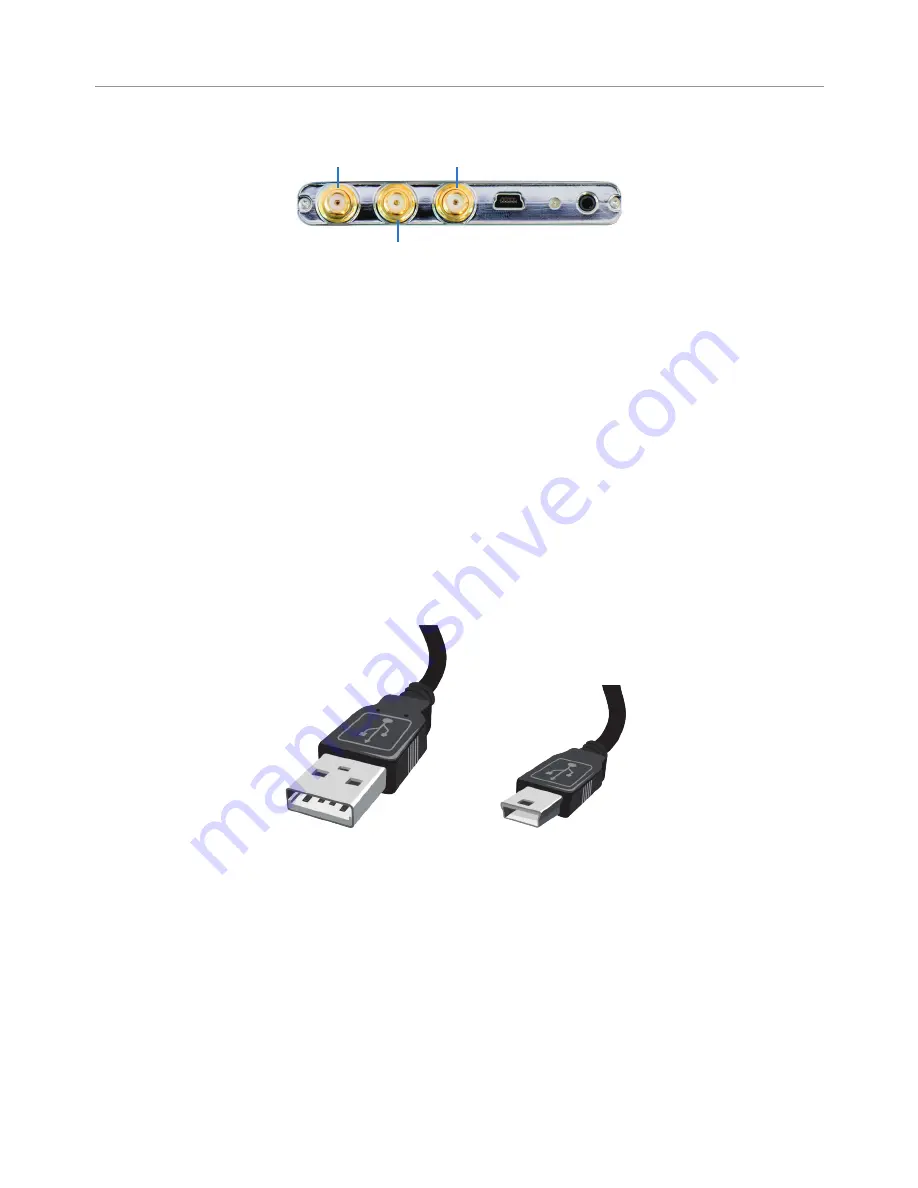
Figure 8: Antenna Connections
Connect a GPS antenna (if required in your application) to the middle SMA connector. The Skyus DS will operate with
most standard active GPS antennas. When installing a GPS antenna, place it where it has greater than 90° access to
the sky. For better performance, avoid coiling or binding the GPS cable.
Note:
If you intend to use the GPS function, we recommend the use of a mag mount or radar dome antenna
that connects to the Skyus DS through an SMA extension cable for proper operation.
Note:
It is not necessary to connect a GPS antenna if the GPS function of the Skyus DS is not being used. The
cellular functions of the Skyus DS operate as designed without a GPS antenna attached.
If you have questions about the appropriate antennas for your Skyus DS, contact your Ignite representative.
Connecting to a Computer or Router
Connect the Type A Male side of the enclosed USB cable to your computer or alternate host device. Connect the Mini
B Male side of the enclosed USB cable to the Skyus. Power is provided by the USB cable. Once connected, the Skyus
DS will power up and attempt to register to the carrier.
Figure 9: Type A Male USB
Figure 10: Type Mini B Male USB
Activation
The Ignite Skyus DS is activated prior to shipping. No additional action is required on your part for activation.
Installing the Connection Manager
Skyus DS customers using Windows operating systems have two choices for connection management.
Skyus Watcher
Skyus Watcher is designed to manage the connection to the cellular network and provides a connection watchdog,
connection and GPS status reporting, and logging functionality appropriate for IoT applications where 24x7
connectivity is desired. Once your device is activated and you connect to the cellular carrier for the first time, your
device will perform over the air provisioning if necessary.
Primary Diversity
GPS


