37
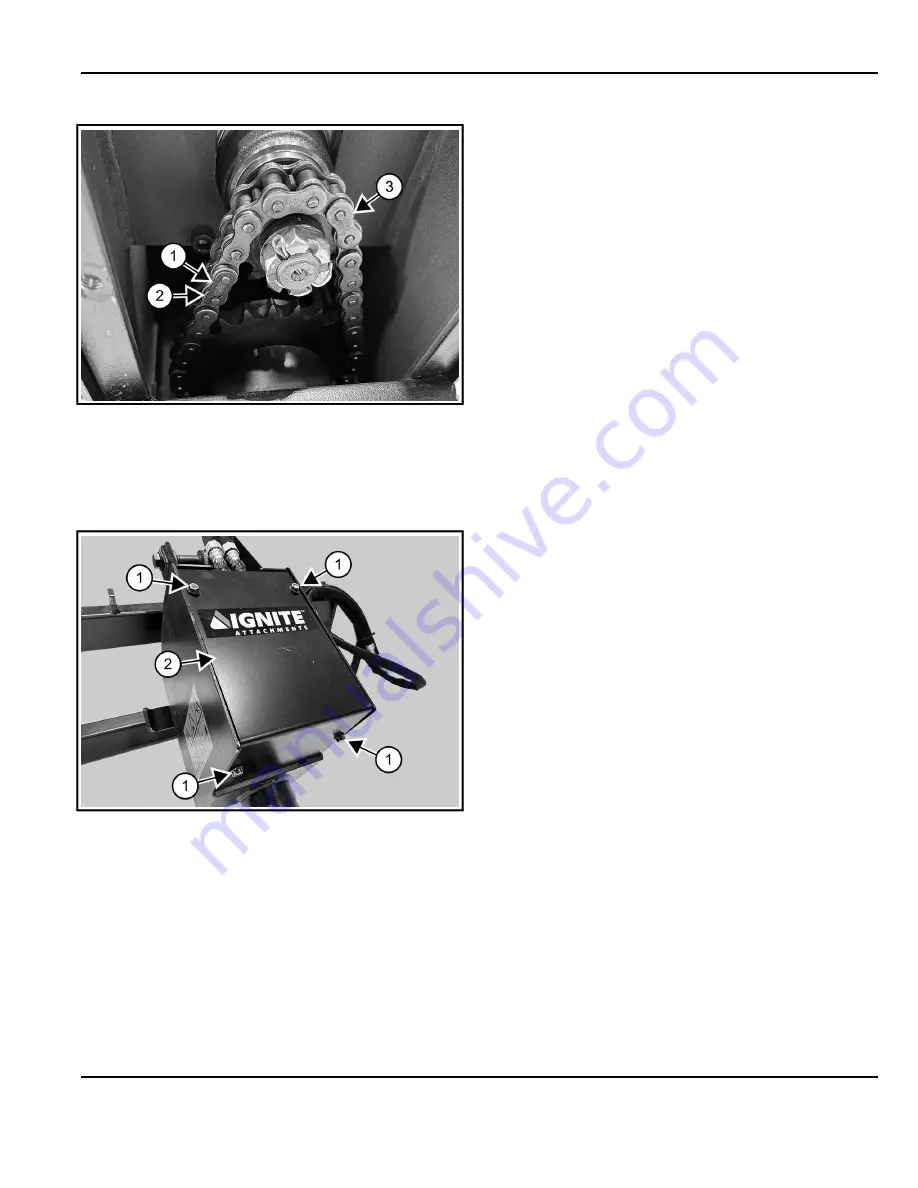
Figure 58
C221896a
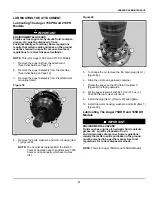
15. Install the master link (Item 1) [Figure 58] on each
end of the chain.
16. Install the spring clip (Item 2) [Figure 58].
Figure 59
C221894b
17. Place the cover (Item 2) back on the auger drive and
tighten the 4 bolts (Item 1) [Figure 59].
(See Torque Specification For Bolts on Page 40)
ATTACHMENT STORAGE AND RETURN TO
SERVICE
Attachment Storage
Sometimes it may be necessary to store your Ignite
Attachments attachment for an extended period of time.
Below is a list of items to perform before storage.
•
Thoroughly clean the attachment.
•
Lubricate the attachment.
•
Inspect the attachment mounting frame upper flange,
lower mounts, and all welds on the attachment for
wear and damage.
•
Check for loose hardware, missing guards, or
damaged parts.
•
Replace worn or damaged parts.
•
Check for damaged or missing decals. Replace if
necessary.
•
Place the attachment in a dry protected shelter.
•
Place the attachment flat on the ground.
NOTE:
In muddy conditions or to prevent the
attachment from freezing to the ground, put
the attachment on planks or blocks before
removing the attachment from the machine.
Return To Service
After the Ignite Attachments attachment has been in
storage, it is necessary to follow a list of items to return
the attachment to service.
•
Be sure all shields and guards are in place.
•
Lubricate the attachment.
•
Install and operate attachment, check for correct
function.
•
Check for leaks. Repair as needed.
Summary of Contents for Auger 75 DDH
Page 2: ......
Page 12: ...10 Figure 4 C221899a SAFETY AND TRAINING RESOURCES ...
Page 29: ......
Page 52: ...50 troubleshooting 29 W warranty 48 welding safety 7 ALPHABETICAL INDEX ...
Page 53: ......

