12
17
12
17
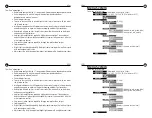
Adjustable Features
(continued)
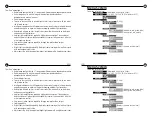
Level 8 (3rd highest gain setting):
The #8 gain setting is preferred for most very dark environments. This setting offers the
best image contrast
of the high gain settings. It is most useful for viewing targets up to
80 yards (73 meters) away.
Levels 9 & 10 (the two highest gain settings):
For
long-distance viewing
, 100 to 500 yards (91 to 457 meters), the #9 and #10 gain
settings are most useful. These settings provide a brighter, albeit noisier, picture.
These two settings are also useful in the
very darkest environments with the use of
the Infrared Illuminator
. The illumination provided by the IR reduces the noise that is
apparent in these high-gain images.
5. Color
Both the color of the image and the color of the menu text can be changed. Image color
choices are black & white, red, green, and blue. Text color choices are white, green, red,
and amber. The color green is typically used in night vision applications because the rod
cells in the human eye are most sensitive to the green wavelengths of light, 550nm. You
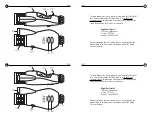
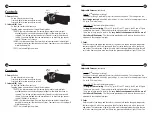
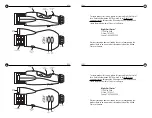
Controls
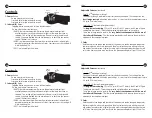
POWER
BUTTON
IR
BUTTON
Controls
POWER
BUTTON
IR
BUTTON
1. Power
Button
On top side, closest to your eye.
Press-and-hold for two seconds to turn on.
Press-and-hold for two seconds to turn off.
2. Infrared (IR)
Button
On top side, farthest from your eye.
Toggling button activates one of three different modes:
IR AUTO: the internal computer will measure the amount of ambient light
available, and emit a calculated amount of light to illuminate the scene as
required. This setting will conserve battery life and is usually the preferred
setting if you have decided that the environment is so dark that you cannot
see well without its assistance.
IR MAX: the infrared emitter will output the maximum amount of infrared light
possible for maximum illumination at all times. Constant use at this setting will
minimize battery life.
IR OFF: no infrared light is emitted.

