WSB-H610 PICMG 1.0 CPU Card
Page 138
Step 8:
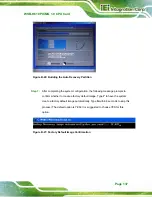
The Symantec Ghost starts to create the factory default image (
Figure B-28: Image Creation Complete
Step 9:
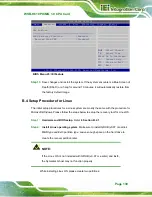
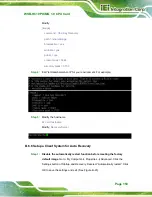
After completing the system configuration, press any key in the following window
to restart the system.
Figure B-29: Press any key to continue
Step 10:
Eject the One Key Recovery CD and restart the system.
Step 11:
Press the <
DELETE
> key as soon as the system is turned on to enter the BIOS.
Step 12:
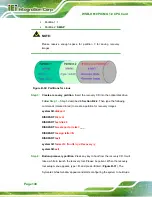
Enable the Auto Recovery Function option (
Advanced
Æ
iEi Feature
Æ
Auto
Recovery Function
).
Summary of Contents for WSB-H610
Page 16: ...WSB H610 PICMG 1 0 CPU Card Page 1 Chapter 1 1 Introduction...
Page 21: ...WSB H610 PICMG 1 0 CPU Card Page 6 Figure 1 4 External Interface Panel Dimensions mm...
Page 25: ...WSB H610 PICMG 1 0 CPU Card Page 10 Chapter 2 2 Packing List...
Page 31: ...WSB H610 PICMG 1 0 CPU Card Page 16 Chapter 3 3 Connectors...
Page 59: ...WSB H610 PICMG 1 0 CPU Card Page 44 Chapter 4 4 Installation...
Page 80: ...WSB H610 PICMG 1 0 CPU Card Page 65 Chapter 5 5 BIOS...
Page 116: ...WSB H610 PICMG 1 0 CPU Card Page 101 6 Software Drivers Chapter 6...
Page 129: ...WSB H610 PICMG 1 0 CPU Card Page 114 Appendix A A BIOS Options...
Page 132: ...WSB H610 PICMG 1 0 CPU Card Page 117 Appendix B B One Key Recovery...
Page 140: ...WSB H610 PICMG 1 0 CPU Card Page 125 Figure B 5 Partition Creation Commands...
Page 174: ...WSB H610 PICMG 1 0 CPU Card Page 159 Appendix C C Terminology...
Page 178: ...WSB H610 PICMG 1 0 CPU Card Page 163 Appendix D D Digital I O Interface...
Page 181: ...WSB H610 PICMG 1 0 CPU Card Page 166 Appendix E E Watchdog Timer...
Page 184: ...WSB H610 PICMG 1 0 CPU Card Page 169 Appendix F F Hazardous Materials Disclosure...


