


AVL-3000 Advanced Auto Data Server
Page 92
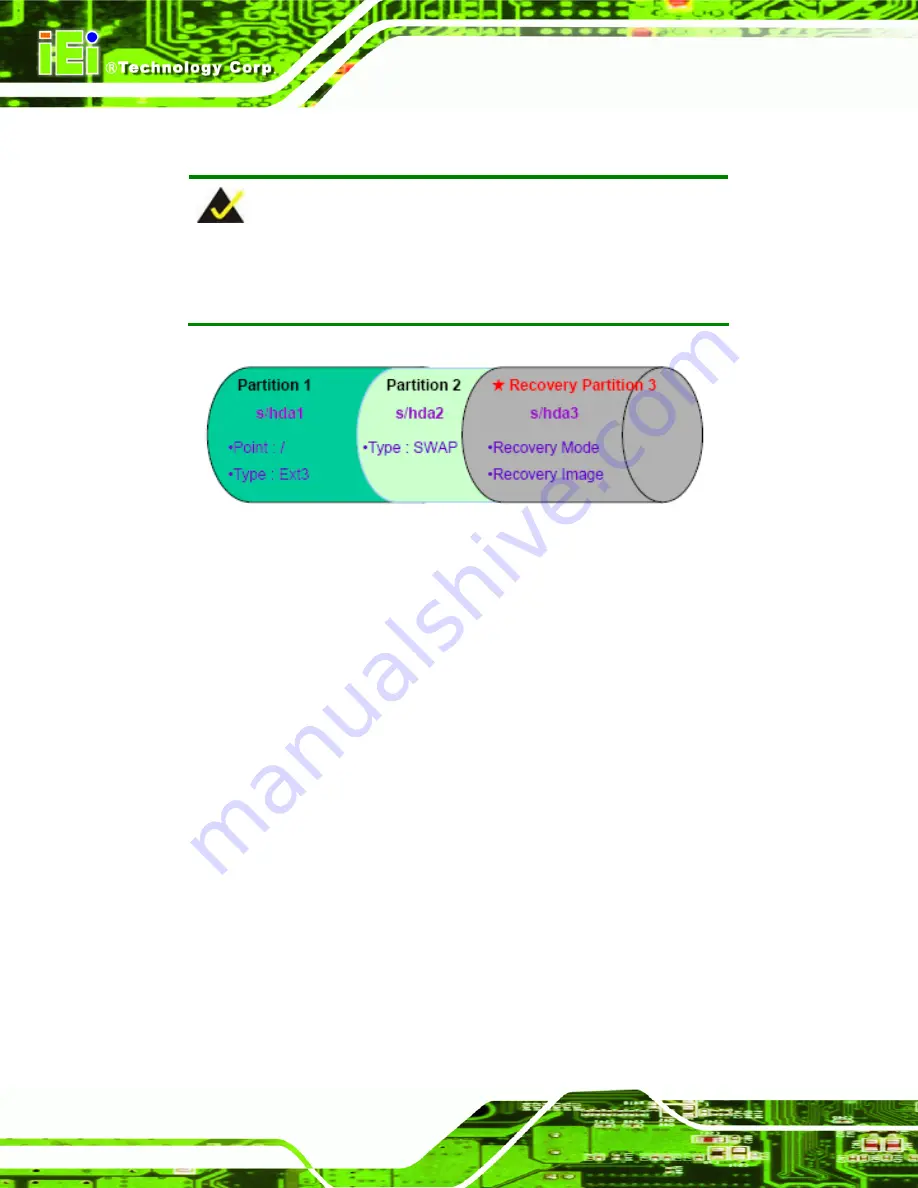
Partition
1:
/
Partition
2:
SWAP
NOTE:
Please reserve enough space for partition 3 for saving recovery
images.
Figure B-30: Partitions for Linux
Step 3:
Create a recovery partition
. Insert the recovery CD into the optical disk drive.
Follow
Step 1
~
Step 3
described
in
Section
74
B.2.2
. Then type the following
commands (marked in red) to create a partition for recovery images.
system32>
diskpart
DISKPART>
list vol
DISKPART>
sel disk 0
DISKPART>
create part pri size=
___
DISKPART>
assign letter=N
DISKPART>
exit
system32>
format N: /fs:ntfs /q /v:Recovery /y
system32>
exit
Step 4:
Build-up recovery partition
. Press any key to boot from the recovery CD. It will
take a while to launch the recovery tool. Please be patient. When the recovery
tool setup menu appears, type <
3
> and press <Enter> (
74
Figure B-31
). The
Symantec Ghost window appears and starts configuring the system to build-up a
Summary of Contents for AVL-3000
Page 14: ...AVL 3000 Advanced Auto Data Server Page 1 Chapter 1 1 Introduction ...
Page 22: ...AVL 3000 Advanced Auto Data Server Page 9 Chapter 2 2 Unpacking ...
Page 26: ...AVL 3000 Advanced Auto Data Server Page 13 Chapter 3 3 Installation ...
Page 44: ...AVL 3000 Advanced Auto Data Server Page 31 Chapter 4 4 BIOS ...
Page 73: ...AVL 3000 Advanced Auto Data Server Page 60 Appendix A A OBD II Reader Command ...
Page 82: ...AVL 3000 Advanced Auto Data Server Page 69 Appendix B B One Key Recovery ...
Page 90: ...AVL 3000 Advanced Auto Data Server Page 77 Figure B 5 Partition Creation Commands ...
Page 124: ...AVL 3000 Advanced Auto Data Server Page 111 Appendix C C Watchdog Timer ...
Page 127: ...AVL 3000 Advanced Auto Data Server Page 114 Appendix D D Hazardous Materials Disclosure ...


