Part 3 - Search
64
•
Press the remote control’s
BACK UP
button for more
3 seconds while in Live or Playback mode to open up
the
Clip Copy
setup window with One-Touch mode.
•
One-Touch Clip Copy
configures the storage range
automatically based on the storage drive's capacity.
If there is insufficient space available on the selected
storage device, you will only be able to Clip Copy
an amount of data equaling the remaining space
available on the storage device.
•
Clip Copying a segment that is more than 2GB in size
produces multiple files that are up to 2GB in size,
each.
•
Clip Copy files can be played back on Windows
systems. For more information, refer to the IDIS
Center operation manual.
•
For USB flash memory devices, the DVR supports the
FAT32 file format only.
Do not disconnect the USB cable or power off the USB
device while USB Clip Copy is in progress. Doing so
can cause the DVR to malfunction or critically damage
the external USB device's file system. You may be
prompted with an error message when trying to back
up on the device. If so, you will need to restart the DVR.
If the USB hard disk's file system has been damaged,
restarting the DVR will not solve the problem and the
aforementioned error message will continue to be
displayed each time you attempt a backup. If this is the
case, you will need to format the HDD or use a recovery
program to repair the damage to the drive's file system.
Print the current image.
While in
Search Mode
, select
Pause
to pause playback.
Select
from the
Export
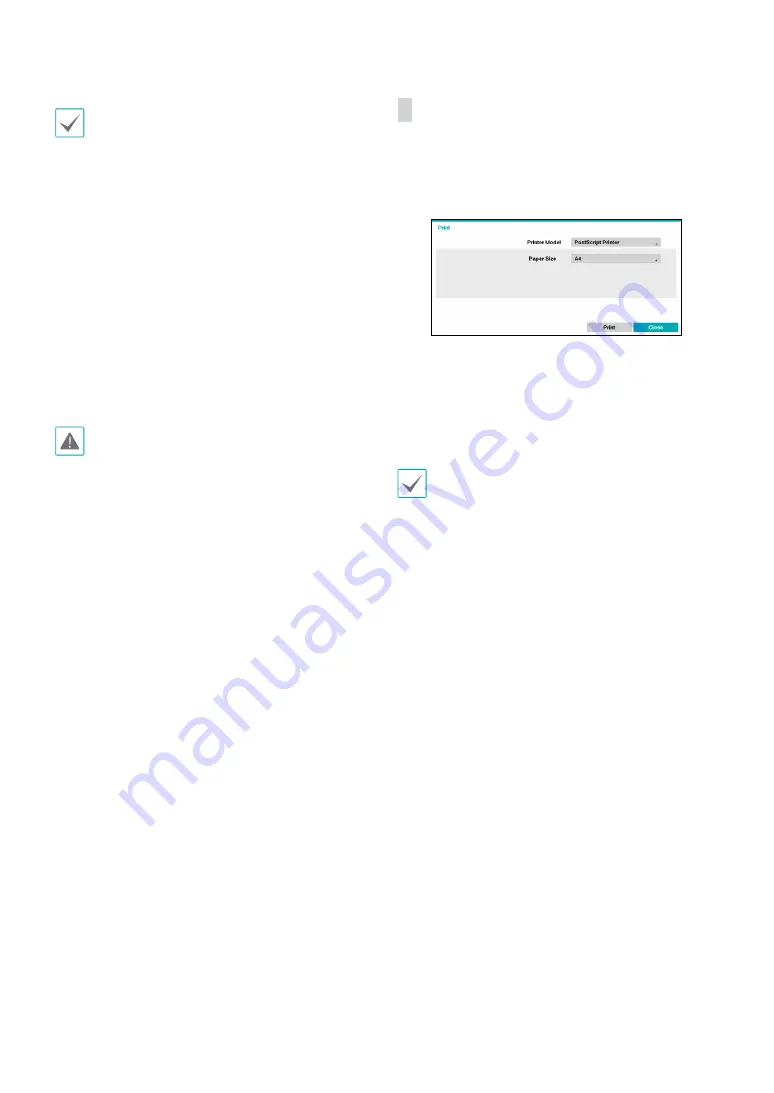
to open up the Print Setup
window.
•
Printer Model
–
File Printer
: Save the current frame to the USB
storage device or the NetFS site as a .pdf file that can
be printed on the printer connected to a computer.
–
PostScript Printer:
Print images on a PostScript™
printer connected to the DVR.
Images saved as PDF files can be printed on any printer
connected to your PC.
•
Paper Size
: Select the desired paper size.
•
File name
: Designate a name for the file if it is a file
printer.


