Part 2 - Configuration
45
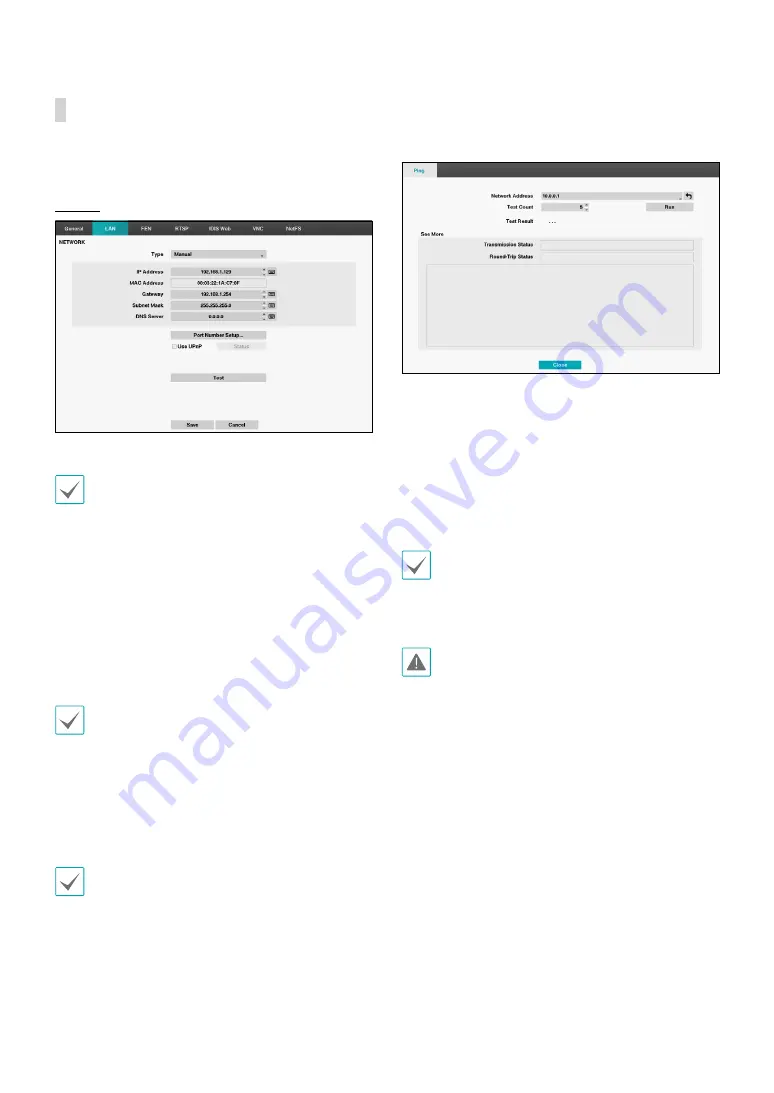
LAN
Designate the IP address type as Manual or DHCP.
Manual
•
Set Type to Manual.
Manual lets you configure related settings manually.
Configure IP Address, Gateway, and Subnet Mask
settings manually using the remote control's arrow
buttons or the mouse wheel.
•
DNS Server: Enter the DNS server’s IP address. The IP
address can also be entered using the mouse wheel.
•
Port Number Setup: Change the numbers by
highlighting them and using the Up and Down
arrow buttons to increase or decrease the number.
The factory default Port settings are: 8200(Remote
Admin), 8201(Remote Callback), 8016(Remote Watch),
and 10019(Remote Search).
You will need to get the appropriate Port Numbers
for each IDIS Center and IDIS Web related program
(Admin, Callback, Watch and Search) from your
network administrator.
To use the UPnP (Universal Plug and Play) feature, select
Use UPnP. If using an IP router (or NAT), UPnP service
allows the device to automatically forward the port to
the DVR.
•
This port is used to access a port that has a private
IP address.
•
In order to use the UPnP service, the IP router (or
NAT) must support UPnP port forwarding and have
the relevant options enabled.
•
Port number cannot be changed with Use UPnP
selected.
•
Status: Indicates the number of the port forwarded
by the IP router (or NAT) to the DVR via UPnP service.
•
Test: Select to test the current LAN settings you made.
1
Enter the address of the DVR to test.
2
Adjust the frequency of the ping test.
3
Select Run to do the test. The test result is displayed.
4
Select Close to exit.
•
If using a firewall, select Change Port to change the
port number to one that is permitted by the firewall.
•
Changing the port temporarily severs the DVR's
remote connection.
Remote point IP and port settings on the remote
program must also be changed in order for it to
connect to the DVR.


