Part 1 - Getting Started
15
Event Monitoring
When an event occurs, the DVR automatically displays
the channel linked to the event and shows the icon
on the system status area on the bottom of the screen.
To use the Event Monitoring feature, navigate to
Menu >
Display > Main Monitor
and enable
Event Monitoring
.
Event Monitoring remains in effect throughout the entire
Linked Recording Time
. After that, the DVR will return
to the previous screen if a new event does not take place.
Pressing the
Layout
or a
Camera
button before the end
of the
Linked Recording Time
reverts the system to Live
mode.
Covert Camera
Use this feature to assign
Covert Camera View
permissions.
Navigate to
Menu >
Camera
and designate cameras as
Covert 1
or
Covert 2
.
•
Covert 1
: Hides images from the camera in Live mode
but does indicate the camera’s title and status via
icons.
•
Covert 2
: The camera is indicated as being inactive.
Images from the camera are not shown. Camera title
and status icons are not shown.
Users that have a cover
Covert Camera View
are
able to view both images from and status icons
for all
Covert 1
and
Covert 2
cameras.
Status
Refer to the
for basic
information on using the Setup menus.
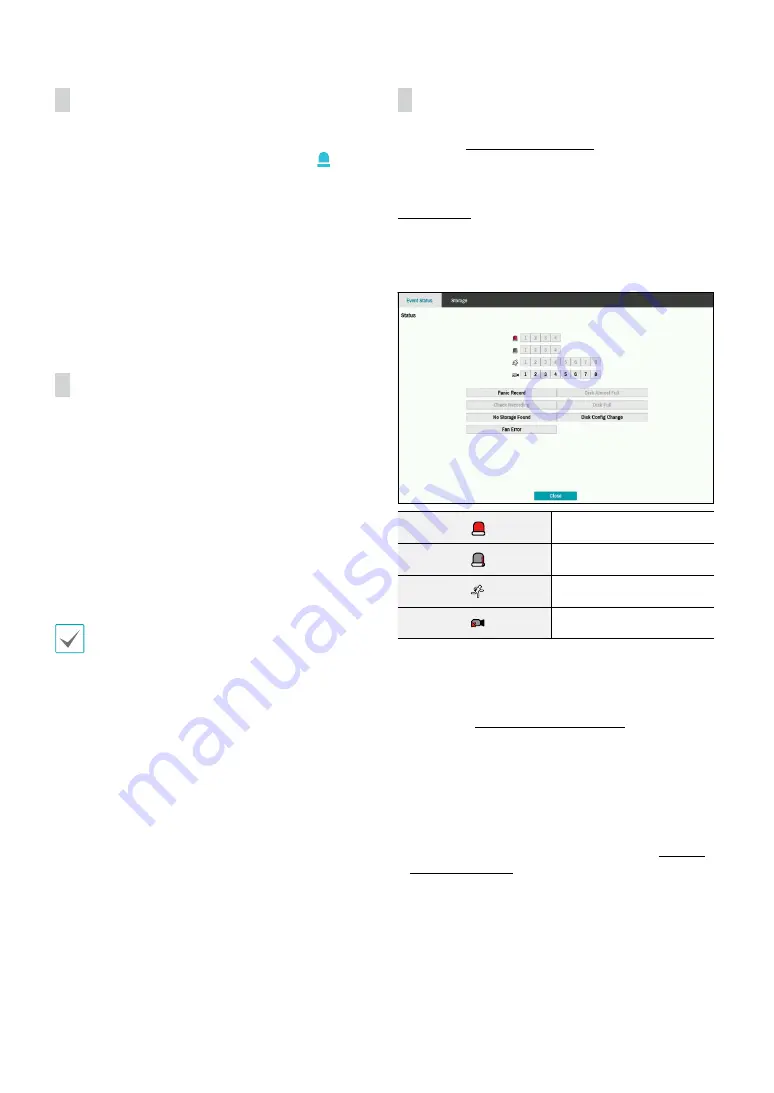
Event Status
This screen displays an overview of all events.
When an event occurs, the corresponding channel
flashes for 5 seconds
Alarm-In
Check Alarm-In
Motion
Video Loss
•
Panic Record
: Displays event status based on current
Panic Record status.
•
Check Recording
: Displays event status based on
System Monitoring
settings. For more information,
refer to the
•
No Storage Found:
It will be highlighted when no
recordable storage device has been found.
•
Disk Almost Full
/
Disk Full
: If the storage device is
not in
Recycle
status, event status is displayed when
the amount of disk space specified under
System
Monitoring
is reached and when the disk becomes
100% full. For more information, refer to the
.
•
Disk Config Change
: It will be highlighted when
the DVR reboots after the hard disk drive has been
replaced.


