10
Apply/Cancel Buttons
While in Camera Registration mode, select
Apply
to register
all changes.
Select
Cancel
to exit Camera Registration mode without
applying the changes.
It is not possible to register a camera that has already
been registered to a different NVR.
Login
Configuring the NVR’s settings and accessing its searching
and other functions require an authorized user login.
1
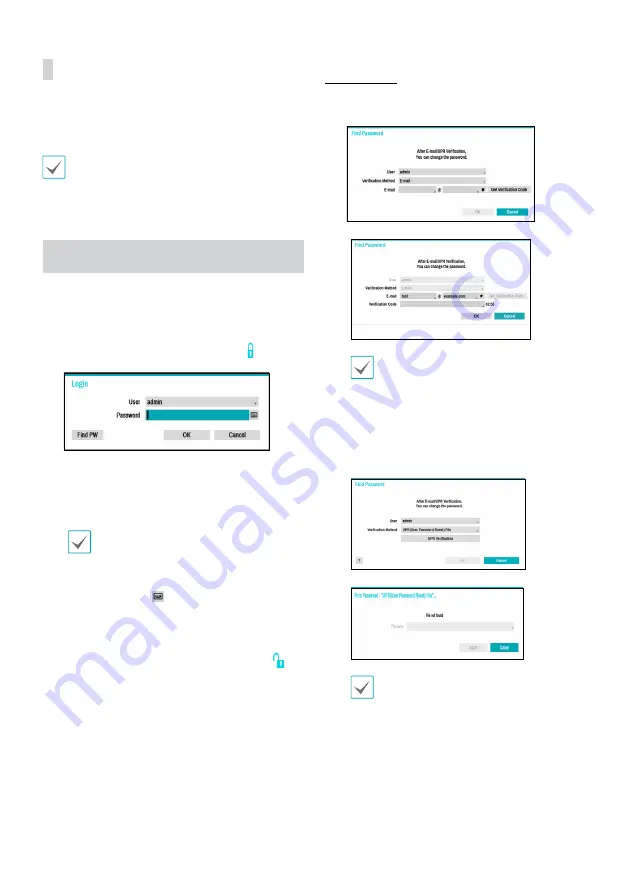
Bring up the Live menu and either press the
Setup
button on the remote control or click on icon using
the mouse to log in.
2
Select a user, enter the password, and then
select
OK
.
•
Leaving the admin account unassigned with
a password poses a security risk. Please assign
a password at your earliest convenience. A
warning message will continue to be displayed
until a password is assigned.
•
Click on the
button next to the password
field using the mouse. This will bring up a
virtual keyboard you can use to assign a
password.
3
To log out, bring up the Live menu and click on
icon using the mouse.
Find Password
1
Enter a user, registered email and then select
Get
Verification Code
.
2
Enter
Verification Code
and select
OK
.
•
Select the question mark button at the
bottom left corner of the screen to refer to the
passoword settings instructions.
•
The password must be entered only with the
virtual keyboard.
•
FEN service must be enabled to use find
password function.
3
Enter an UPR(User Password Reset) verification and
then click on
UPR Verification
button.
4
Select the UPR file and then click on
Import
button.
•
To use UPR function, the UPR file must be saved
in advance.
•
You can reset the password using an encrypted
UPR (User Password Reset; filname extension
* .upr) file.
•
It can be used as USB flash driver on local pc,
but not remotely.
•
Only files exported from the same device are
available.
•
If you lose the UPR file and change the
password of the NVR, the UPR file may not be
used.


