


10
Installation
Prior to installing the software, click on to the Windows
Start
menu, open Control Panel, click on
Power
Management
, and set options for
Turn off monitor
and
Turn off hard disks
as
Never
.
1
Download the software from the IDIS website (www.
idis.co.kr).
2
Browse to the
Setup
folder in the downloaded file and
run
setup.exe
.
On
Microsoft
®
Windows
®
Vista
or
User
Account Control
window may pop-up.
Click
Allow
and follow the instructions in
the installation window to proceed with the
installation.
3
When the installation window appears, click
Next
.
4
Select an installation path for the program, and click
Next
.
5
When the install confirmation window appears, click
Next
.
NET Framework and Visual C++ Runtime
Libraries will be installed automatically, and
it may take a few minutes. If NET Framework
and Visual C++ Runtime Libraries are already
installed on the system, this step will be
skipped automatically.
6
When the Installation Completed window appears,
click
Close
and finish the installation.
Start Program
When IDIS Center software is installed,
IDIS Center
and
IDIS Center Run as administrator
shortcut icons will
be created on the desktop. Run IDIS Center software by
double-clicking on
IDIS Center
or
IDIS Center Run as
administrator
shortcut icon. If a removable eSATA HDD or
SD (SDHC) memory card are connected to the IDIS Center
system, you must double-click on
IDIS Center Run as
administrator
.
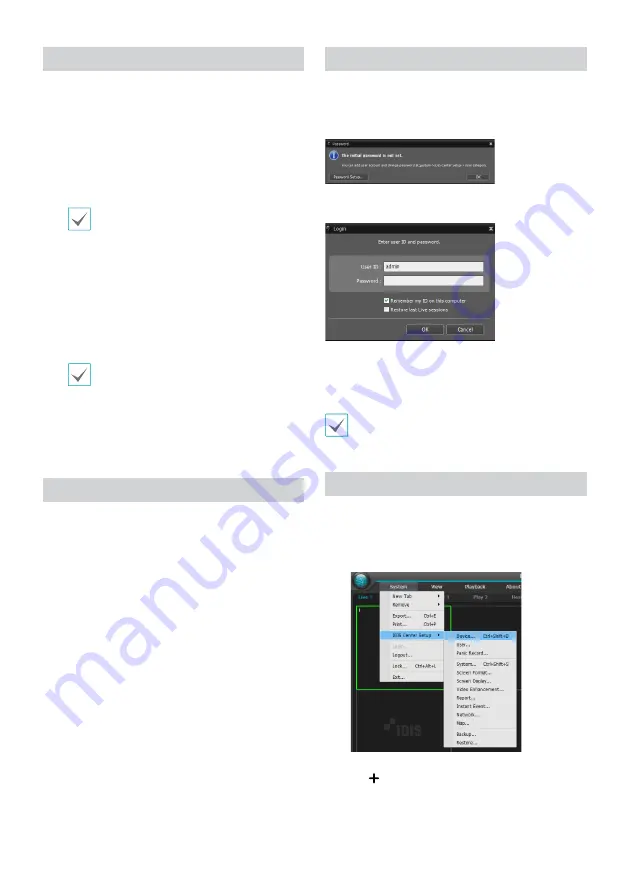
Login
This program does not have a password set by default.
Leaving the admin account unassigned with a password
poses a security risk. Please assign a password at your
earliest convenience.
Once the program is running, you must login.
Enter a User ID and Password.
●
Remember my ID on this computer
: Remembers the ID
used to login.
●
Restore last Live sessions
: Restores the previous Live
session on the current Live panel.
• Default User ID is "admin" without a password.
• You can change User ID and Password in the User
menu.
Device Registration
To use the functions provided by IDIS Center, you must first
register a device and add the device to a device group.
1
Select
System > IDIS Center Setup > Device
in the
menu at the top of the screen.
2
On the
Site
panel, click on
All Devices
, then click on
the
E
button at the bottom of the Site List panel on
the right. A
Device Scan
window will appear on the
screen.


