


Part 1 - Remote Setup
9
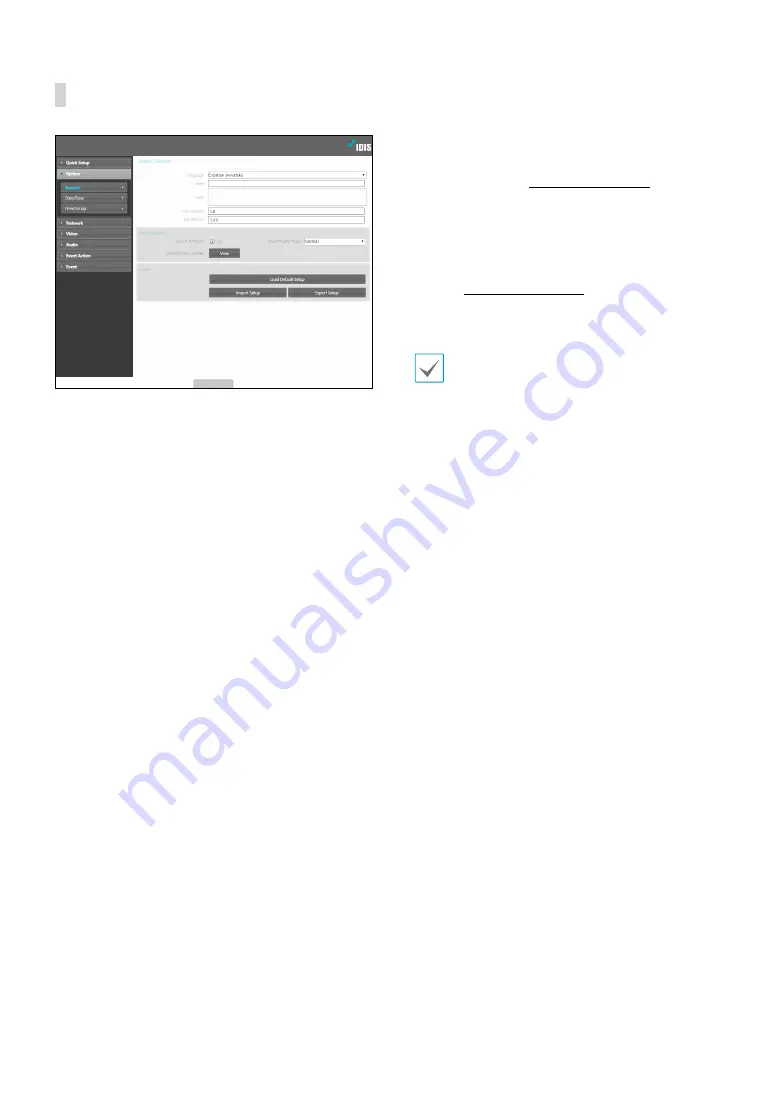
General
•
Language
: Select the language you wish to use for
remote setup.
•
Name
: Enter a name for the camera. (Up to 31
alphanumeric characters, including spaces)
•
Note
: Enter a description for the camera.
•
HW Version/SW Version
: Indicates the camera’s
hardware and software versions.
•
Miscellaneous
-
ONVIF Protocol
: Select to enable ONVIF protocol
use. However, ONVIF Protocol is available only
to users belonging to the standard user groups
(
Administrator
,
Operator
, and
User
)
and when
video compression is set to H.264 or JPEG under
Video > Streaming
menu. When you have
connected to the camera by using the ONVIF
protocol, only the currently enabled streams or
events are supported and you cannot change it.
There may be some more settings that cannot be
changed, too. If you want to change those settings,
connect to the camera by using the IDIS Discovery
program.
-
ONVIF Event Type
•
Normal:
This is the usual way the camera delivers
events.
•
Standard:
This is the ONVIF standard event
delivery method.
-
Opensource Licenses:
Click
View
to see the
information of opensource licenses.
•
Setup
-
Load Default Setup
: Restores all settings other
than Date/Time to their factory defaults. Select
Include Network Setup to load default network
settings as well. For more information on network
setup, refer to the
.
-
Import Setup
: Open a setup file and apply its
settings to the camera. Click on the button and
then select a setup file. Select Include Network
Setup to apply the file’s network setup settings (exc.
FEN). For more information on network setup, refer
to the
.
-
Export Setup
: Export the current settings as a .dat
file. Click on the button and then enter a file name.
•
Load Default Setup
and
Import Setup
options
are available only to users belonging to the
Administrator
group.
•
When applying the settings of a setup file, do not
select the
Include Network Setup
option if the
network settings contained in the selected file is
currently being used by a different camera. Doing
so can interfere with establishing a connection
with the other camera.
•
If IP Address, Port, and/or SSL settings have been
changed, click
Save
to apply the current settings,
and then restart Remote Setup. If you do not
restart Remote Setup, the changes afterwards will
not be applied.


