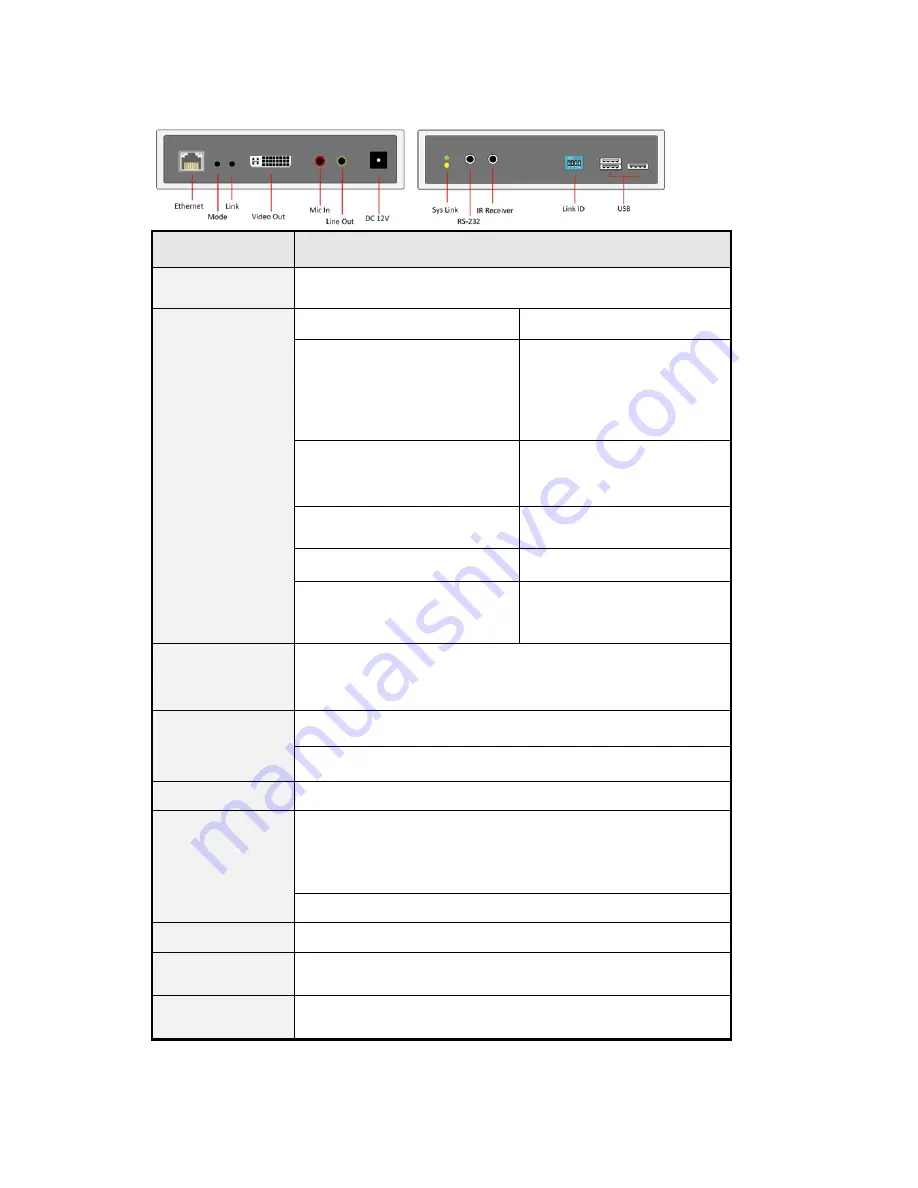
UDP1000R
Receiver
No.
Connector
Description
1
Ethernet
Connect
to
Gigabit
Ethernet
switch
or
directly
to
UDP1000T.
2
Mode
button
Short
press
Set
to
Video
or
Graphic
mode.
Long
press
(3
sec.)
To
Enable/Disable
Anti
‐
Dither.
Note:
For
some
of
ATI
graphic
card
with
Dithering
function
enabled,
you
may
enable
Anti
‐
Dither
to
achieve
the
better
video
quality.
Press
and
Hold
at
Power
ON
until
Green
LED
blinking
Get
and
Use
this
RX’s
EDID
as
the
system
EDID
3
Link
button
Short
press
To
enable/disable
Transmitter
List
OSD
Long
press
(3
sec.)
To
get
the
USB
access
right.
Press
and
Hold
at
Power
ON
until
Green
and
Amber
LED
blinking
1.
Reset
to
the
Factory
default.
2.
Enter
Setup
and
Firmware
upgrade
mode
in
192.168.0.88
4
Video
Out
This
DVI
‐
I
connector
supports
HDMI/DVI
‐
D
and
VGA
output.
Use
DVI
‐
to
‐
DVI
or
DVI
‐
to
‐
HDMI
or
DVI
‐
to
‐
VGA
cable
for
DVI/HDMI/VGA
monitor.
5
Mic.
IN
Microphone
Input,
it
will
be
extended
to
the
Line
Out
of
UDP1000T.
6
Line
OUT
Audio
line
out,
it
is
extended
from
Line
In
of
UDP1000T.
7
DC
12V
In
System
power
input.
8
System
LED
(Green)
Link
LED
(Amber)
Green
Blinking/Amber
Off:
System
is
starting
up.
Green
On/Amber
Off:
System
is
ready,
but
TX/RX
not
connected.
Green
On/Amber
Blinking:
TX/RX
connected,
but
waiting
for
HDMI
input.
Green
On/Amber
On:
TX/RX
connected,
HDMI
input
is
ready.
9
RS
‐
232
Provide
Serial
‐
over
‐
IP
function
(optional).
10
IR
Receiver
Remote
Universal
IR
receiver
(optional).
11
Link
ID
4
bit
hardware
Channel
select
ID.
It
can
be
overwritten
by
the
software
Ch
‐
Select
of
Setting
program
or
Connection
Manager.
12
USB
Host
3
USB
‐
A
ports,
the
default
setting
are
USB
‐
over
‐
IP
mode
can
support
USB
Disk,
Touch
Screen,
Printer,
keyboard,
mouse
…
(but
not
isochronous
device)


