


2
SETTING UP THE IP1000C SYSTEM
2-2
1. Flow using the WLAN transceiver
■
Prepare for connection and settings
This is an explanation of the flow from connecting with PC to accessing to the Setting screen.
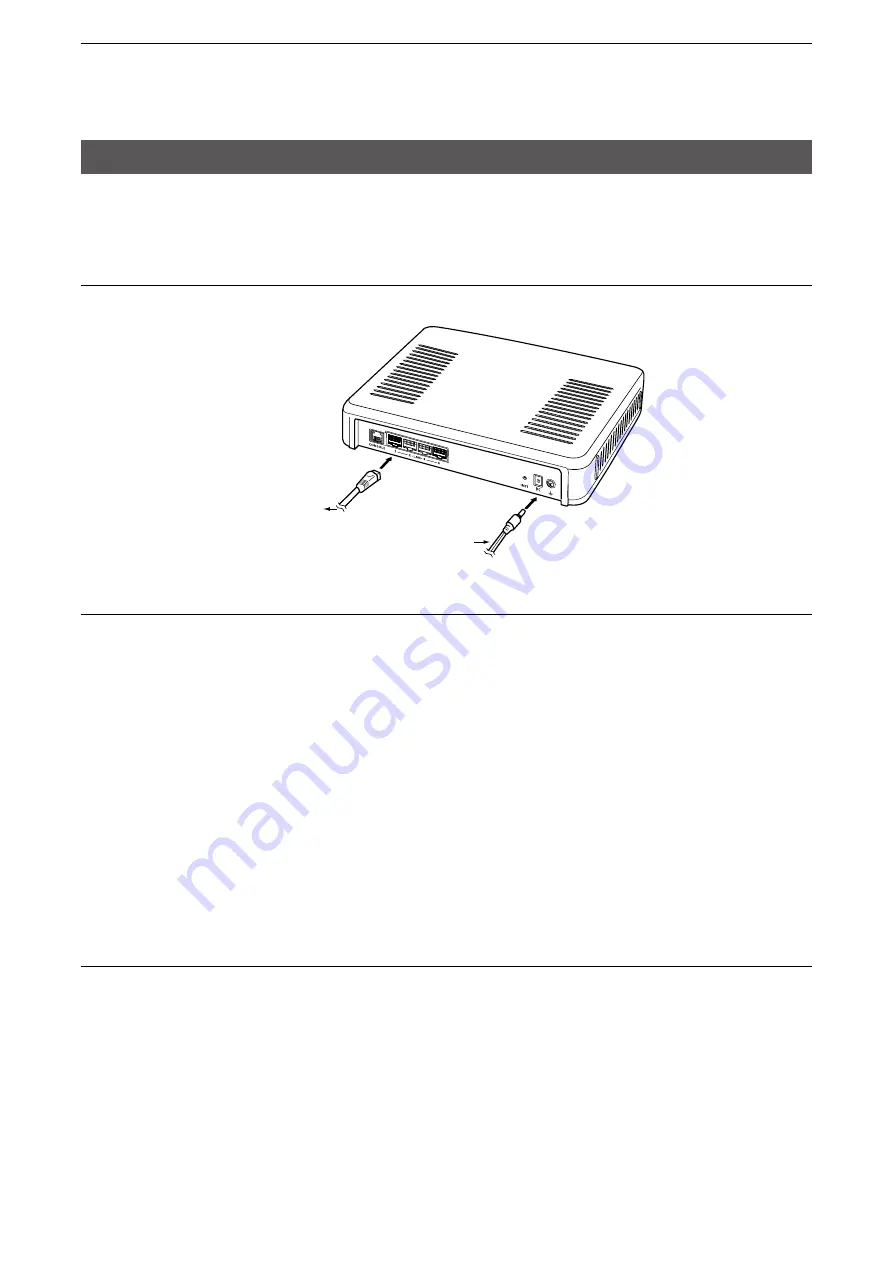
1. Connect to a PC and turn ON the power
See the CONNECTION GUIDE (Separated) for details
Connect a PC to the IP1000C’s [LAN] port, and insert the power cable into the [DC] jack.
Connect to a PC
Power cable
IP1000C
2. Access the setting screen
See the CONNECTION GUIDE (Separated) for details
1. Open your web browser, then enter the IP address of the IP1000C into the address bar.
L
The default IP address is “192.168.0.1.” (http://192.168.0.1/)
2. Push the [Enter] key.
•The Login Authentication screen will appear.
3. Enter “admin” (fixed username) and “admin” (default password) in their respective input fields on the Login
Authentication screen, and then click <OK>.
■
About the Setting procedures
This is an example flow that the setting procedures of the WLAN transceivers using the IP1000C setting
screen. This manual explains after completing the wireless access point settings that the WLAN transceivers
connect to.
1. Network Settings
Enter an IP address (default: 192.168.0.1) on the [IP Address] screen, and a DHCP server setting (default:
Disable) on the [DHCP Server] screen, according to your system environment.