background image

INSTRUCTION MANUAL

This device complies with Part 15 of the FCC Rules.
Operation is subject to the condition that this device
does not cause harmful interference.

UHF MOBILE TRANSCEIVER

iF2821/D

iF2721/D

VHF MOBILE TRANSCEIVER

iF1821/D

iF1721/D

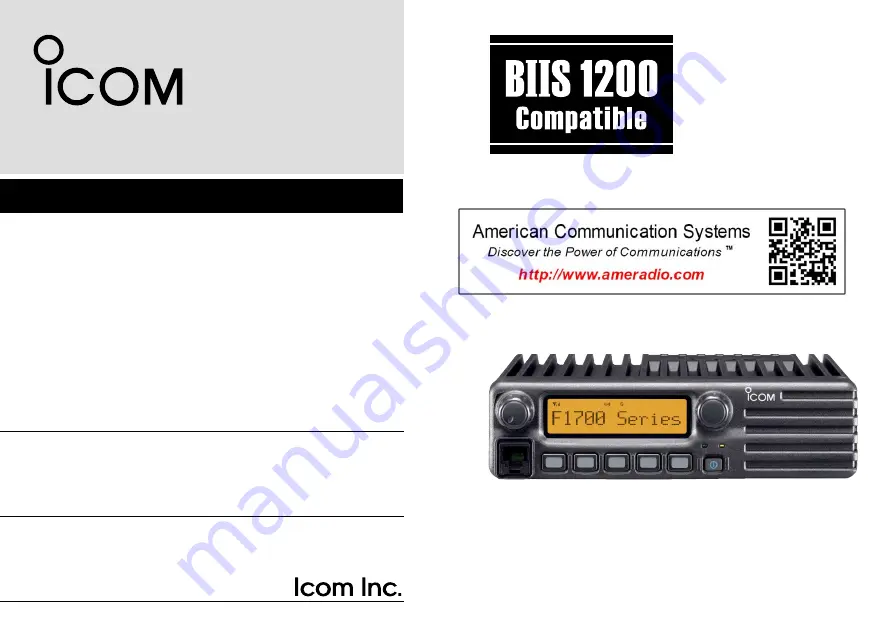
Above photo shows the IC-F1721/D or IC-F2721/D.

Summary of Contents for IC-F1821D

Page 1: ...Part 15 of the FCC Rules Operation is subject to the condition that this device does not cause harmful interference UHF MOBILE TRANSCEIVER iF2821 D iF2721 D VHF MOBILE TRANSCEIVER iF1821 D iF1721 D Ab...

Page 2: ...ay damage the trans ceiver DO NOT use or place the transceiver in areas with tem peratures below 30 C 22 F or above 60 C 140 F or in areas subject to direct sunlight such as the dashboard PRECAUTIONS...

Page 3: ...authority to operate this transceiver under FCC regulations ABOUT APCO PROJECT 25 This device made under license under one or more of the fol lowing US patents 4 590 473 4 636 791 5 148 482 5 185 796...

Page 4: ...l 17 DUsing call memory 17 DCalling back from the queue channel 17 DDirect code entry 18 Receiving a message 19 DReceiving a status message 19 DReceiving an SDM Short Data Message 19 DReceived message...

Page 5: ...D F2721 D DIAL Rotate to select an operating channel etc IC F1821 D F2821 D UP DOWN Keys Push to select an operating channel etc The desired function can be assigned by your dealer p 3 r 10 KEYPAD IC...

Page 6: ...ROPHONE The supplied microphone has a PTT switch and a hanger hook The following functions are available when the microphone is on or off hook Automatic scan start when on hook Automatic priority chan...

Page 7: ...0 P1 P2 P3 and P4 programmable func tion keys Consult your Icom dealer or system operator for details con cerning your transceivers programming If the programmable function names are bracketed in the...

Page 8: ...In case of transmission during scan pauses scanning Scanning resumes after a specified time period has passed after the transmission is finished Push and hold this key for 1 sec to indicate the scan...

Page 9: ...tion is turned OFF in user set mode LOCK KEY Push and hold to electronically lock all programmable keys except the following Call incl Call A and Call B Moni Audi and Emergency HIGH LOW KEY Push to se...

Page 10: ...ey is pushed etc COMPANDER KEY Push to toggle the compander function ON and OFF The compander function reduces noise components from the transmitted audio to provide clear communication TX CODE ENTER...

Page 11: ...ion and select a status number When a received SDM is displayed push or rotate to cancel the automatic scroll and scroll the message manu ally When an SDM that contains more than 12 characters is disp...

Page 12: ...de using CH Up CH Down p 13 Push to stop the beep emission when receiving a matched individual ID code TALKGROUP KEY Push to enter the talkgroup ID code selection mode directly Then select the desired...

Page 13: ...d start over in this case Channel selection Several types of channel selections are available Methods may differ according to your system set up NON ZONE TYPE Push CH Up or CH Down or rotate CH Up Dow...

Page 14: ...H Up or CH Down or rotate CH Up Down to select a channel in sequence e When receiving a call adjust the audio output level to a comfortable listening level Transmitting Wait for the channel to become...

Page 15: ...he penalty timer DTX code channel selection If the transceiver has TX Code CH Select assigned to it the indication can be toggled between the operating channel number or name and TX code channel numbe...

Page 16: ...d is used for setting the digit to the right will blink automatically without pushing TX Code CH Select y Repeat r and t to input all allowable digits u Push Call or PTT to transmit the edited TX code...

Page 17: ...has Talkgroup assigned to it the indication can be toggled between the operating channel number or name and Talkgroup ID code or name When the Talkgroup ID code or name is displayed CH Up CH Down or C...

Page 18: ...L to set the desired level condition Available set mode functions are Backlight LCD Contrast Beep Beep Level SQL Level AF Min Level Mic Gain and Horn e Push again to exit set mode User set mode is als...

Page 19: ...CH Select selects call list or TX code channel respectively Receiving a call D DIndividual call q When an individual call is received Beeps sound appears and the mute is released The programmed text m...

Page 20: ...ni Audi to send the Clear down signal Either station can send a Clear down signal CLR DOWN is displayed for 2 sec approx disappears and the transceiver returns to the standby con dition D DDisplaying...

Page 21: ...r beep sounds and FAILED is displayed when no answer back is received after the calls r Push PTT to transmit release to receive t Push P4 Moni Audi to send the Clear down signal D DCalling back from t...

Page 22: ...ing the digit to the right will blink automatically without pushing P3 TX Code Enter t Repeat e and r to input all allowable digits y Push P0 Call or PTT to call PTT call can be made only when PTT cal...

Page 23: ...to OFF In this case push Status Up Status Down to display the status message manually D DReceiving an SDM Short Data Message q When an SDM is received Beeps sound The calling station ID or text and th...

Page 24: ...igital momentarily Displays message memory When a message is available When no message is available e Push Up or Down or rotate DIAL to select the desired message When selecting the SDM that includes...

Page 25: ...sent with both individual and group calls D DTransmitting a status q While in the standby condition push P1 Digital then push Up or Down or rotate DIAL to select the desired station group code w Push...

Page 26: ...ired station group code w Push P1 Digital again then push Up or Down or rotate DIAL to select the desired SDM Or you can select the desired SDM using Status Up Status Down key directly e Push P0 Call...

Page 27: ...ght push M to move the cursor to the left t Repeat steps e and r to set the desired text message y Push P1 Digital for 1 sec to overwrite the set content into the memory Push P1 Digital momentarily to...

Page 28: ...ent and the ID of the station who sent the message Ask your dealer or system operator for connection details Digital ANI The own ID can be transmitted each time the PTT is pushed log in or released lo...

Page 29: ...When one of the following operations is performed the trans ceiver selects the Priority A channel automatically Priority A is selected when Clear down signal is received transmitted Set the Move to Pr...

Page 30: ...eserved for a future function Connect a 4 8 external speaker r MICROPHONE HANGER Connect the supplied mi crophone hanger to the vehicle s ground for mi crophone on off hook functions See p 2 t OPTIONA...

Page 31: ...propriate keys for easy recognition of that key s assigned function Then protect the attached stickers from unsticking with the supplied key cap as below Function name sticker Key cap KEY STICKER Micr...

Page 32: ...installation Install the optional UT 111 unit as follows q Turn the power OFF then disconnect the DC power cable w Unscrew the 4 cover screws then remove the bottom cover e Cut the pattern on the PCB...

Page 33: ...tom cover and screws Optional OPC 617 installation Install the OPC 617 as shown below q Dimmer cont IN w AF OUT e Det AF OUT r Mod IN t PTT control IN or y Horn drive cont OUT u AF GND i Det AF GND o...

Page 34: ...the transceiver sur faces Options RMK 2 SEPARATION KIT OPC 607 OPC 608 OPC 609 SEPARATION CABLE Allows you to install the transceiver main unit separately from the front panel for operating convenienc...

Page 35: ...ntenna of this device and any persons during operation For small vehicle as worst case the antenna shall be located on the roof top at any place on the centre line along the vehicle in order to achiev...

Page 36: ...1 1 32 Kamiminami Hirano ku Osaka 547 0003 Japan A 6406H 1EX e Printed in Japan 2004 2007 Icom Inc Printed on recycled paper with soy ink...

Reviews: