background image

iCATCH in DHCP (Dynamic Host Configuration Protocol), 

please follow below description to setup camera. 

Step 1. 

Install iCMS3 to PC from your CD-ROM. 


Step 2. 

Connect your camera to PC. 


Step 3. 

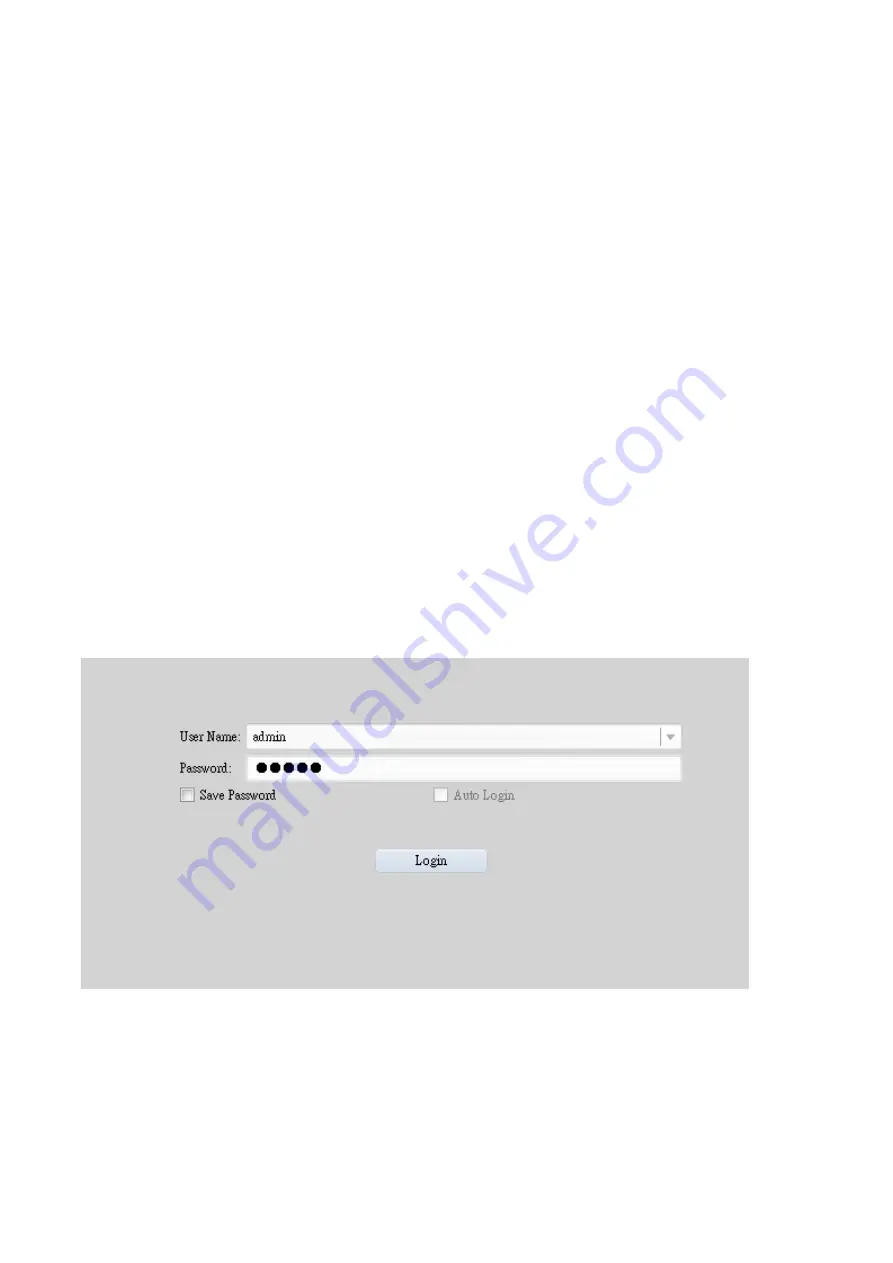
Run iCMS3, enter user name & password 

Default user name: admin, default password: admin 


Summary of Contents for IN-BL8102

Page 1: ...IN BL8102 Network Camera User Manual ...

Page 2: ...Package Contents 1 IN BL8102 Network Camera 1 PCS 2 L Wrench 1 PCS 3 Screws 4 PCS 4 Conical Anchors 4 PCS ...

Page 3: ...5 UTP Cable 1 PCS 6 Mounting hole sticker 1 PCS 7 CD ROM 1PCS ...

Page 4: ...CH IVR There is no complex setting need to do just plug and play Please refer iCATCH IVR manual for details Setup camera with PC iCATCH IVR is able to setup camera directly for common use functions If you need to setup advanced functions you may have to link camera to your PC The default IP address of ...

Page 5: ...figuration Protocol please follow below description to setup camera Step 1 Install iCMS3 to PC from your CD ROM Step 2 Connect your camera to PC Step 3 Run iCMS3 enter user name password Default user name admin default password admin ...

Page 6: ...Step 4 Click Device Step 5 Select P2P ...

Page 7: ...Step 6 Click search wait for about 30 seconds you will see camera information as below Step 7 Open browser and enter the IP address you shown in step 6 Default user name admin default password admin ...

Page 8: ...Step 8 Follow the instructions to install plug in player and restart browser You will see live display as below Click configuration to setup advanced functions from the browser ...

Page 9: ...280 960 60Hz 30FPS 1280 960 Lens Vari focal 2 8mm 12mm F1 4 fixed iris lens Day Night mode True Day Night mode with mechanical IR Filter Video compression H 264 Protocol ONVIF IR LED range High Power IR Array 60M Weather proof IP66 Power Source DC 12V 1A PoE IN BL8102 P Net weight 1050g Operating Temperature 10 50 Storage Temperature 20 60 Note PoE model available ...

Reviews: