4. Dimension (mm)
< Ceiling Mount >
< Wall Mount >
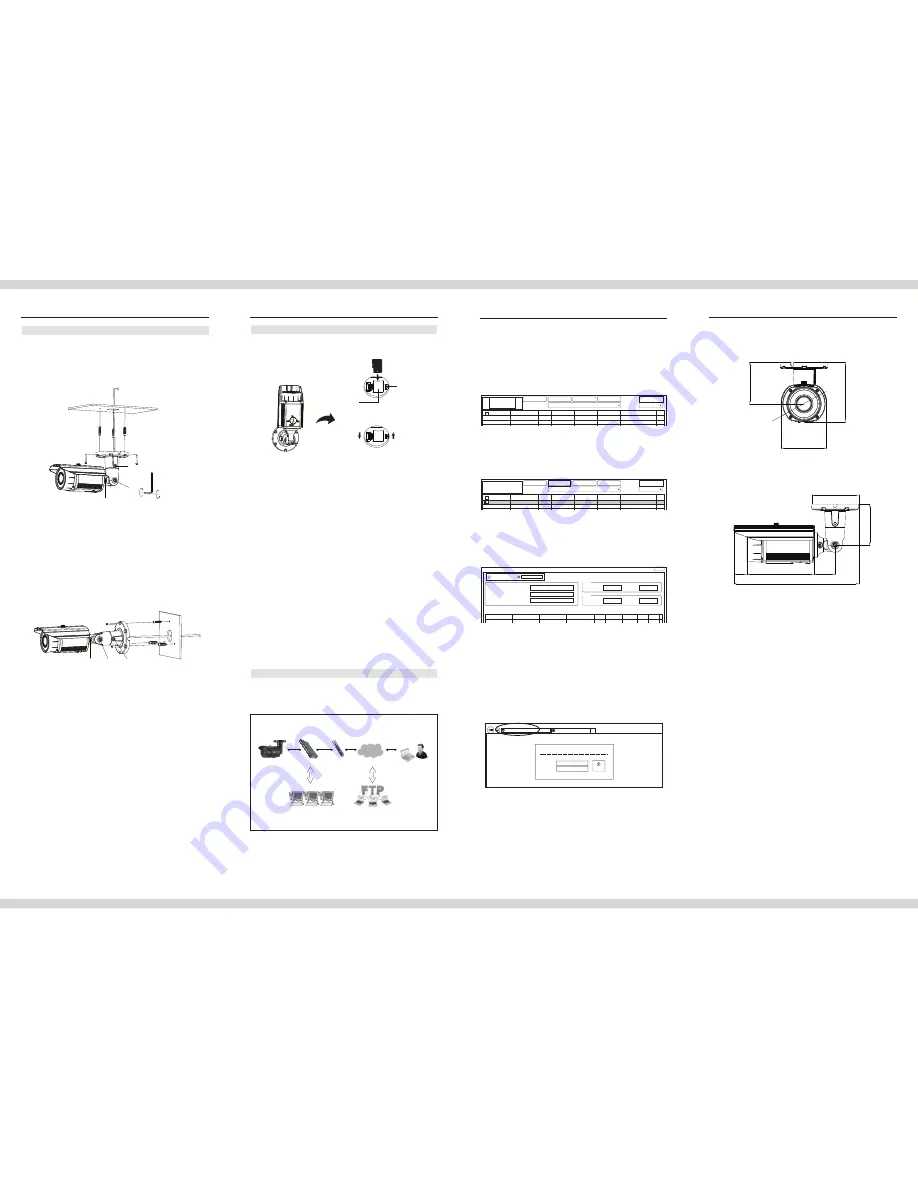
3. INSTALLATION & CONNECTION
3. INSTALLATION & CONNECTION
3. INSTALLATION & CONNECTION
3.2 HOW TO MOUNT TO CEILING / WALL
ID
PW
Login
LOGIN
Ip Camera
X
X
http://192.168.1.32/
150521-1
3.3 HOW TO INSTALL A MICRO SD CARD
3.4 INSTALLATION EXAMPLE
3.4.1 Installation Example
www
LAN Switch
Local Access
Remote Access
e-mail / FTP
Router
Internet
3) The MAC address can be found on the label of the camera or video server.
4) From the cameras or video servers listed, select one and click “IP Change to
assign a new IP address.
5) Select DHCP or STATIC, then change IP address.
Default ID and password are “admin" and “1234” respectively.
3.4.3 Accessing the Camera or video server’s Homepage
1) After you assign IP address to your IP camera or video server and enter that
camera or video server address on the Web Browser, you will be connected
to the login page of the camera or video server as shown below.
2) Enter a ID (username) and password to access the camera or video server.
The default ID and password are “admin” and “1234”.
3) The first time you login to the camera or video server using ActiveX, you are
notified that a required ActiveX control is required. You need to allow the
installation of ActiveX by clicking "Yes". It is normal for this process to take
up to 30 seconds.
※
For more information, see the manual of IP camera or video server in the
packaged CD.
3.4.2 Connecting Network
1) Run IPScan Utility program in the packaged CD.
2) Click “Scan” button. Once IPScan Utility program scanned, the panel shows
every camera or video server connected on the local network.
Use DHCP Address
Use Static Address
Start IP Address
Gateway Address
Subnet Mask
MAC Address
00:26:e6:00:28:ad
IP Address
10.0.0.7
10.0.0.7
10.0.0.254
Sratic
2700
81
Change IPAddress
Change Gateway A...
IP Type
Stream Port
HTTP Port
ID
PW
IP Change
10 . 0 . 0 . 7
10 . 0 . 0 . 254
255 . 0 . 0 . 0
Ports
Login
User ID
Password
Stream Port
HTTP Port:
2700
81
X
Scan
Clear
Network Card:
IP Address
MAC Address
IP Type
Stream Port
HTTP Port
Upgrade Port
Server Name
Protocol :
Version2
Count : 0
-- Auto select --
IP Change
Upgrade
Factory Default
Scan
Clear
Network Card:
IP Address
MAC Address
IP Type
Stream Port
HTTP Port
Upgrade Port
Server Name
Protocol :
Version2
Count : 0
-- Auto select --
IP Change
Upgrade
Factory Default
0.0.0.7
00:26:e6:00:28:ad
Static
2700
81
9300
VD102i
①
Open the cap on the bottom of the camera by turning it anticlockwise.
And Slide the upper part of Micro SD Card slot horizontally in the direction
shown by the “OPEN” arrow (*Slot is a hinge type).
②
Insert a Micro SD Card to the slot.
③
Slide the upper part in the direction shown by the “LOCK” arrow.
④
Close the cap in a clockwise direction
<Caution>
a. Please turn the power off before inserting or removing a Micro SD card.
b. Make sure to close the cap carefully and quickly to keep it water-tight and
anti-fog.
①
Drill three screw holes on the wall or ceiling plate to fix three anchors (supplied)
in the holes.
②
Fix the plastic anchors in the holes.
③
Position the mounting bracket on the screw points.
④
Fix the mounting bracket by tightening the screws.
⑤
Slightly loosen bolt (A), (B) then adjust TILT (180°) and PAN (360°) of the
camera and tighten the bolt firmly.
⑥
Slightly loosen bolt (C) then adjust ROTATION (360°) of the camera and
tighten the bolt firmly.
SD Card
slot
SD Card
FACTORY
RESET
micro
sd
OPEN
LOCK
96
Ø96
104.3
137.3
(C)
(B)
(A)
(C)
(B)
(A)
Mount Screw
(Ø4X30L-3EA)
Plastic Anchor
Right turn
(Tightening)
Left turn
(Loosening)
31
156.3
50
292.3
96
Ø110


