


4.2.1.1 Changing Camera IP address
Changing IP of a camera can only be done to devices found in the search list on the registration
page. Modifying the IP address for cameras registered in the bottom section changes the
connection information.
Step 1
Select
Main Menu > Advanced Settings > Camera Configuration
>
Add/Remove
Device
, check the box before the left of the camera and then click
Modify IP
or click
the
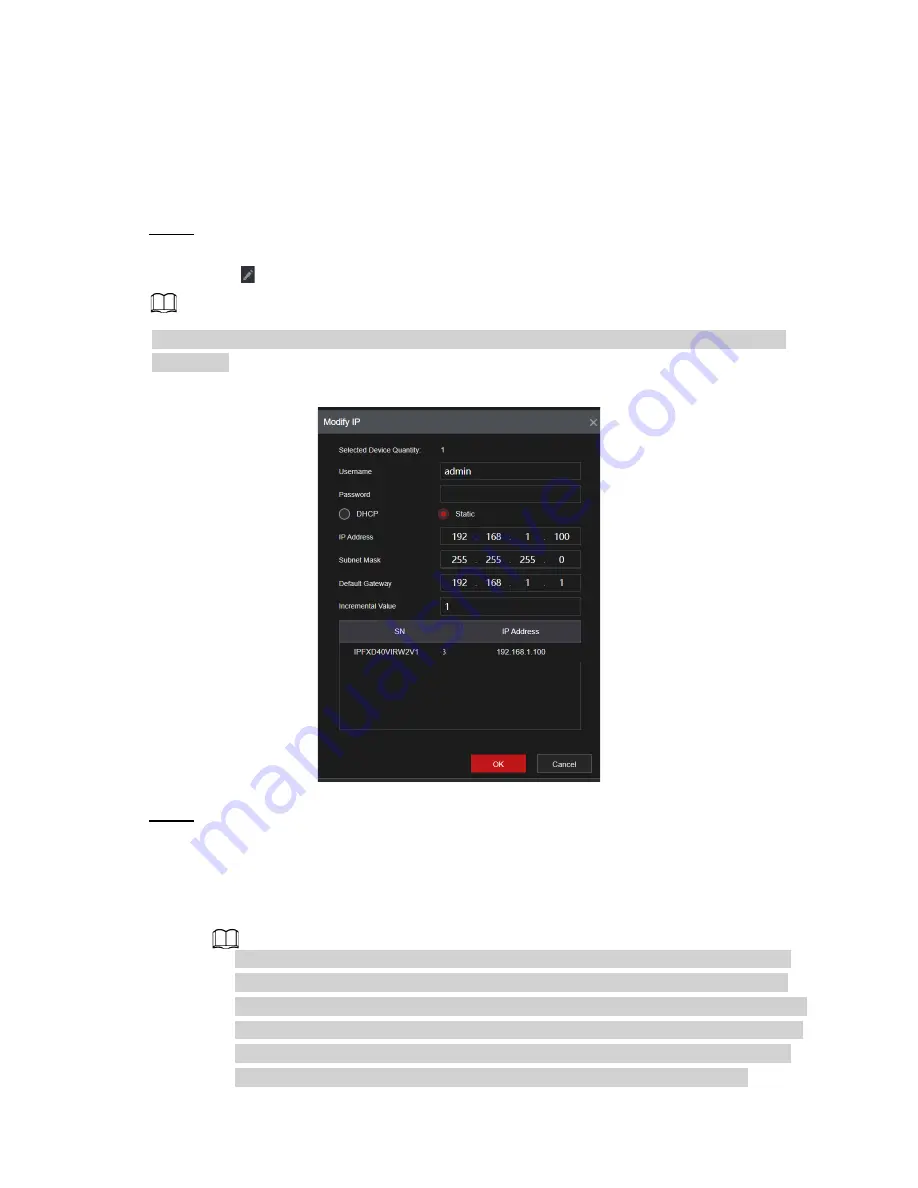
to edit. The
Modify IP
interface will be displayed. See Figure 4-45.
Check the box before several cameras, change the IP addresses of several cameras at the
same time.
Figure 4-45
Step 2
Select IP mode.
●
DHCP
: There is no need to input IP address, subnet mask, and default gateway the
unit will auto retrieve the network parameters.
●
Static
: Manually input IP address, subnet mask, default gateway, and incremental
value.
● To change several devices' IP addresses at the same time, input an incremental
value. The device can add the incremental value set to the fourth octet of the IP
address one by one to automatically allocate the IP addresses to multiple devices.
● If there is an IP conflict when changing the IP address, an IP conflict dialogue box
will appear. If using batch change IP address, the device automatically skips the
conflicted IP and begins the allocation according to the incremental value.
60
Summary of Contents for 1U POE NVR Series
Page 1: ...User s Manual V4 1 1 ...
Page 106: ...Figure 4 92 Figure 4 93 Step 2 Configure parameters See Table 4 26 95 ...
Page 291: ...280 ...