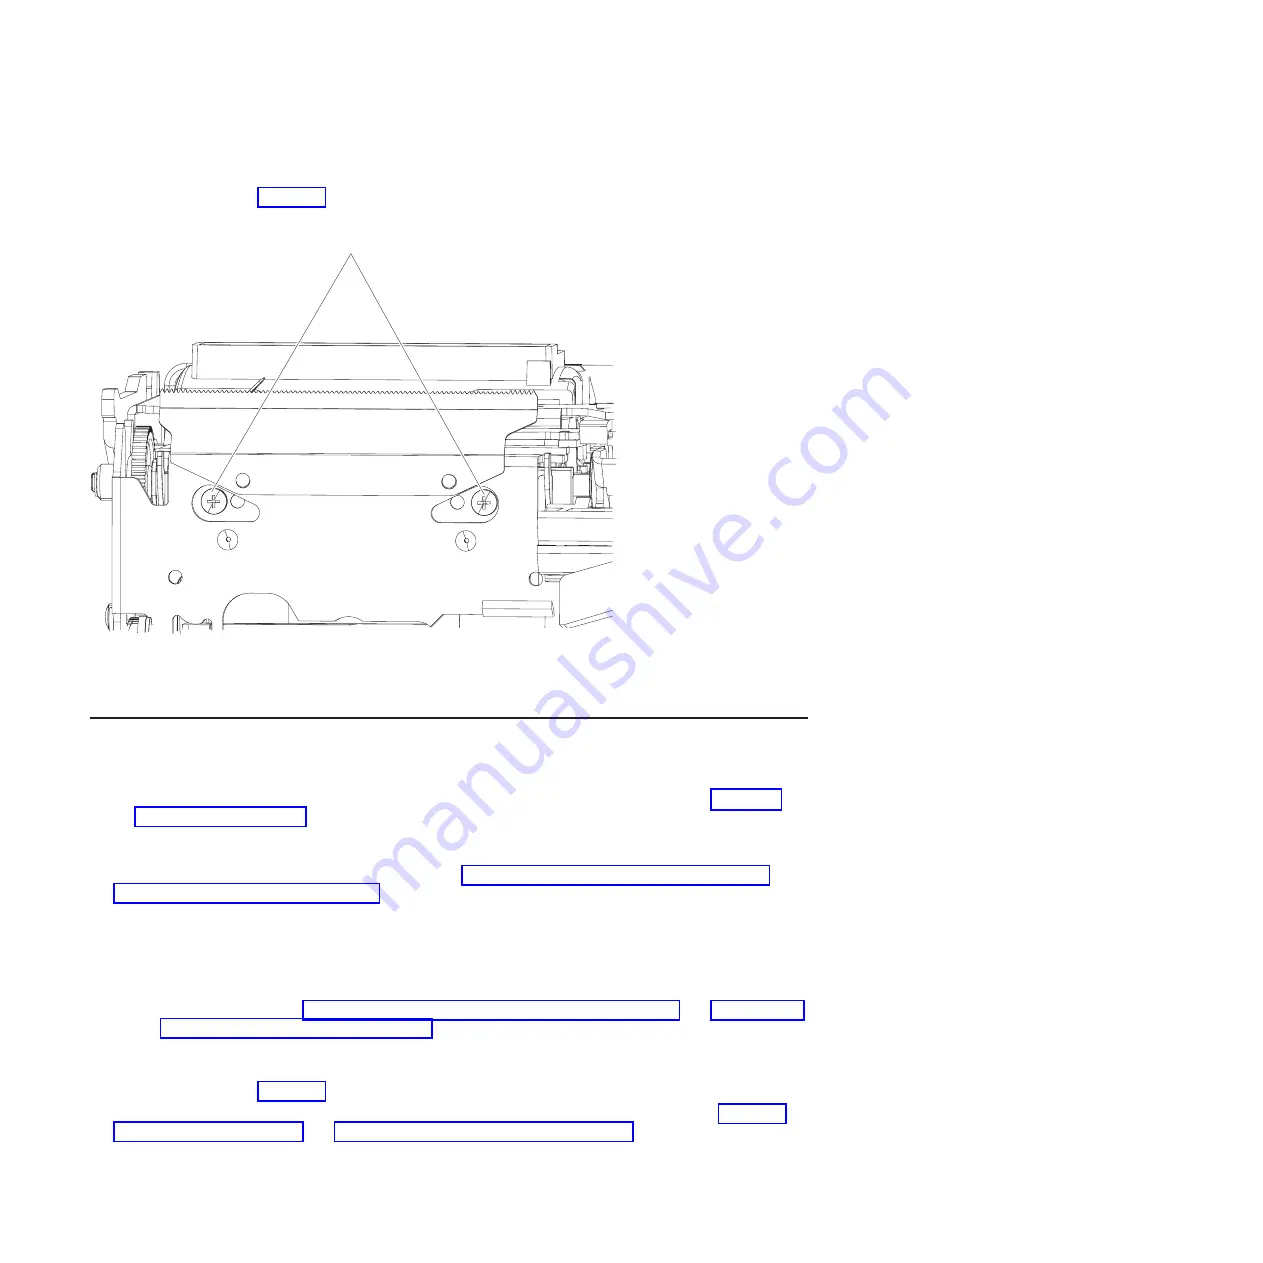
5. While supporting the printhead with one hand use a screwdriver with a magnetic-head to remove the
mounting screws
A
(Figure 26); then, lift the printhead partially out of the printer.
6. Disconnect the thermal printhead flat cable from the bottom of the printhead.
Installing the thermal printhead
This section provides the information needed to install the thermal printhead in the printer.
Note:
After you replace the thermal printhead, run the offline test to reset the statistics (see “Firmware
off-line tests” on page 23 for information).
To install the thermal printhead, complete the following steps:
1. Remove both the paper door and main covers (see “Removing the paper door cover” on page 41 and
“Removing the main cover” on page 44 for information).
2. Orient the printer so the front of the unit is facing you.
3. Hold the printhead with the two black bars or print surface facing away from you; then, connect the flat
cable to the printhead
Note:
Ensure the contacts on the flat cable are facing toward you. If they are not, then remove and
install the cable (see “Removing the thermal printhead flat cable” on page 53 and “Installing the
thermal printhead flat cable” on page 53 for information).
4. Place the unit on its back.
5. Align the threaded holes in the printhead with the mounting holes in the frame; then, use the two
mounting screws
A
(Figure 26) to secure the printhead in place.
6. Install the main and paper door covers; then, reconnect the signal and power cables (see “Installing
the main cover” on page 46 and “Installing the paper door cover” on page 42 for information).
Screws
Figure 26. Paper door release lever
Removing and replacing FRUs
52
SureMark Hardware Service
Summary of Contents for SureMark 4610 1NF
Page 1: ...SureMark 4610 Printers Hardware Service Guide Model 1NF G362 0578 00 ...
Page 2: ......
Page 3: ...SureMark 4610 Printers Hardware Service Guide Model 1NF G362 0578 00 ...
Page 8: ...vi SureMark Hardware Service ...
Page 13: ...IBM IBM GA27 4004 GA27 4004 Safety information xi ...
Page 14: ...GA27 4004 GA27 4004 GA27 4004 GA27 4004 GA27 4004 GA27 4004 IBM xii SureMark Hardware Service ...
Page 30: ...16 SureMark Hardware Service ...
Page 34: ...20 SureMark Hardware Service ...
Page 82: ...68 SureMark Hardware Service ...
Page 90: ...76 SureMark Hardware Service ...
Page 92: ...78 SureMark Hardware Service ...
Page 94: ...Assembly 1 Model 1NF 5 10 9 4 8 6 1 2 3 7 11 80 SureMark Hardware Service ...
Page 96: ...Assembly 2 Model 1NF Fiscal drawer assembly 3 2 4 5 1 82 SureMark Hardware Service ...
Page 108: ...94 SureMark Hardware Service ...
Page 112: ... G362 0578 00 ...


