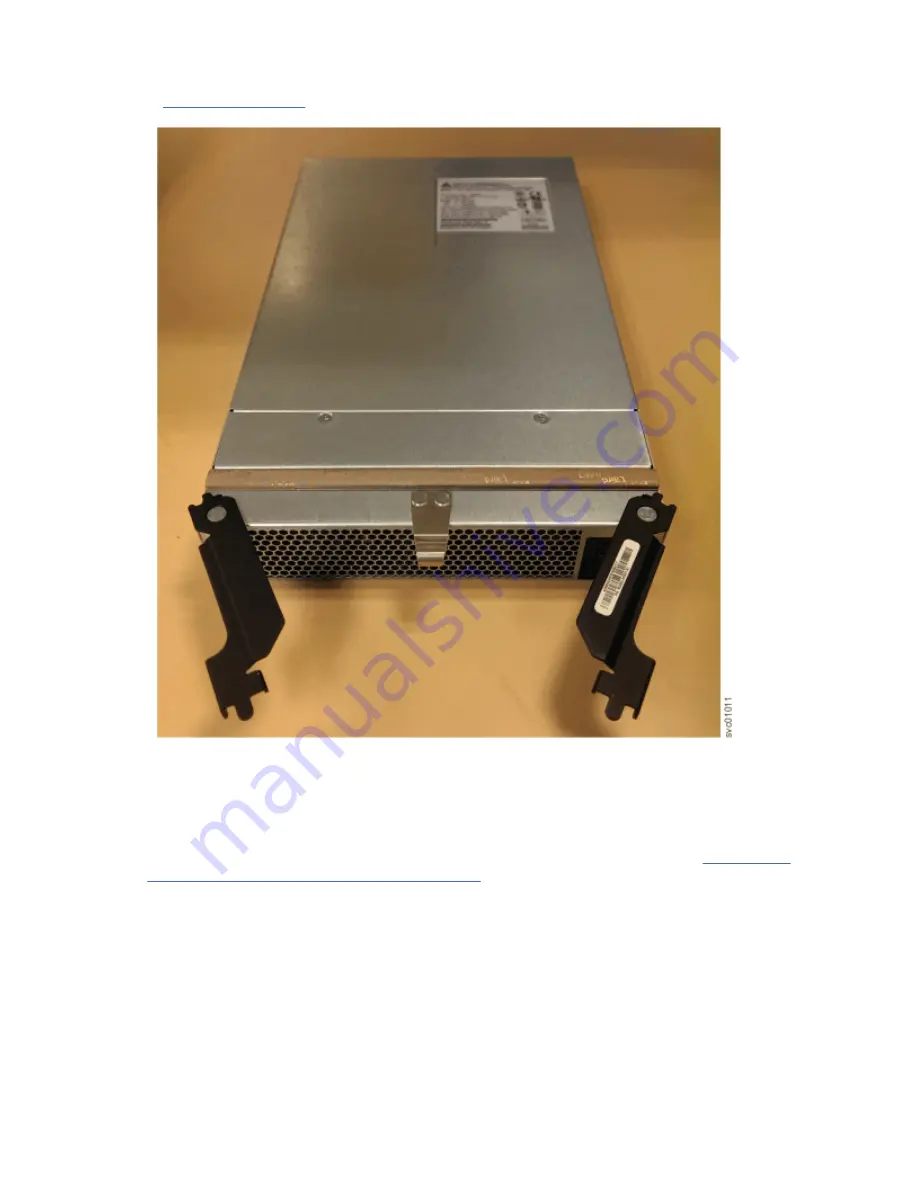
5. Carefully pull the PSU out of the expansion enclosure chassis and place it in a safe location, as shown
Figure 87. Removed power supply
6. If you are instructed to return the power supply, follow all packaging instructions. Use any packaging
materials for shipping that are supplied to you.
Replace the power supply
7. To reinstall the PSU, or replace it with one from FRU stock, follow the procedure in “Installing or
replacing a power supply: 2077-92F ” on page 67.
Removing a drive: 2077-92F
You can remove a faulty drive from a 2077-92F expansion enclosure to replace it with a new one received
from FRU stock.
Before you begin
Ensure that the drive is not a spare or a member of an array. The drive status is shown in Pools > Internal
Storage in the management GUI. If the drive is a member of an array, follow the fix procedures in the
management GUI. The fix procedures minimize the risk of losing data or access to data; the procedures
also manage the system's use of the drive.
86 Storwize V5000 Gen2: Quick Installation Guide
Summary of Contents for Storwize V5000 Gen 2 Series
Page 1: ...IBM Storwize V5000 Gen2 Quick Installation Guide IBM...
Page 5: ...Index 149 v...
Page 6: ...vi...
Page 156: ...130 Storwize V5000 Gen2 Quick Installation Guide...
Page 164: ...138 Storwize V5000 Gen2 Quick Installation Guide...
Page 166: ...140 Storwize V5000 Gen2 Quick Installation Guide...
Page 168: ...142 Storwize V5000 Gen2 Quick Installation Guide...
Page 177: ......
Page 178: ...IBM...


