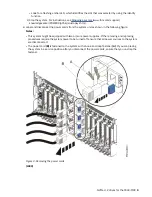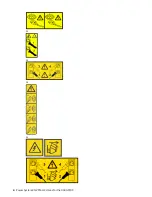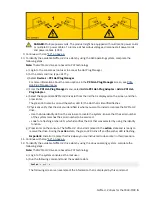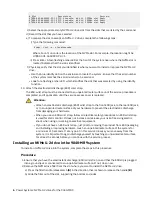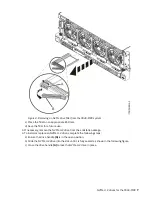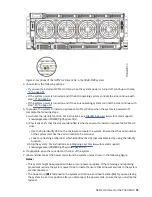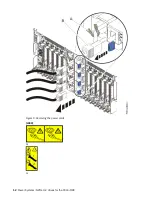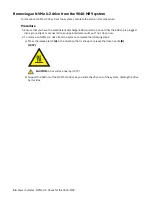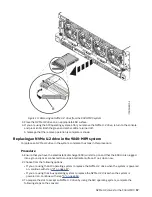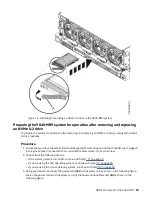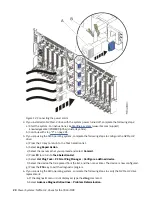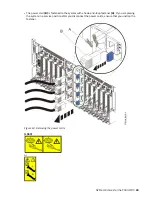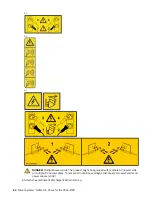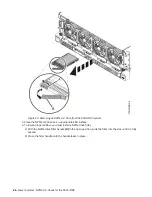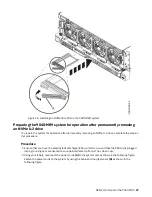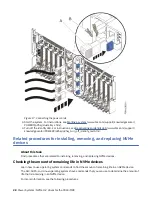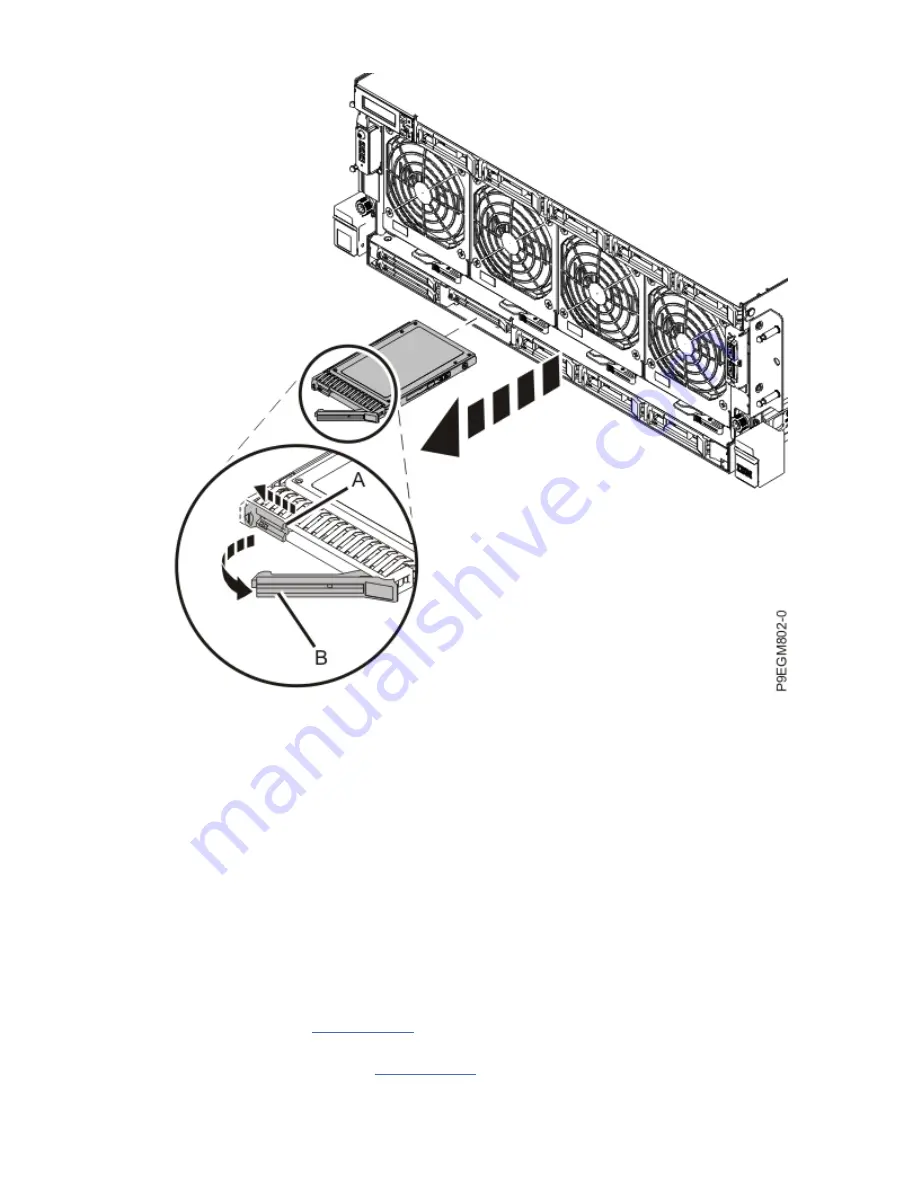
Figure 10. Removing an NVMe U.2 drive from the 9040-MR9 system
3. Place the NVMe U.2 drive on an appropriate ESD surface.
4. If you are using the AIX operating system, after you remove the NVMe U.2 drive, return to the console
and press Enter. Both the green and amber LED are turned off.
A message that the remove operation is complete is shown.
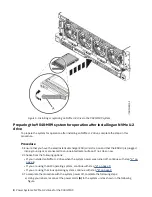
Replacing an NVMe U.2 drive in the 9040-MR9 system
To replace an NVMe U.2 drive in the system, complete the steps in this procedure.
Procedure
1. Ensure that you have the electrostatic discharge (ESD) wrist strap on and that the ESD clip is plugged
into a ground jack or connected to an unpainted metal surface. If not, do so now.
2. Choose from the following options:
• If you are using the AIX operating system to replace the NVMe U.2 drive when the system is powered
on, continue with step “3” on page 17.
• If you are using the Linux operating system to replace the NVMe U.2 drive when the system is
powered on, continue with step “5” on page 18.
3. To prepare the slot to accept an NVMe U.2 drive by using the AIX operating system, complete the
following steps on the console:
NVMe U.2 drives for the 9040-MR9 17
Summary of Contents for Power System System E950
Page 1: ...Power Systems NVMe U 2 drives for the 9040 MR9 IBM...
Page 4: ...iv...
Page 14: ...xiv Power Systems NVMe U 2 drives for the 9040 MR9...
Page 18: ...or or or or 4 Power Systems NVMe U 2 drives for the 9040 MR9...
Page 26: ...Figure 9 Removing the power cords L003 or or 12 Power Systems NVMe U 2 drives for the 9040 MR9...
Page 44: ...30 Power Systems NVMe U 2 drives for the 9040 MR9...
Page 55: ......
Page 56: ...IBM...

