7.5
7.6
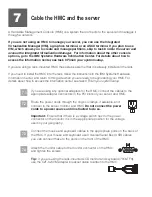
If you are not using a modem, skip to step 7.6.
If you are using the integrated HMC modem, connect the telephone cable to the
modem and to the analog jack on the wall. If you are using an external modem,
connect the modem data cable to the external modem and to a serial port on the
HMC. Then connect the telephone cable to the external modem and to the
analog jack on the wall.
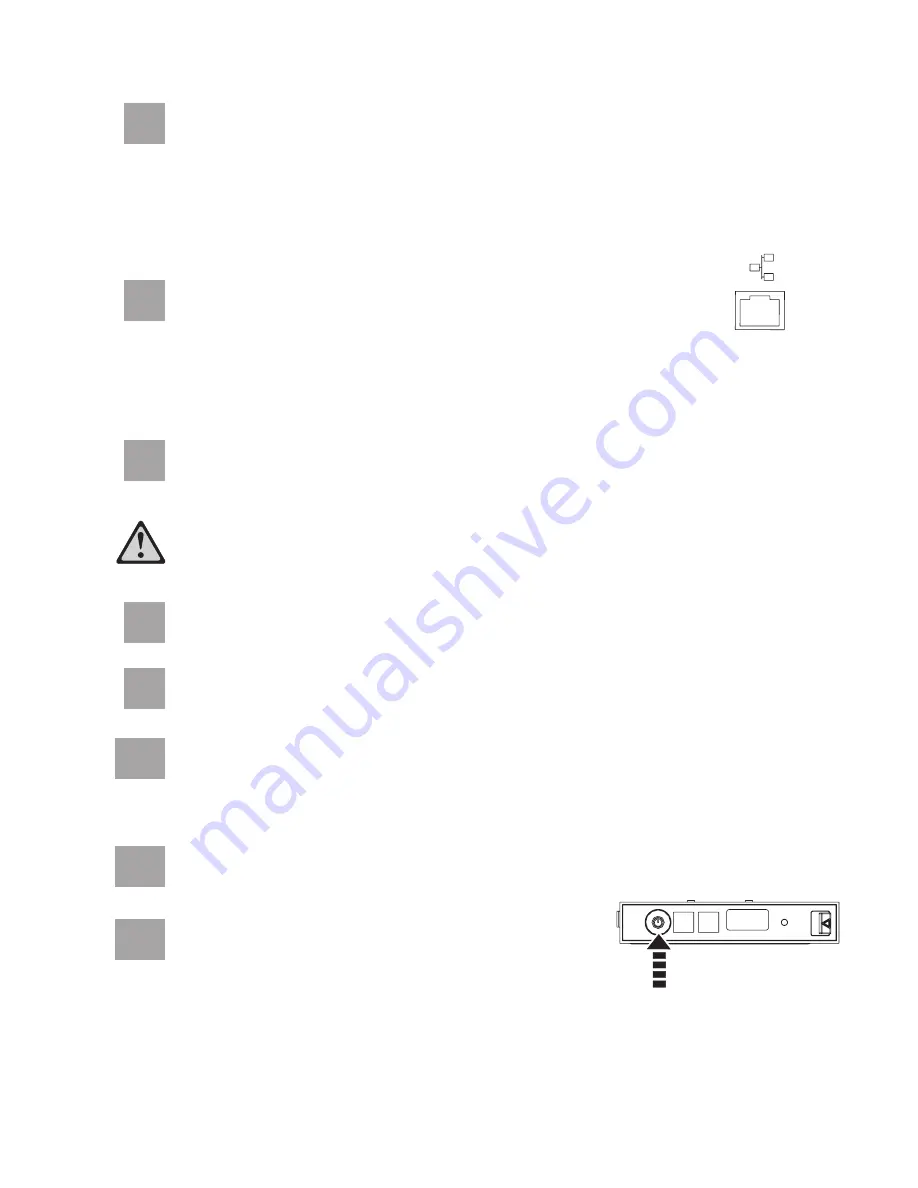
Connect the Ethernet cable to the Ethernet port on the HMC and to
the Ethernet port labeled HMC1 on the server.
For a stand-alone HMC, use the integrated Ethernet port. For the 7310-CR2
rack-mounted HMC, use the bottom-right Ethernet port. For the 7310-CR3 rack-
mounted HMC, use the left port of the two planar board Ethernet ports.
7.7
7.8
7.9
If using an external modem, plug the power cord into the modem.
CAUTION: This product is equipped with a 3-wire (two conductors and a
ground) power cable and plug. Use this power cable with a properly
grounded electrical outlet to avoid electrical shock. (C018)
You have completed the basic setup. Go to task 9
Finish your system setup.
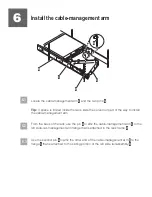
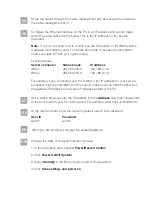
Route the cables through the cable-management arm on the server, and secure
the cables with the straps provided.
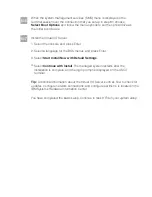
Start and configure the HMC, which includes the Guided Setup Wizard. You can
find the instructions for configuring the HMC in the IBM Systems Hardware
Information Center. For details about how to access the information center, see
task 9
Finish your system setup.
7.10
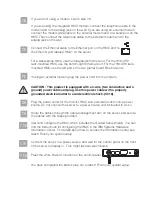
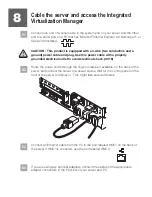
Connect the s
to a power source and wait for the control panel on the front
of the server to display
. This might take several minutes.
erver
,
01
7.11
Press the white Power On button on the control panel.
Plug the power cords for the monitor, HMC, and external modem into a power
source. Do not connect the server to a power source until instructed to do so.
7.12


