124
Power Supply
•
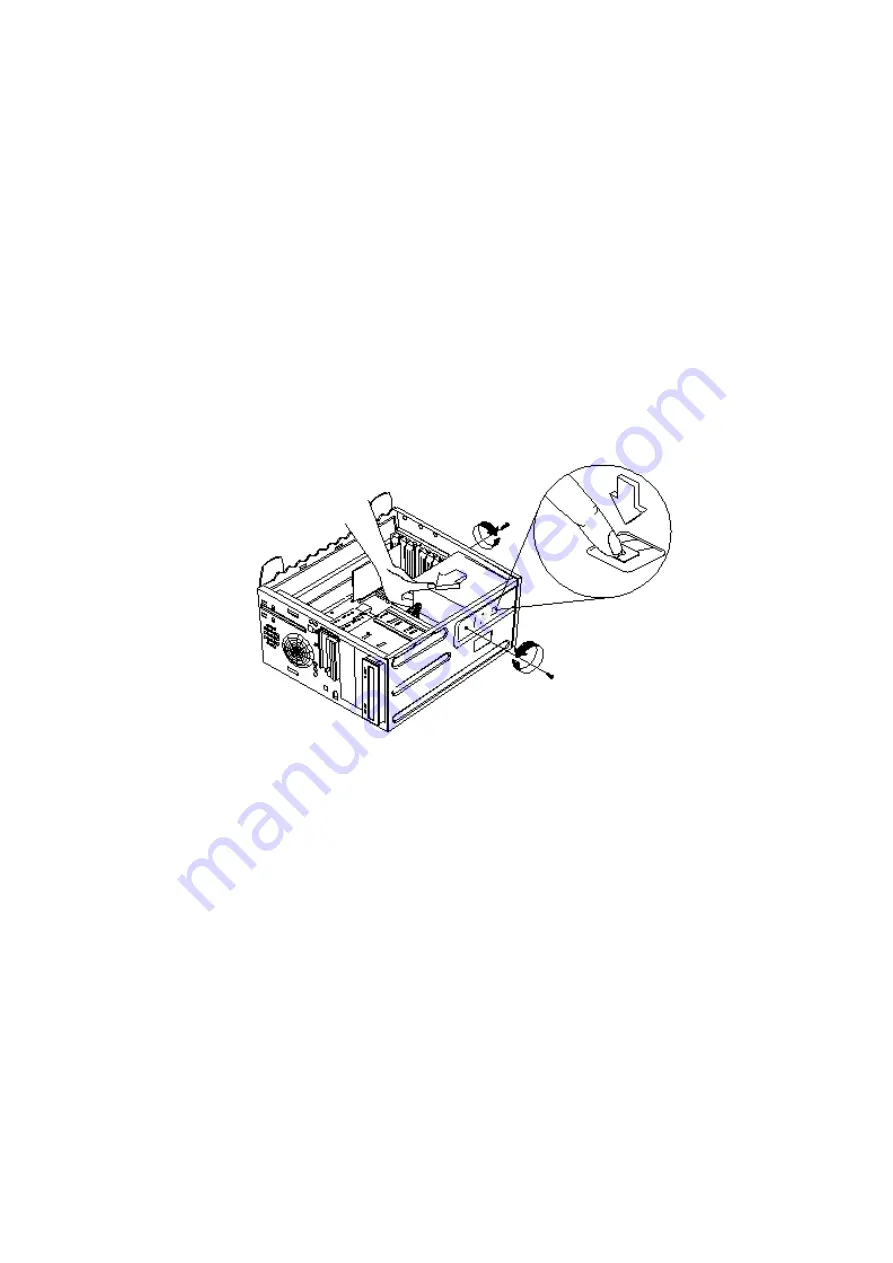
Disconnect all necessary cables before removal (note location of cables).
•
Remove the two screws from the chassis.
•
Press the tab located on top of the housing frame just above the power
supply.
•
Push the power supply forward towards the CD-ROM drive to detach it from
the chassis.
•
Detach the power supply from the frame by removing it's four screws.
Summary of Contents for Aptiva 2170
Page 8: ...VI...
Page 14: ...VI...
Page 15: ...Notices VII...
Page 16: ...VIII...
Page 17: ...Notices IX...
Page 18: ...X...
Page 26: ...XVIII...
Page 27: ...Notices XIX...
Page 28: ...XX...
Page 101: ...Check Procedures 67 009 Replace the powersupply End...
Page 106: ...72...
Page 114: ...80...
Page 126: ...92 Front Panel...
Page 137: ...Repair Information 103 For Celeron CPU with FanSink...
Page 167: ...133 For Celeron CPU with FanSink...
Page 178: ...144...
Page 196: ...162 Nvidia M64 w TV Out 32MB Nvidia NV10 w TV Out 32MB...
Page 215: ...Copyright IBM Corp 1998 181 Safety Inspection Guide General Guidelines 182...
Page 240: ...206...
Page 250: ...216 USB Legacy Mode 20 USB 20 V Voltage Supply Switch Settings I W Weight 27...
Page 252: ......


