IBML
Installation Instructions
10.2 Adding a DIMM on the System Card
1. Remove the DIMM, in its antistatic bag, from its shipping container.
2. Remove the DIMM from the antistatic bag. Inspect it for damage.
Always handle the DIMM by the ends (preferably grasp it between the
middle finger and thumb; do not touch the components). If the DIMM
appears to be damaged, return it to the antistatic bag and contact the
supplier.
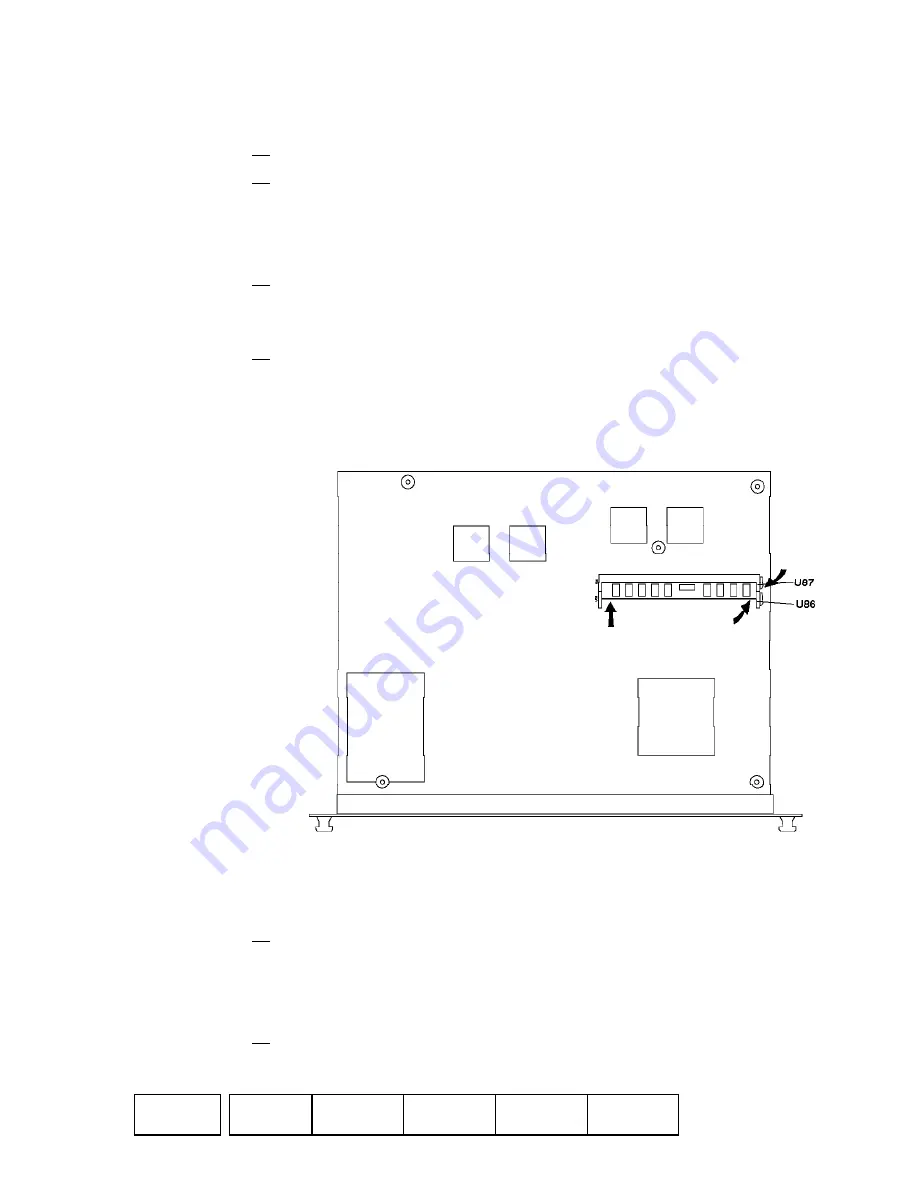
3. On the System card, Locate the DIMM sockets (Slots U87 and U86 -
Refer to figure below).
Note:
Any slot can be used to install the first DIMM.
4. Insert the DIMM into the free slot. (Grasping the DIMM between the
middle finger and thumb, place it connector edge down into the DIMM
socket. Applying slight pressure to the top edge of the DIMM, move it
forward until it is correctly aligned and snaps in place.)
The lever will snap back into place as the DIMM is fully inserted.
10.3 Re-installing the System Card
1. Re-install the new system card. Make sure the card is aligned with the
plastic grooves and then slide it in until it is flush with the box. Hold the
locking latches so that they are perpendicular to the face of the system
card. With the card in full contact with the rear of the Multiaccess Enclo-
sure, press the locking latches into the system card.
2. Tighten the thumbscrews on the face of the adapter card clockwise.
3746
PN 25L9934
EC F12604
FFBM
6 of 10
14/04/1998
6


