IBC Technologies Inc.
1-844-432-8422
|
www.ibcboiler.com
120-388E0
January 09, 2023
Released Document
5 of 7
Removing the heat exchanger lid
1. Disconnect the ignitor cable (E) and move it out of the way.
2. Remove the two #2 Phillips screws securing the ignitor to the heat exchanger lid.
3. Carefully remove the ignitor by sliding it straight up.
4. Remove the ignitor gasket.
5. Place the ignitor parts on a clean, dry area for reinstallation.
6. Remove the nuts attaching heat exchanger lid to the heat exchanger (K) with a 10 mm wrench or
socket.
7. Mark the alignment between the lid, lid gasket (H) and heat exchanger with a permanent marker or
equivalent.
Caution
Position yourself directly above the heat exchanger lid before removal to ensure a
straight, vertical extraction. Failure to do so may result in refractory damage.
8. Slowly lift the lid-burner assembly (F, I) off the heat exchanger. The refractory (J) should remain in
place in the heat exchanger's combustion chamber shoulder. There is less than 1/8” (3 mm) of
clearance between the burner walls and the refractory; ensure that there is minimal contact between
them to prevent the refractory from cracking.
9. Place the lid with the burner attached on a clean, dry surface.
Removing the burner from the heat exchanger lid
1. Mark the refractory, with a permanent marker or equivalent, so that it lines up with the same mark
made earlier between the lid and heat exchanger.
2. Carefully remove the refractory and place in a clean dry area. (See warning above regarding the
refractory).
3. Gradually loosen and remove the 3 screws securing the burner to the heat exchanger lid, with a #2
Phillips screwdriver.
4. Remove the burner (I).
5. Remove and discard the old burner gasket (G).
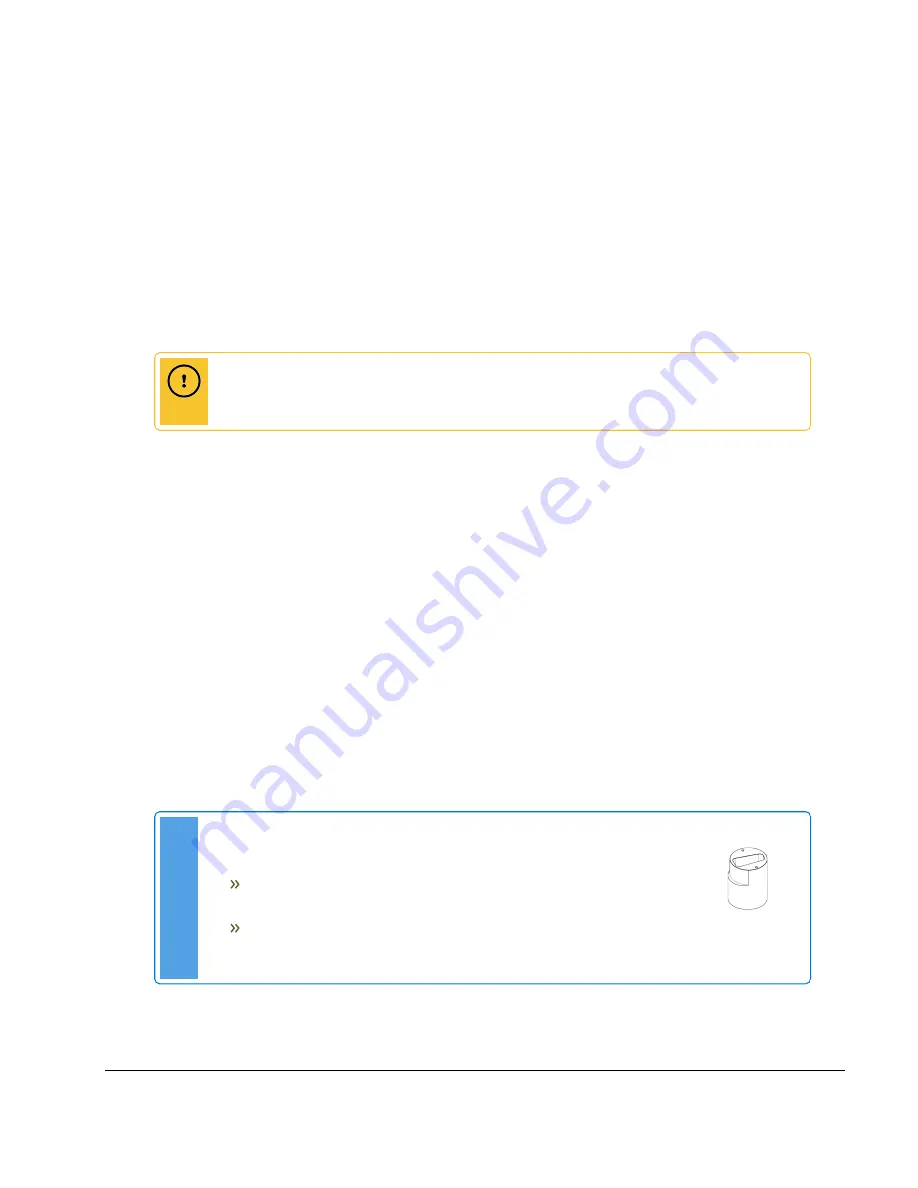
Note
SL 20-115 G1 only
If present, remove the attached intake port from the underside of
the heat exchanger lid.
Remove the two set-screws from the fan coupler, and discard.
This part not required for the new burner.
SL 20-115 G1
Intake Port


