3
Web Configuration
2.1
Network Configuration on PC
Take Windows as an example.
1)
Click
Start
>
Control Panel
>
Network and Interne
t >
Network and
Sharing Centre
.
2) Change Adapter Settings
>
Local Area Connection
. Right-click
Local
Area Connection
and choose
Properties
.
3)
Double-click
Internet Protocol Version 4 (TCP/IPv4)
.
4)
Select
Obtain an IP address automatically
and
Obtain DNS server
address automatically
and then click
OK
. If you select
Use the
following IP address
, set IP address of the PC as 192.168.1.X
(2~254), subnet mask as 255. 255.255.0, and enter DNS server
provided by your ISP.
3.1 Login to the Router
To connect to the Router, you should set up the LAN Connection TCP/IP setting of
the PC to "Obtain an IP address automatically". If you need instructions how to do
this, please refer to the User Guide on the Resource CD.
1)
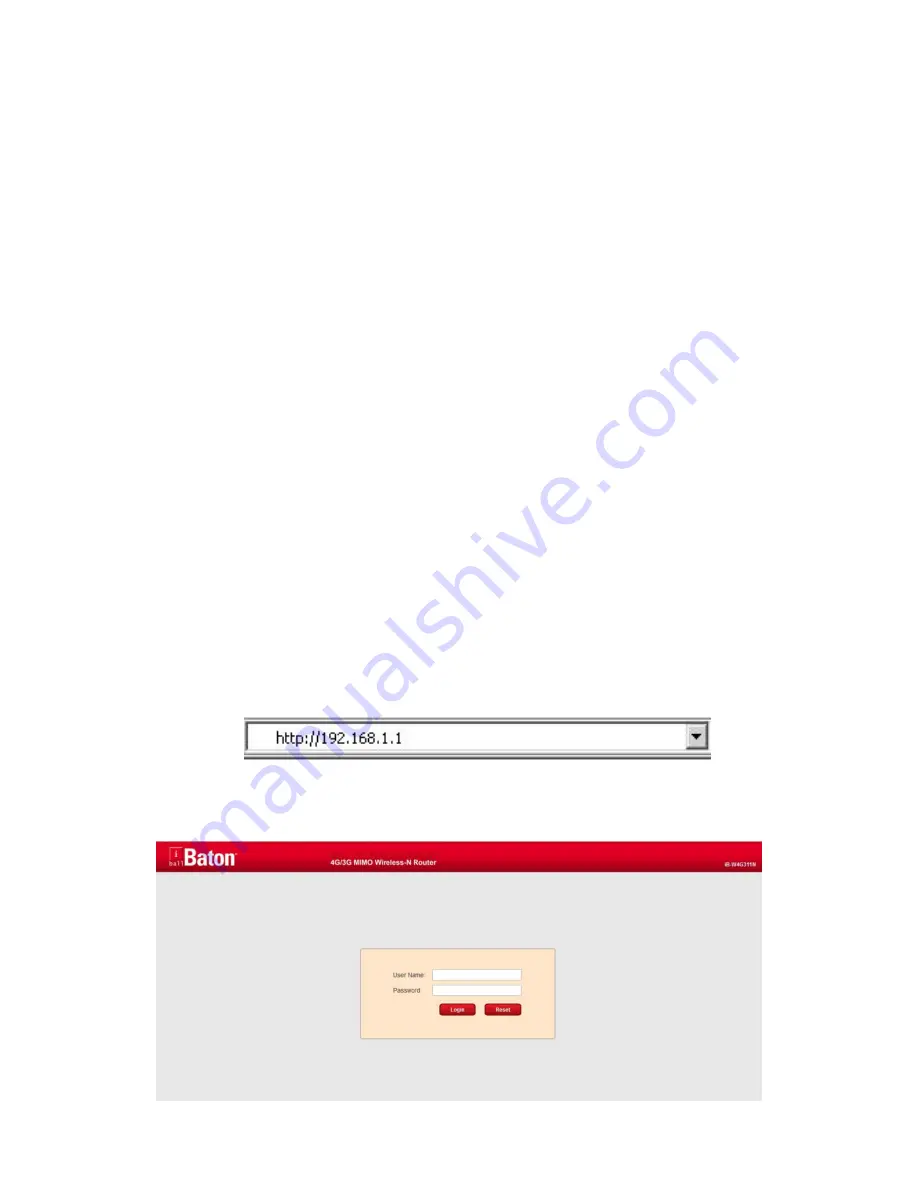
Launch a suitable web browser and type
192.168.1.1
in the address bar of the
browser.
2)
After that, the login screen shows. Enter the default User Name
admin
and password
admin


