Manual
ibaDAQ
16
Issue 1.1
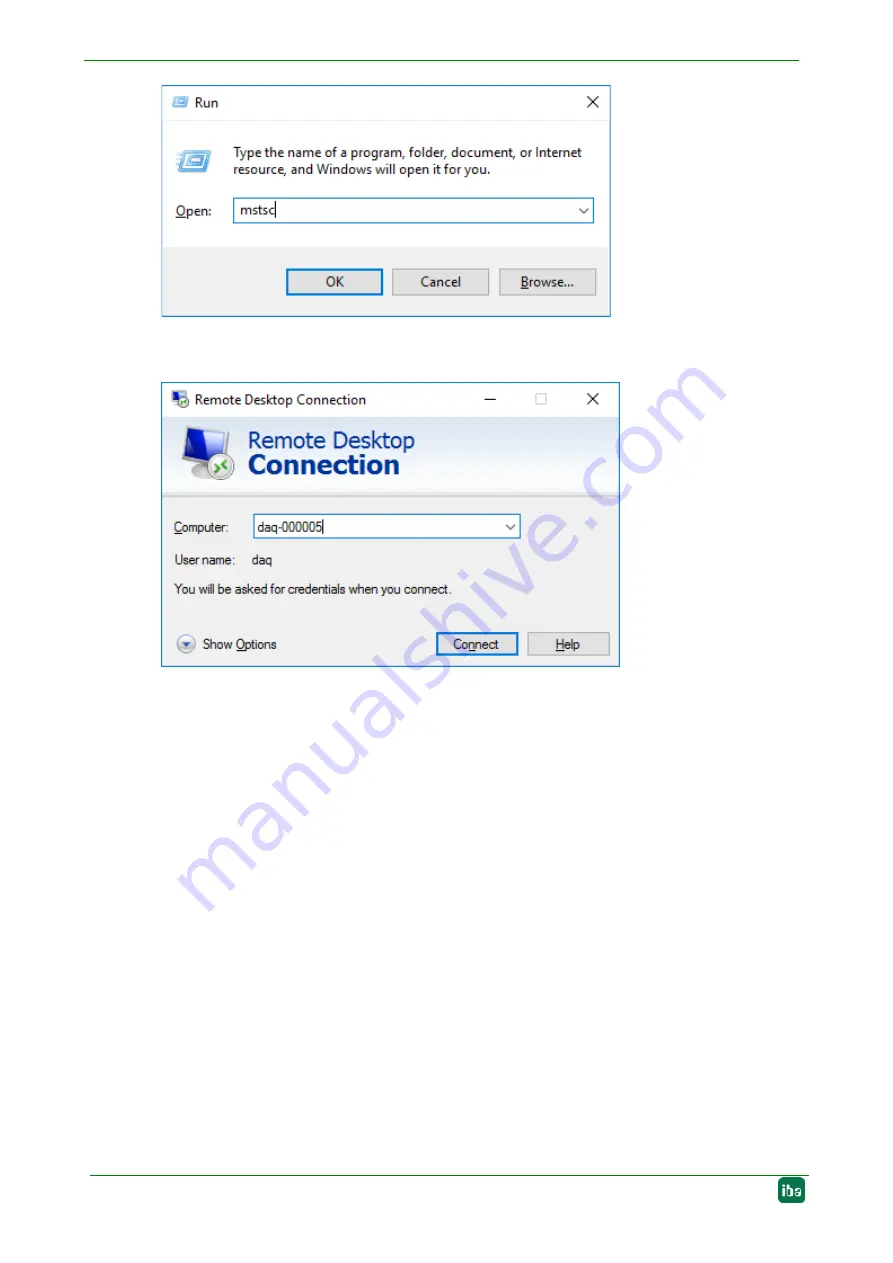
Figure 3: Run dialog (Windows 10)
In the field “Computer”, enter the host name or the IP address of the ibaDAQ system.
Figure4: Remote Desktop Connection
If you are requested to enter login information, use the information given in chapter 7.9.
Start the ibaPDA client from the Windows Start menu.
For further configuration, proceed as described in chapter 10.
6.4.2
Set up via monitor, keyboard and mouse
Connect a monitor to the DisplayPort connection of ibaDAQ. If necessary use an adapter.
Connect a keyboard and a mouse to the USB ports of ibaDAQ.
If required, log in to the system. You can find the login data in chapter 7.9.
Start the ibaPDA client from the Windows Start menu.
For further configuration, proceed as described in chapter 10.


