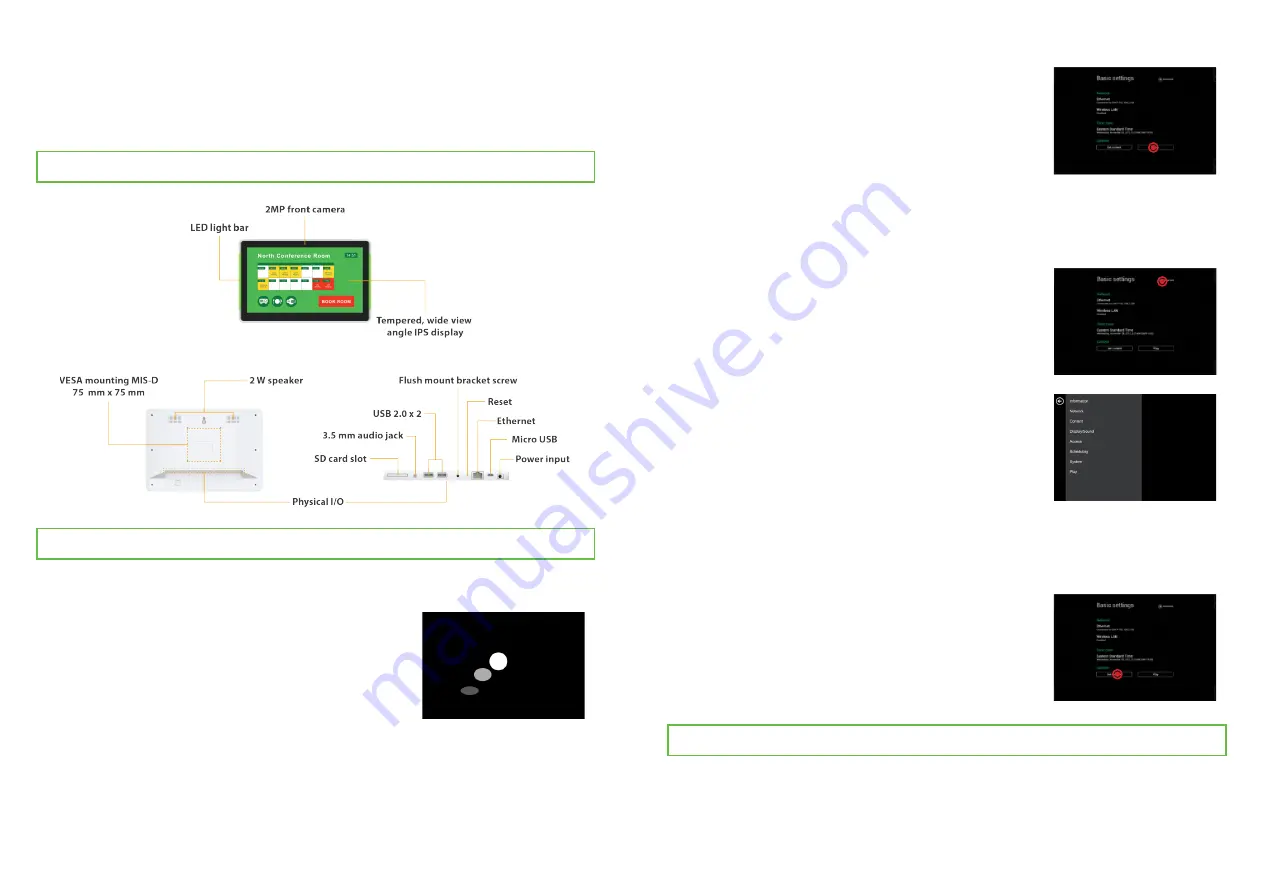
IAD_DGS_X08_10EP
Boot up
1
Set content
4
Make configurations
3
Plug in the AC adapter and Ethernet cable (if that
is the preferred method of connecting to network)
located at the back of the smart signboard and
it will power on automatically. Once the user has
exited the boot up screen, users can go through
system configurations in both landscape and por
-
trait orientations.
Basic settings
When boot up is complete, the user will see the
“
Basic settings
” which allows the user to make
configurations or autoplay preloaded content.
Please note, the smart signboard is set to autoplay
preloaded content 15 seconds after boot up. This
can be canceled if “
Cancel autoplay in 15s
” is
selected which lets the user remain on the “
Basic
settings
” and initiate playback manually.
System Setup
Content Management
Please consult the software documentation for information specific to your
content management solution.
Users can set content by clicking "
Set Content
" to
enter the URL or use the desired content manage-
ment system to upload the contents onto the smart
signboard.
To change smart signboard system language of
the XDS-108X series, use touch or USB mouse to
select “
(Current Language) ....
” For system con
-
figurations, select “
Advanced.
”
Important recommended configurations:
Port Connections
2
Set correct time, date, and time zone for
properly scheduled playback.
1
Set password to prevent unauthorized
access during setup menu.
2
Set network for establishing network
connection.
3
Important:
Users are recommended to keep the flush mount bracket in direct contact with
the to-be-mounted surface when operating the smart signboard to ensure the
weight of the device is fully supported by the flush mount.


