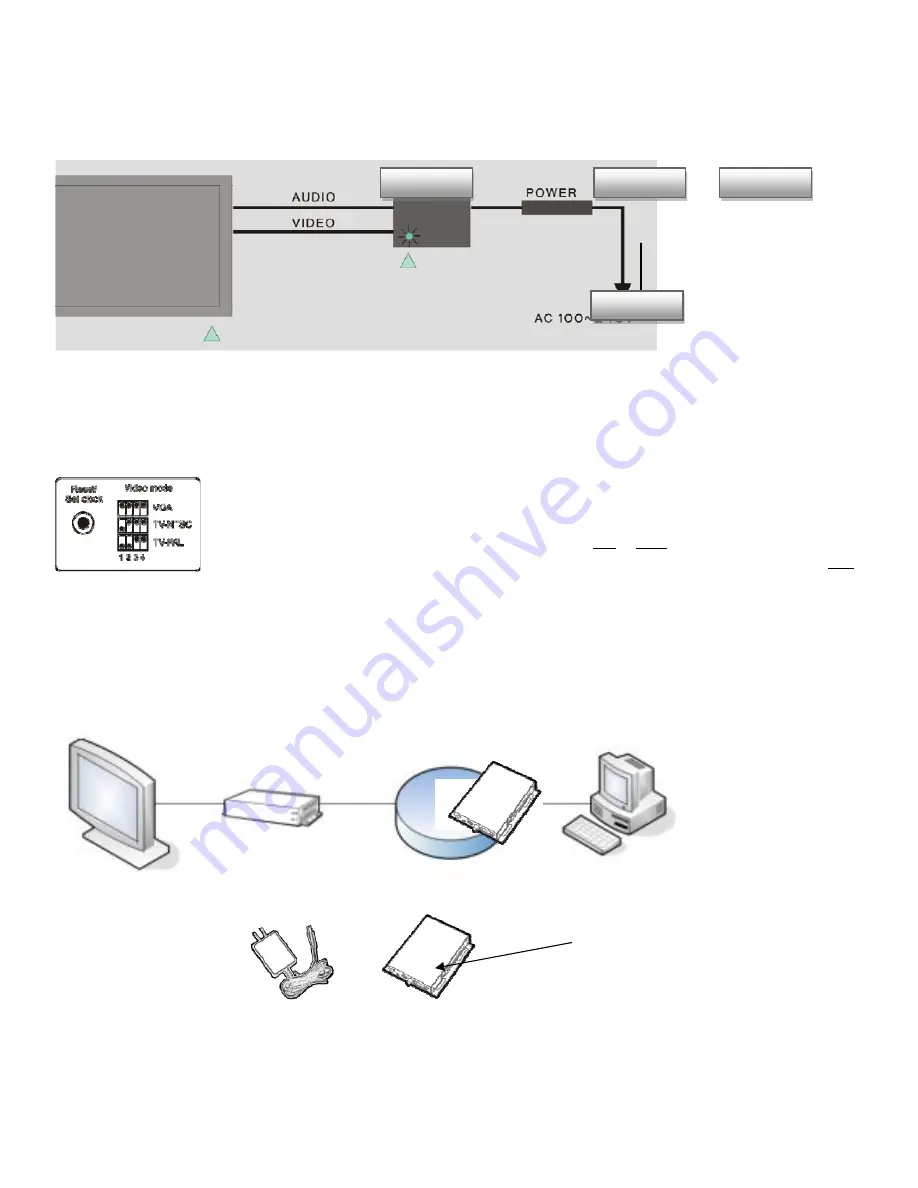
2.
Player
System
Setup
2.1.
Setting
up
the
player
Attach
a
video
cable
(Video,
S
video,
or
VGA)
to
your
display
Connect
and
power
on
your
display.
Turn
on
your
display
monitor
and
switch
it
to
the
corresponding
video
mode:
VGA
(sometimes
referred
to
as
“RGB”),
S
‐
video,
or
Composite.
For
audio
output,
connect
the
supplied
stereo
1/8”
mini
‐
jack
cable
from
the
player
to
your
monitor.
Setting
the
display
output
mode
Connect
player
to
your
network
If
you
do
not
have
a
network
capable
computer
at
hand,
please
refer
to
the
appendix
to
set
up
your
player
for
playback
without
a
network.
Adfotain
Manager
Express
can
detect
the
IP
location
of
your
player
automatically
on
a
DHCP
network.
See
setting
up
Adfotain
Manager
Express
in
this
section
to
set
up
the
program
on
your
PC.
*
If
your
network
requires
a
static
IP,
you
can
also
use
Adfotain
Manager
Express
to
set
up
the
static
IP.
Please
contact
your
network
administrator
if
you
are
unsure
which
IP
addresses
are
available
on
your
network.
Attach
the
AC
power
adapter
to
power
on
the
unit
If
the
system
is
set
up
properly,
the
display
should
show
the
player’s
on
screen
display
(OSD)
messages
and
the
player’s
IP
address
(if
network
is
DHCP
capable).
2.2.
Setting
up
Adfotain
Manager
Express
Adfotain
Manager
Express
lets
you
perform
player
configuration,
maintenance,
and
scheduling
operations
from
your
PC.
Network
Display
Player
Power
Network
router
Æ
green
power
indicator
on
player
top
panel
Set
the
Video
mode
using
the
DIP
switches
on
the
back
side
of
the
unit
(See
illustration
in
1.3
Physical
features
).
Switch
positions
per
video
mode
are
provided
on
the
product
label.
For
traditional
TV
:
set
to
PAL
or
NTSC,
depending
on
your
region
For
LCD
TV
,
Plasma
,
computer
monitors
,
and
projectors
:
set
to
VGA


