background image

Version 1.0

9

3. Each description

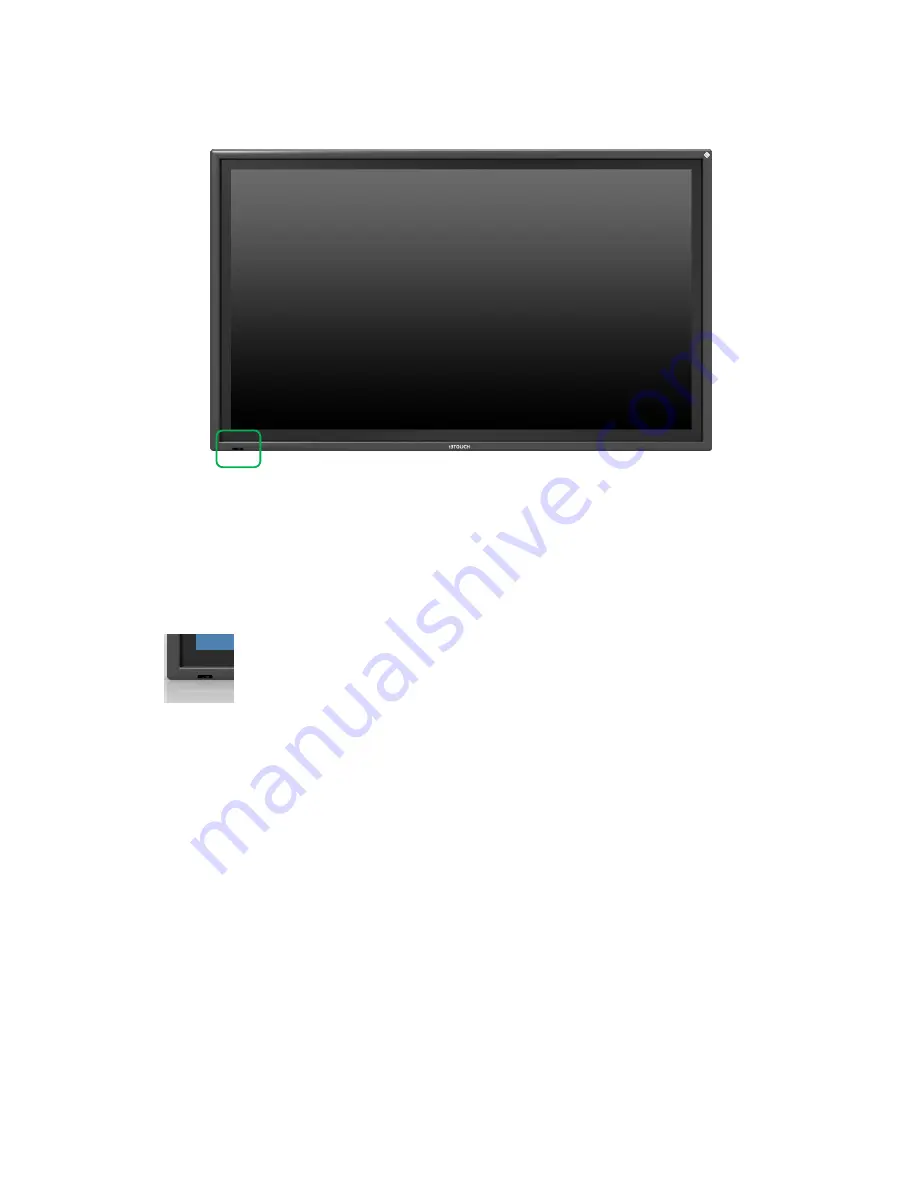
3.1 Front  View

① Remote Sensor & Power Indicator

When using the remote, aim it directly at this sensor.

- Power ON mode: BLUE

- Power OFF mode: RED

- DPMS mode : RED/BLUE are blanked

• Be sure to point the remote control at the remote control sensor on the 

LED/LCD Display

Summary of Contents for E1070T10

Page 1: ...USER MANUAL...

Page 2: ...troduction 8 3 Product Description 9 3 1 Front View 3 2 Rear View 4 PC Connection 12 5 Remote Control 13 6 Home Menu Description 14 7 Android Setup Menu Description 17 8 Product Specification 26 9 Pro...

Page 3: ...shock or fire hazards To avoid defeating the safeguards that have been built into your new product please read and observe the following safety points when installing and using your new product and s...

Page 4: ...nstructions 9 Power Sources This product should be operated only from the type of power source indicated on the marking label If you are not sure of the type of power supply to your home consult your...

Page 5: ...olate this product from the mains supply and refer servicing to qualified service personnel under the following conditions 1 If the power supply cord or plug is damaged 2 If the glass front has been d...

Page 6: ...en building or product do not hold the back of the handle under the product makes the handle is a secondary role Table stand and put them on the table by using the installation gets the nose does not...

Page 7: ...proper ventilation Failing to do so may result in fire or a problem with the product due to an increase in the internal temperature Install the product so the required distances shown in the figure a...

Page 8: ...ave been included Store the packaging box in case you need to move the product later If any items are missing contact your dealer Contact a local dealer to purchase optional items 70 FHD IR Display Co...

Page 9: ...iew Remote Sensor Power Indicator When using the remote aim it directly at this sensor Power ON mode BLUE Power OFF mode RED DPMS mode RED BLUE are blanked Be sure to point the remote control at the r...

Page 10: ...Version 1 0 10 3 2 Rear View 7Keys Key Description Power ON OFF Menu Display the main screen menu Source VGA HDMI1 HDMI 2 EXT COMPUTER Vol Volume Up Right Vol Volume Down Left Move Up Move Down...

Page 11: ...INI YPBPR Component Connection MINI YPBPR AUDIO IN Component Audio Connection AUDIO IN PC Screen Audio Input VGA PC Screen Input Interface Interface Description Speaker Out Connected to external speak...

Page 12: ...Version 1 0 12 Power Interface Description POWER Power on off AC IN AC Power In AC OUT AC Power Out...

Page 13: ...onnection 1 Connect RGB cable to RGB Voice connection will be connected to PC AUDIO IN with stereo cable 2 HDMI cable will be connected to display and voice are available at the same time 3 External s...

Page 14: ...main OSD menu FREEZE Video image freezes MUTE Toggles sound status of speaker ECO Screen Brightness SLEEP N A INFO Displays input source information ZOOM Activates OSD of aspect ratio control N A N A...

Page 15: ...of the screen i3NOTES Select the button to use the i3NOTES writing application equipped on IFPD OPS Shows the OPS screen connected to the product HDMI1 Shows the HDMI1 screen connected to the product...

Page 16: ...Version 1 0 16 Home Menu If you drag the bottom of the screen upward the hidden Home Menu pops up With the Home Menu you can go to Brightness Back Home Source Volume Dragging...

Page 17: ...ome Bar UI Description Brightness Adjust the brightness Back Moves to the previous screen Home Go to the home screen Source Calls the external input window Volume Adjust the volume Brightness Back Hom...

Page 18: ...to setup the Ethernet Picture to setup the brightness color and contrast Sound to setup the sound features All App You can go to the apps screen and run CZ file managers and i3 notes Advanced to setup...

Page 19: ...Configuration Protocol or input the IP address manually in Static IP setting DHCP Dynamic Host Configuration Protocol To set up the IP automatically select DHCP then Getting IP messages shows up and i...

Page 20: ...P IP Netmask Gateway DNS Network State To check the current network status of this system Ethernet PPOE WiFi If it is not connected any network shows Unconnected and shows Connected when it connected...

Page 21: ...bright Contrast less 0 to 100 more of the color Hue less 0 to 100 more of the color Saturation less 0 to 100 more of the color Sound Mode User can set the Sound Mode There are Movie Meeting Classroom...

Page 22: ...less 0 to 100 more of bass sound Treble less 0 to 100 more of treble sound Balance left 0 to 100 right of the speaker volume balance Volume less 0 to 100 more of the volume 7 4 Sound CZ Filemanager F...

Page 23: ...the sound when power on The Music list up when this on Music No User can set the type of music Music 1 Music 2 Boot Channel User can set the start screen when the system power on Android Force Input S...

Page 24: ...Version 1 0 24 7 7 Restore Restore To reset the system Restore user Setting to reset to user setting Restore Default to reset factory setting...

Page 25: ...Version 1 0 25 7 8 System Info System Info To check the system information CPU GPU Memory Android version...

Page 26: ...1650 x 1027 x 110 mm VESA Mount 600 H x 400 V mm M8 SCREW Weight 76 7 Kg LED Panel Specifications Ratings of Environment Items Specification Storage Temperature 20 60 Operating Temperature Humidity 0...

Page 27: ...1 3 5 JACK HDMI 3 HDMI Front 1 Display Port 1 Audio Line Out 1 3 5 JACK EXT Speaker Output 1 3 5 JACK L R SPDIF 1 RS232C 1 D SUB 9P USB 1 For Touch Sensor 2 For Android USB Front 1 B Type for Touch S...

Page 28: ...9 Product Dimensions...

Page 29: ...data in the Standard Signal Mode Table 3 Picture rolls vertically Check if the signal cable is securely connected Connect it again securely 4 Image is not clear Picture is blurred Run frequency Coarse...

Reviews: